
Clay animation is a unique way to express your characters and to truly connect with your subjects as you build them. Not only will you learn how to animate your clay figures, but you will learn how to build these clay friends.
Once you have armed yourself with your main attractions, you will learn how to animate your clay creations in your own short video. Let’s make your clay creations come alive.
Some of the materials you will need are bendy wire, polymer clay or plasticine, a camera, a video editing program, and a computer. Once you have all of your materials ready, you can start your clay animation.
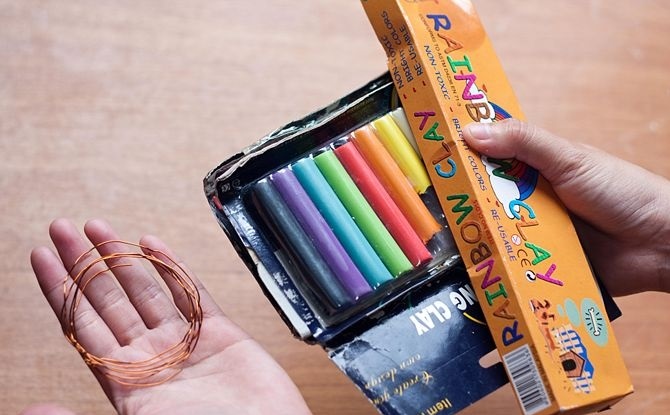
Begin with your polymer clay and bendy wire. You want to make sure that you can work with your clay without it being subjected to hardening while exposed to the open air. Cut a piece of wire three feet long and fold it in half.
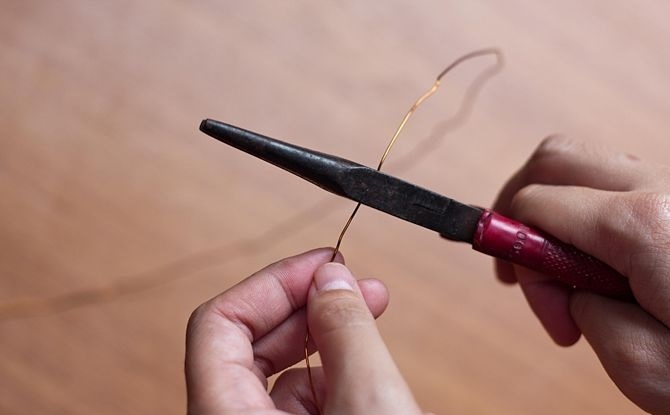
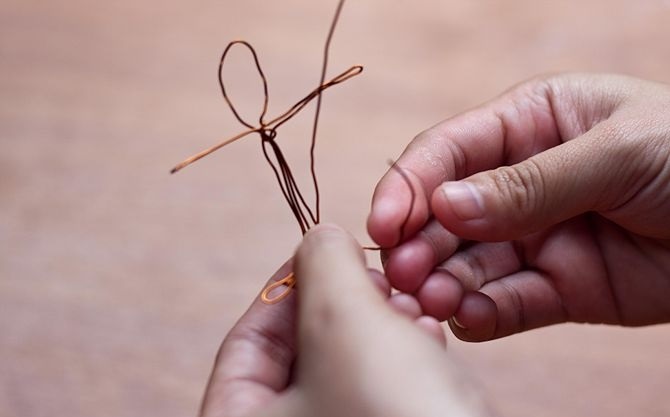
Twist both strands of the wire together beginning at the folding point. Mold your wire into the general shape of your character. Think overall shape rather than definitive shape. This is the mannequin for your clay character. You will mold the clay around this wire called an armature.
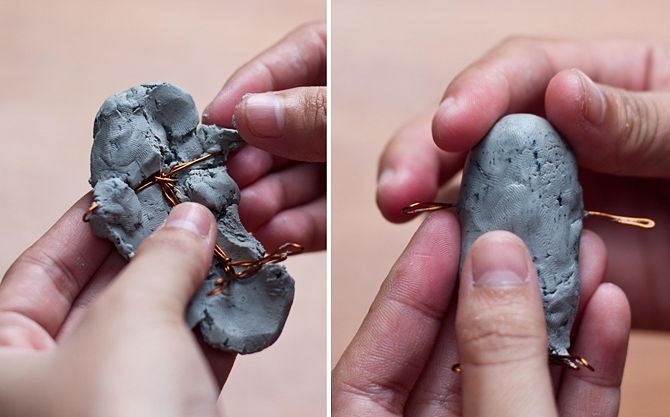
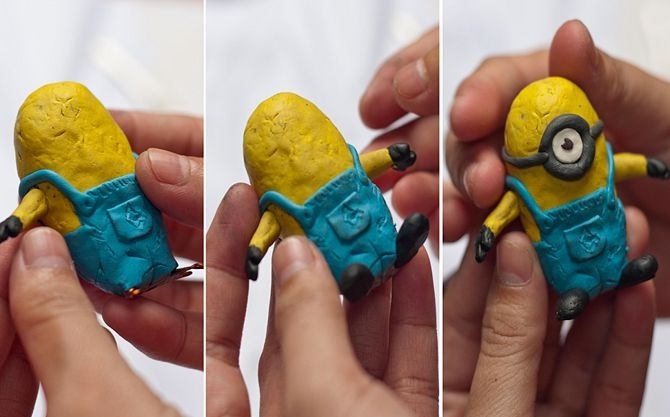
The base of your clay character is gray clay, which envelops the wire frame and is your base.
After the base is set, you will add colored clay on top creating detail and definition to your character such as clothing, facial features, etc.
Once your character/s are complete, set up your still digital camera at the appropriate angle at which you would like to capture your animation. This is key. Use a tripod in order for the animation to flow congruently. Every shot must be captured at the same angle.
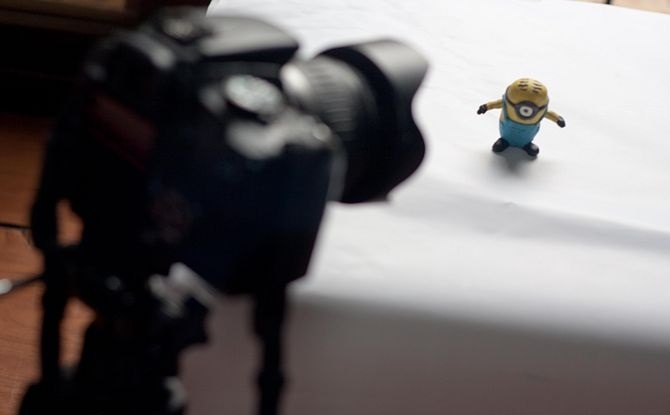
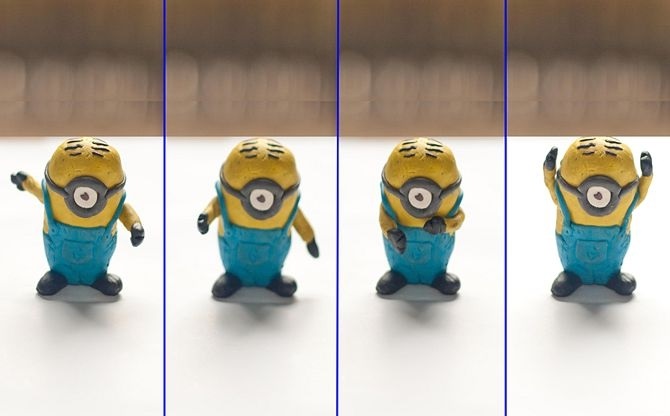
Use a flat surface to rest your clay figure. Then find a starting position. This position should be marked for many reasons. The first is that clay animation must be moved slowly, frame by frame to look right. Second, if you need to adjust the clay figure, you can pick it up and then place it back down in the right location without having to start all over again. Use a pencil or a piece of chalk for markings.
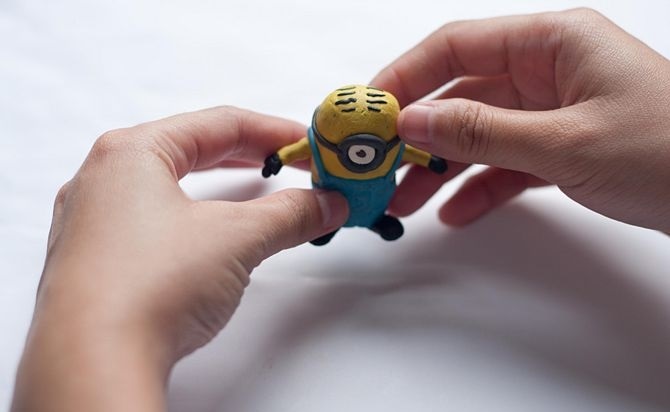
After the first shot, move the character a little bit into the next position and take another photo.
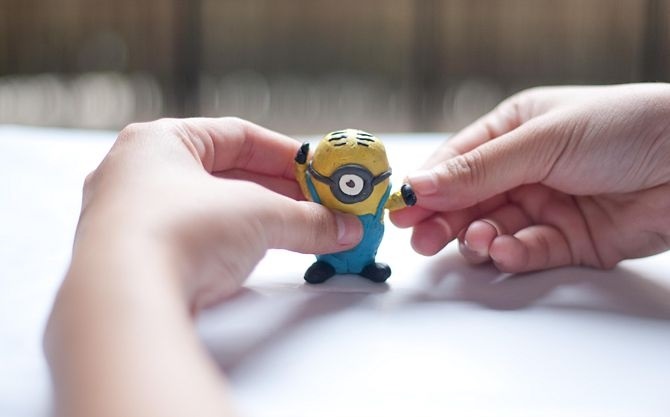
These shot-by-shot photos are called frames. For a film, there are 24 frames per second. You must be precise when shooting clay animation, otherwise it looks like your figure is jumping in the final picture. Continue the process of moving the figure a little bit and taking a photo until you have finished your frames for animation.
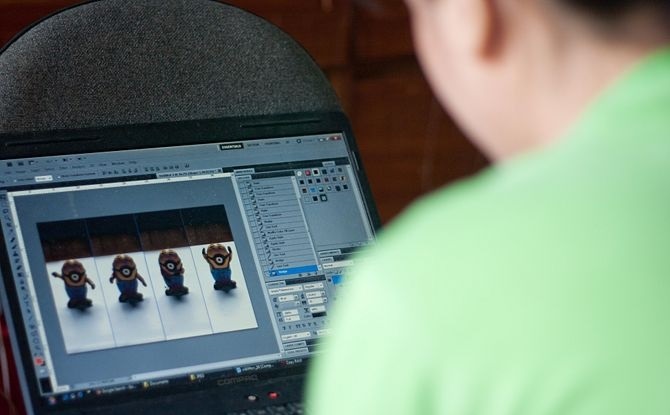
Load all of the pictures you have taken onto your computer and use your favorite photo editing program to link the photos together and speed up the photos into a movie format.
Then watch your animation come alive. This is a lengthy process so take your time. After all practice makes perfect.
