
As more and more people are struggling to pay the bills these days, many have begun to return to their roots. That is, many people are realizing that a home cooked meal with vegetables picked from the garden is much cheaper and healthier than a trip to a restaurant. This is great news for aspiring photographers who are looking to start a blog, since food blogs have been drastically increasing in popularity over the past year. While the amount of food blogs will likely continue to increase, the amount of people interested in these blogs will also increase.
So what is it that makes the best food blogs stand out from all the rest? While the perfect combination of good recipes and good photographs is certainly the claim to fame, the photography may be even more important than the actual food. Think about it this way: haven’t you ever judged a book by its cover? Personally, if I’m ever looking for a particular recipe, I judge the website based on its photography. After all, a nicely composed, well-lit sandwich looks far more appetizing than one that was photographed in dreary lighting with a cell phone camera. Capturing the true essence of food is not an incredibly difficult task, but it does require you to have a few tips and tricks under your belt.
Things You Need
- A window that lets in natural light
- A 50mm prime lens (an f/1.8 is both inexpensive and versatile)
- A tripod
- Attractive plates, bowls, and silverware
- Optional: External flash, soft box, macro lens
Camera Settings
- RAW vs. JPEG: Honestly, if you’re wondering which one to use, always shoot RAW. The one downside of this is that RAW takes up more memory than JPEG, so make sure you have a decent sized memory card. If you haven’t shot RAW before and are interested in comparing the two, many cameras offer the ability to shoot both a RAW and JPEG version of the same image. When shooting in RAW, you’ll have a photograph that contains all the information. This means that if your highlights are a little too overexposed or your shadows are a little too underexposed, you’ll be able to fix those problems quickly and easily. With JPEG, any missing information is missing forever.
- White Balance: Generally, setting your camera to automatic white balance will produce adequate results. And if you’re shooting RAW, you can easily change the white balance in post processing.
- Aperture: If you chose to go with the 50mm f/1.8 prime lens, shooting wide open (at f/1.8) will provide a beautiful blurred background, allowing you to place all of the focus on the food. Generally, anything wider than f/4 will suffice.
- Shutter Speed: Since you’ll be shooting on a tripod, shutter speed isn’t much of an issue. Once you have your aperture and ISO set, simply use your light meter to determine the best shutter speed.
- ISO: The higher the ISO, the more grain. While an extremely cloudy day may require a higher ISO, try shooting with your lens wide open at the lowest ISO you can muster.
Taking the Photographs
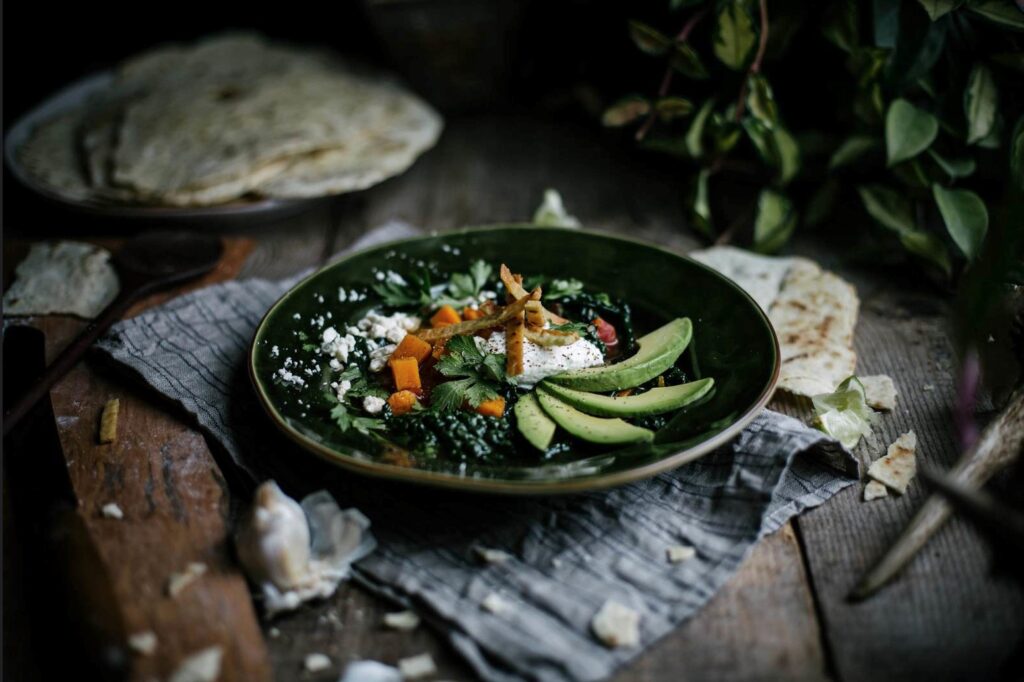
1. Try to shoot in natural light whenever possible. When choosing a location, choose one where the light source is either in front of or on the side of your setup. This will light the food beautifully, evenly, and provide natural shadows that make the photograph more interesting. Direct sunlight may cause too many harsh highlights and shadows, so it’s best to shoot on an overcast day or find a shady area.
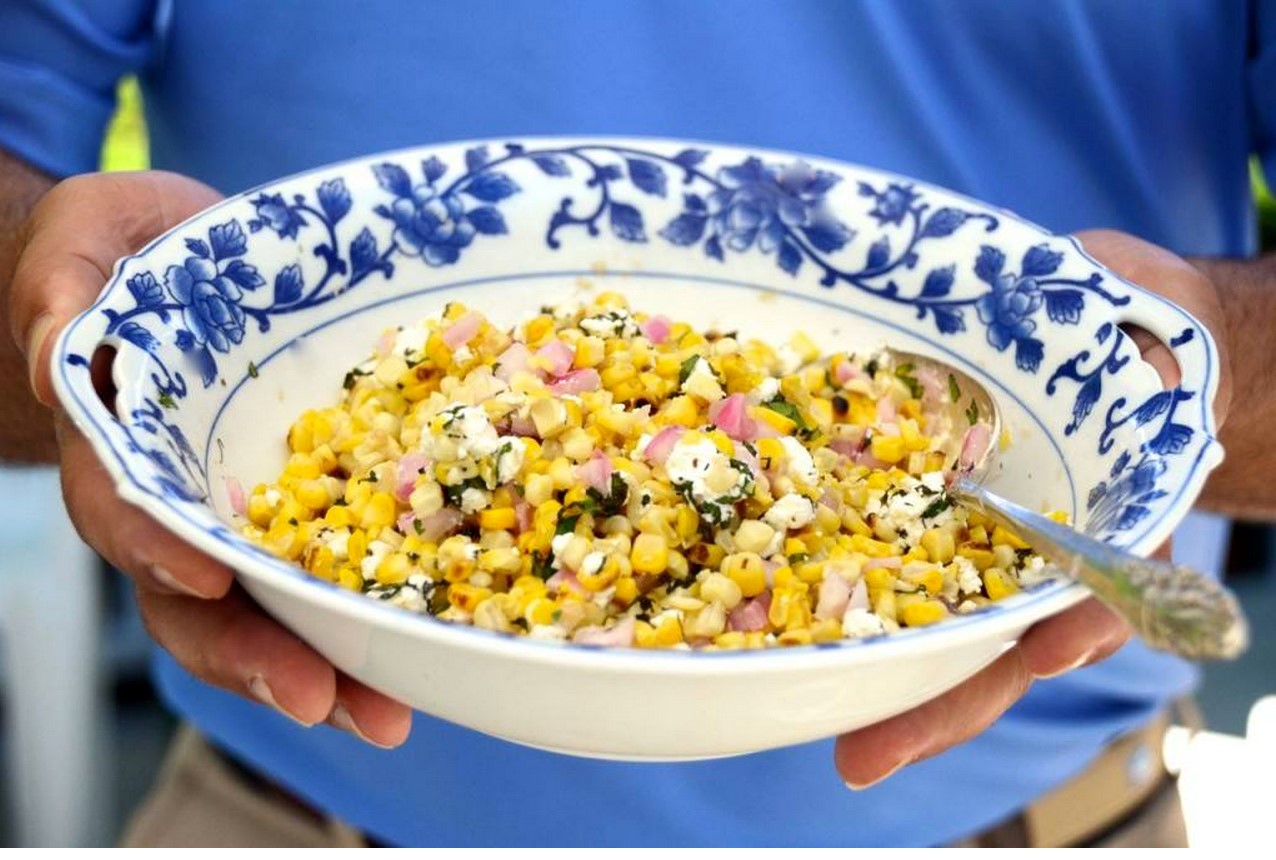
2. Always choose relevant props. There’s no need to go out and spend hundreds of dollars on tableware when you can head to your local thrift store and find tons of cheap and beautiful props. If you’re photographing an Indian dish, choose Indian inspired tableware. If you’re photographing food with a lot of color and texture, try to choose tableware that doesn’t distract from the dish.
3. Don’t use on-camera flash!!! It will blow out the photograph and cause the food to look flat and unappetizing. If you need to add in some off-camera flash to supplement the natural light, make sure you filter it through a soft box to make it look more natural.
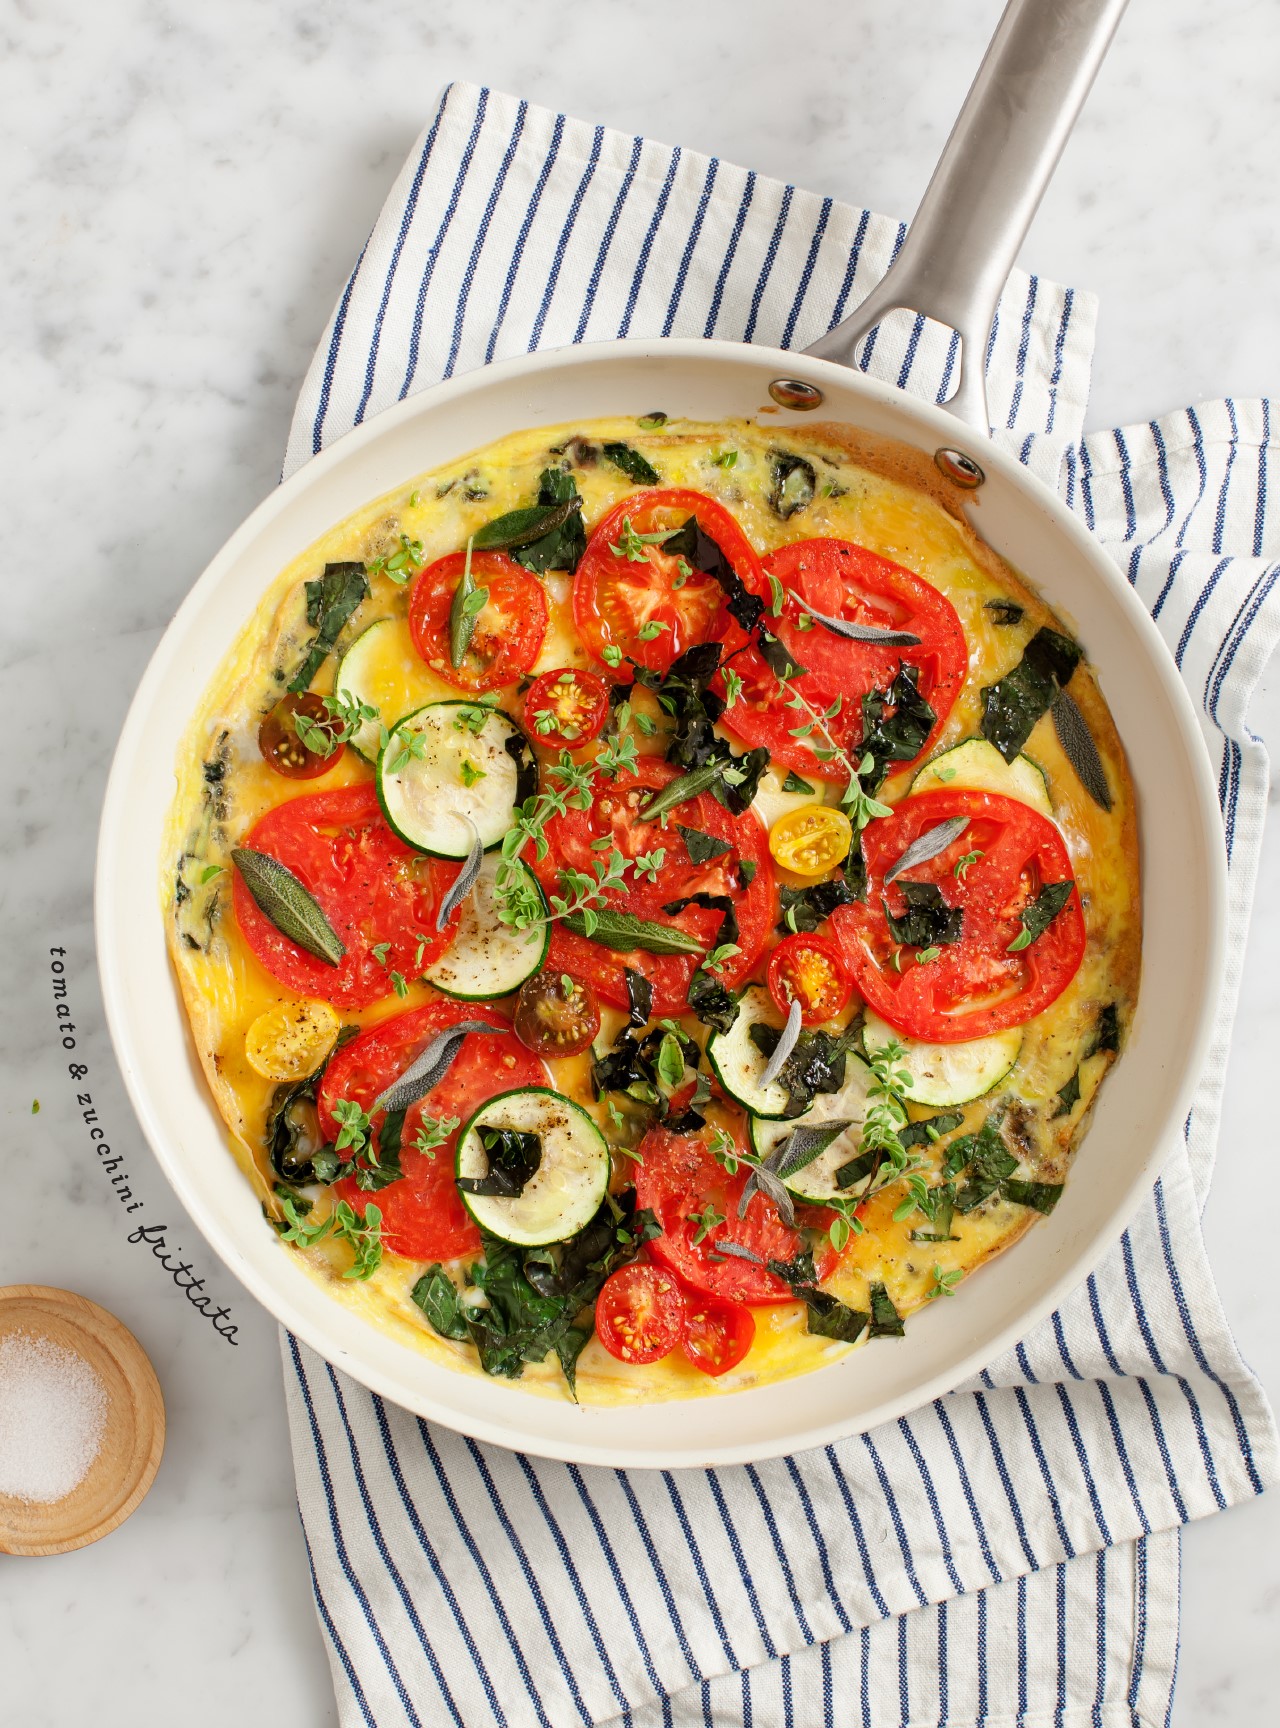
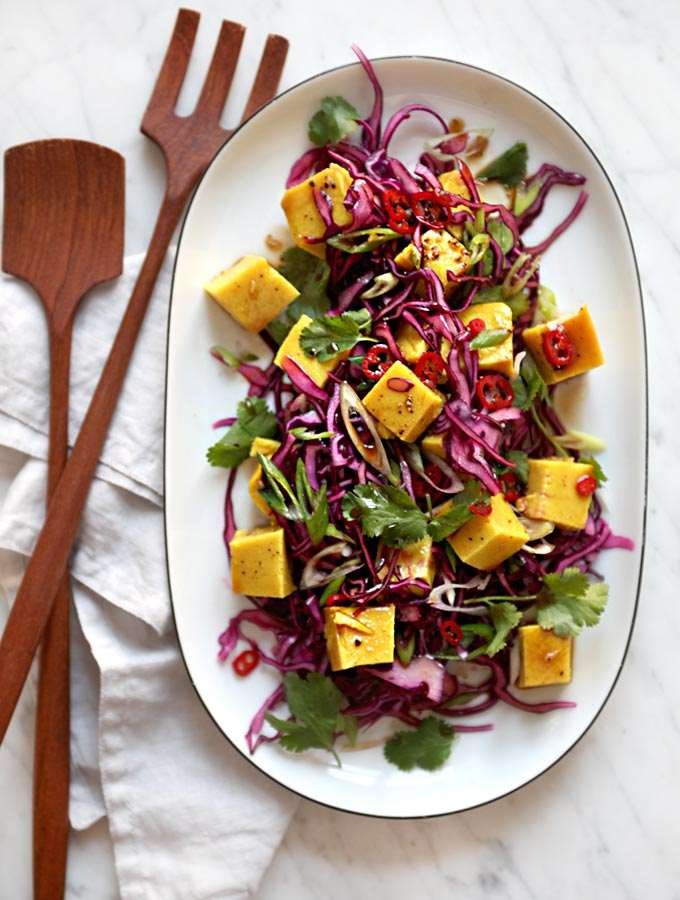
4. Shoot from different angles. Some food looks best when photographed symmetrically from above, and some looks best when you’re shooting from a lower angle and focusing on one main part of the dish. What may seem like the best composition may not seem as great once viewed on your computer screen, so it’s nice to have options to choose from in the end.
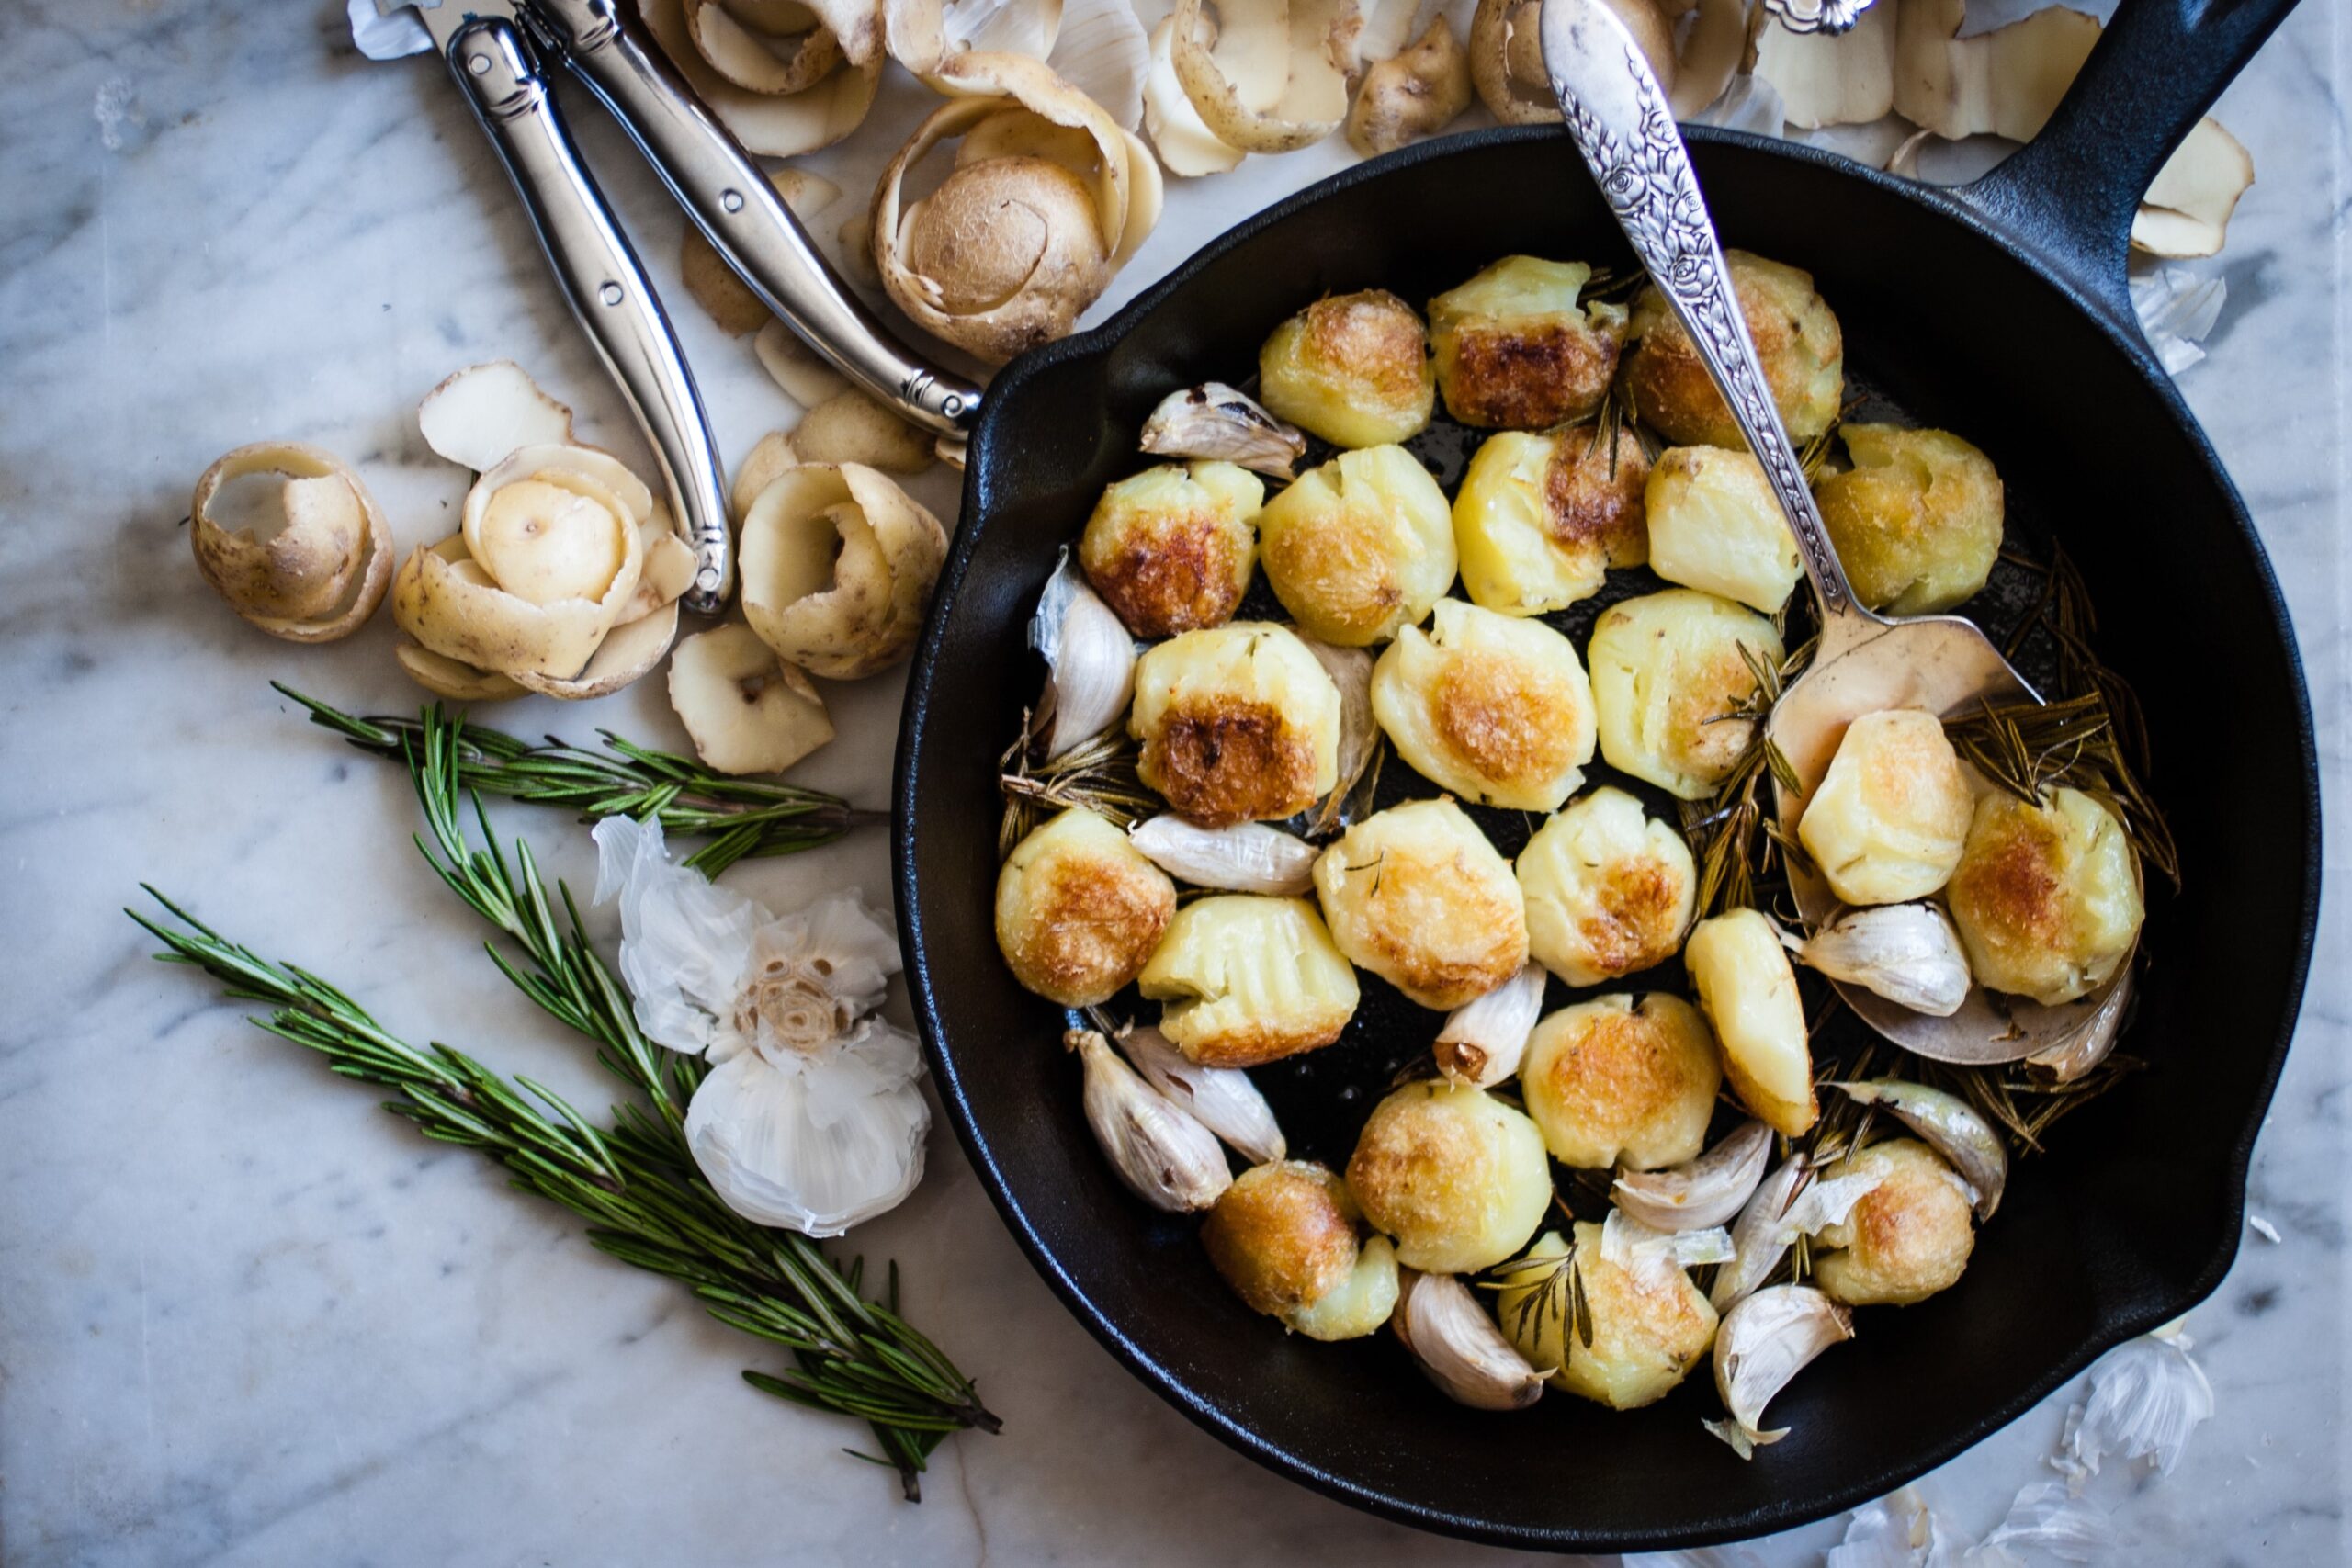
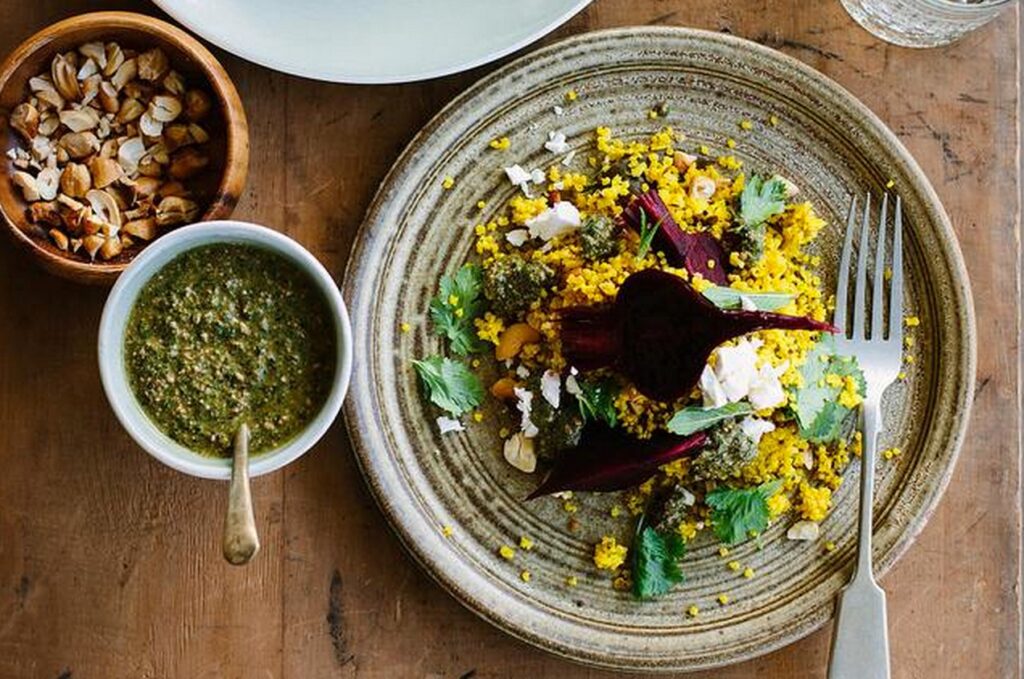
5. Consider your entire frame. While shooting a beautiful sandwich on a plain white background may work in some cases, people like to see that the food was created in a real home with real forks, plates, and condiments. Many popular food blogs take inspiration from antiques; shooting on a beautiful old wooden table covered with natural looking tableware is a great way to create a homey feel. Many successful food photographers also include some of the ingredients found in the dish.
6. Use complimentary colors. Brown food pairs especially well with dark purple and maroon hues, while a pop of green basil atop a ripe red tomato is a perfect combination of colors. Make sure that none of your props distract from or clash with the food you’re presenting.
One of the most important things to remember is to have fun!! Don’t be afraid to play around with your lighting, styling and garnishes. The more you practice, the better you’ll get. We hope this article on food photography helps in your quest to take stunning photos of food. Happy shooting!
