
Silhouettes can either be especially captivating or especially dull. When done right, they can tell a beautiful story with an air of mystery. And when done wrong, what could have been a beautiful silhouette turns into a questionable big black mass. While many photographers have created many beautiful images of silhouettes, others are unsure of where to start. The best kinds of silhouettes are simple and tell a story. By keeping these two pointers in mind when choosing your subjects, you’ll soon be creating beautiful silhouettes of your own!
Location
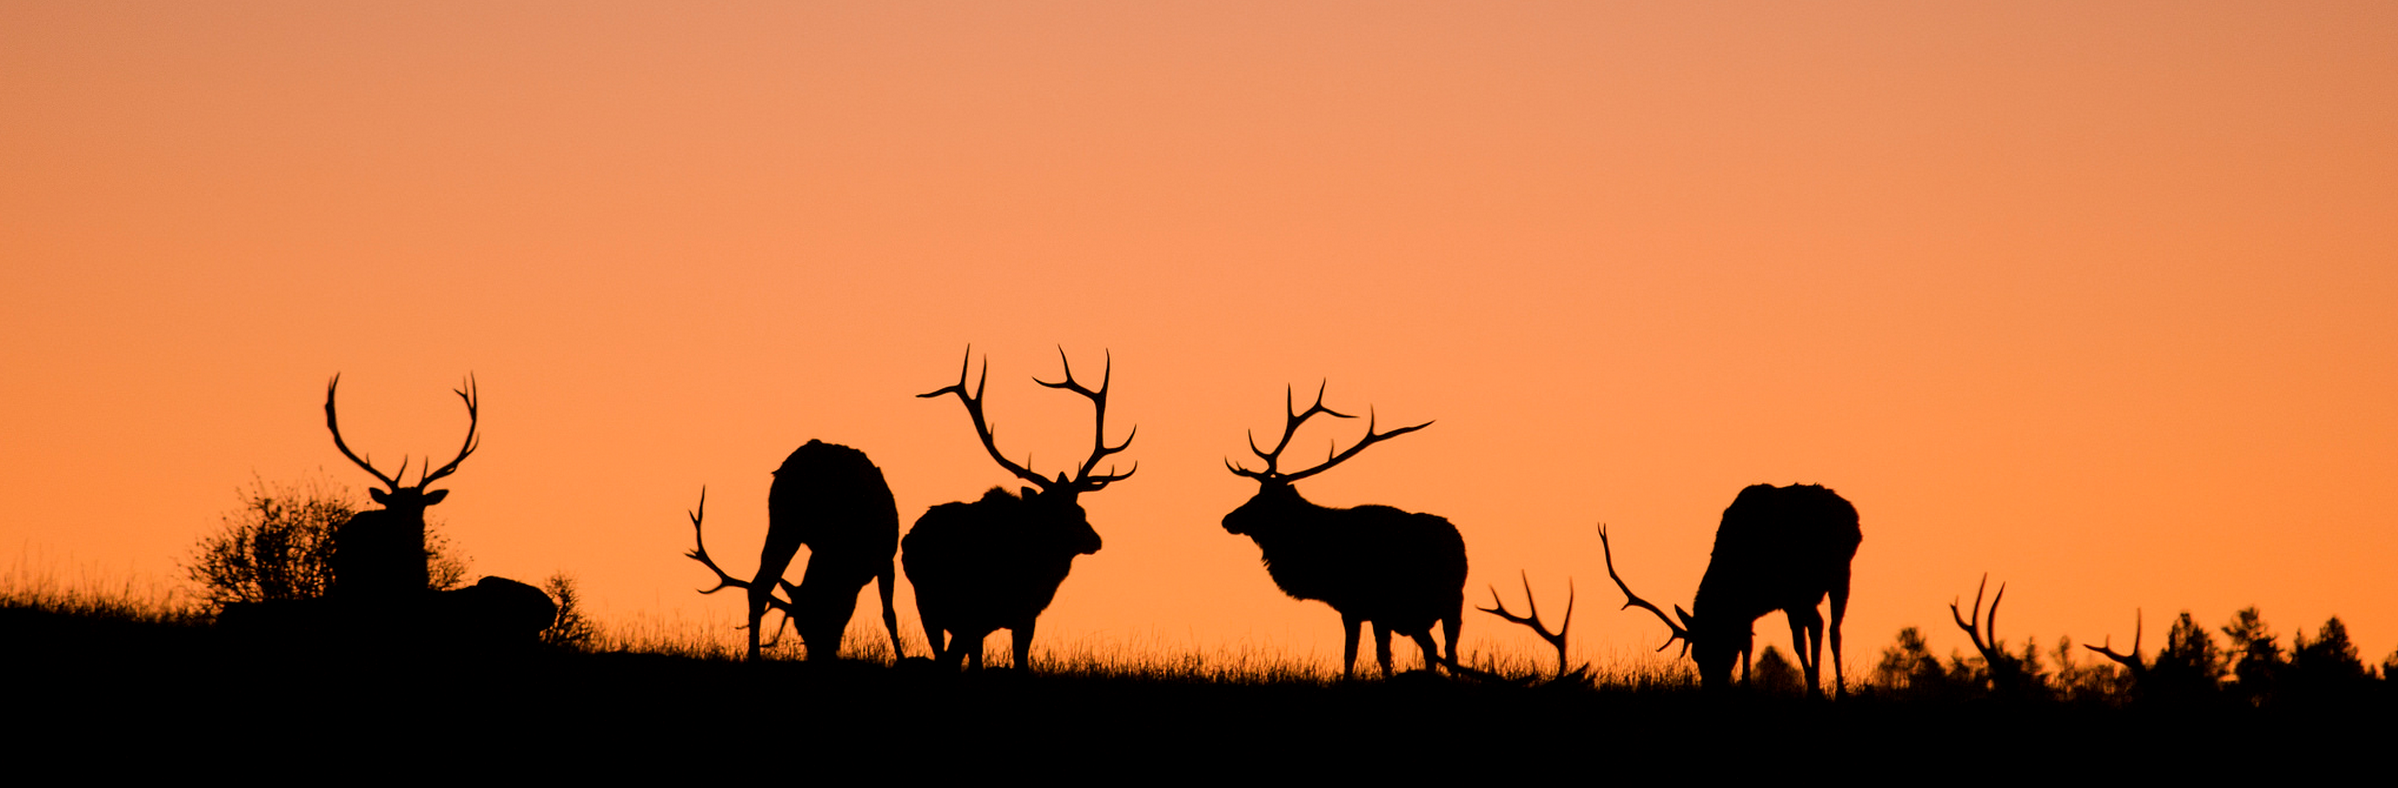
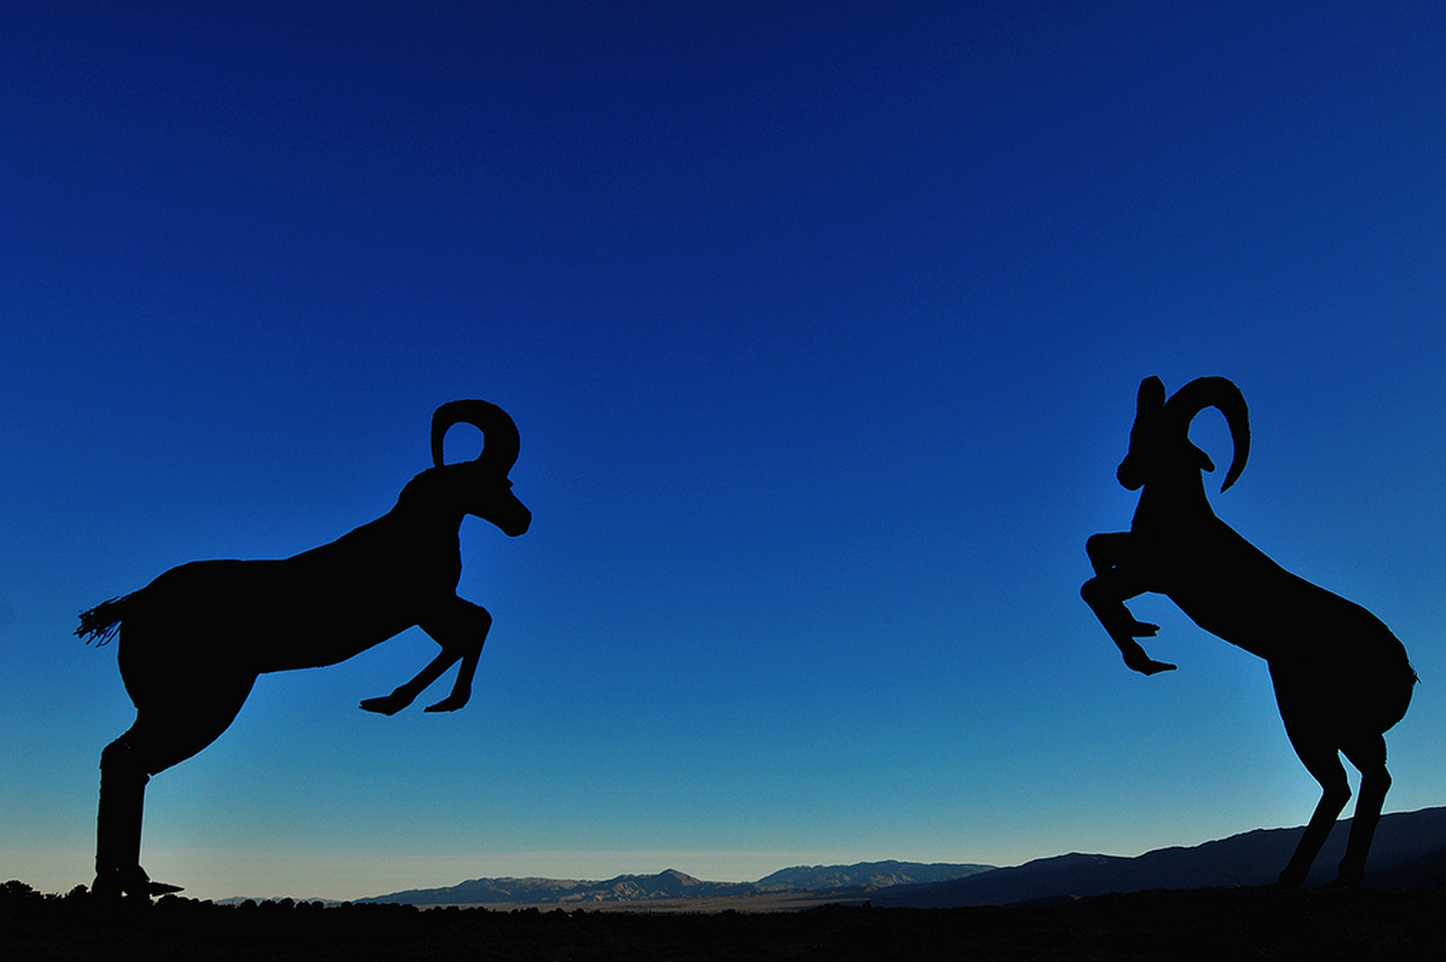
Your location is just as important as your subject. In order to create a silhouette, there needs to be separation between foreground (your subject), and background (your location). The background needs to provide a source of light, and you’re going to need to be shooting into that light. The source of light could be as simple as the sun. Remember: the sun doesn’t necessarily have to be in the composition. The most important thing to remember is that the background needs to be brighter than your subject.
Position
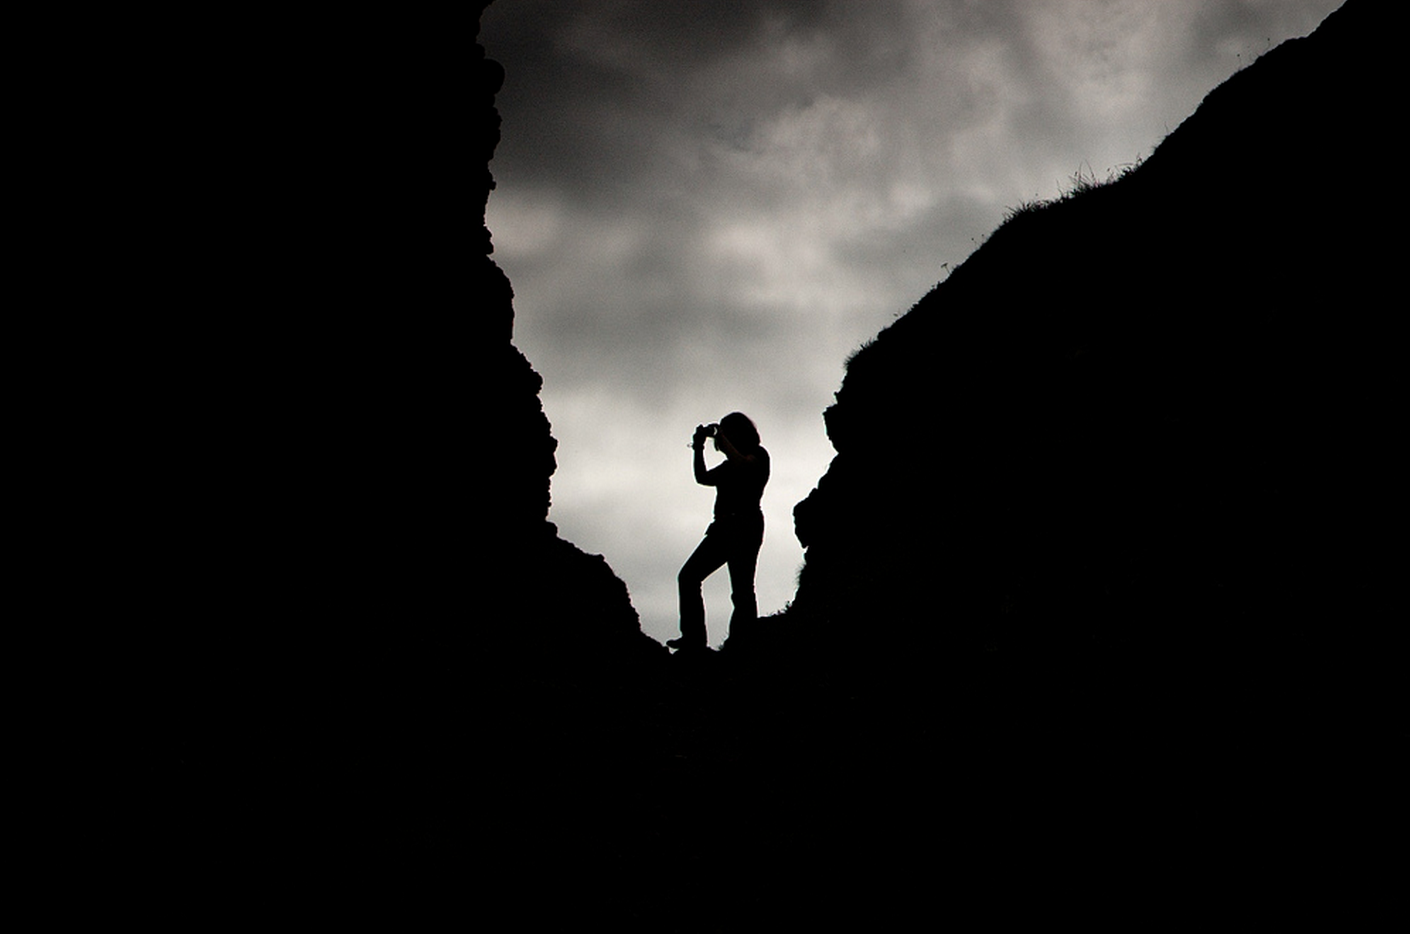
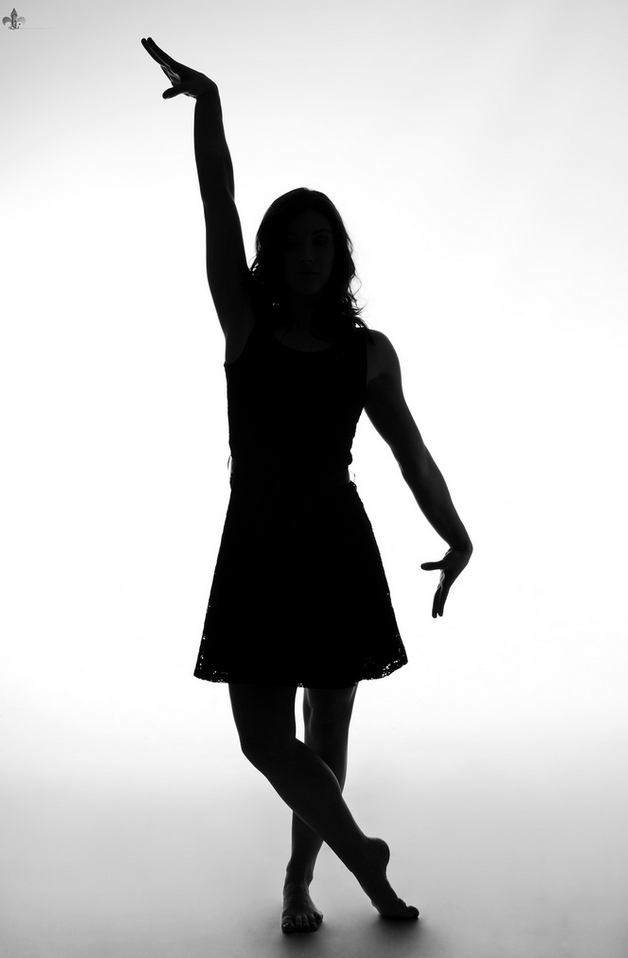
Simply placing your subject in front of a bright background won’t give you a good silhouette. You need to think about the way in which your subject is standing, sitting, or moving. The key point of a silhouette is that it lacks any defining features, other than a simple outline of the subject. Because of this, it’s important that viewers can tell what the subject is without needing to see detail or color.
Think about it this way: if you were to photograph a couple hugging, heads and bodies pressed up against each other, the resulting image would be one big black mass without any defining shapes. When positioning couples, it’s important that there are some spaces between the heads, arms, torsos, and legs, so that you can see the shape of each individual person.
Lighting
Sunset and sunrise are the two most popular times to shoot silhouettes. The beautiful colors in the sky add excitement to a dark silhouette, and having the sun so close to the horizon makes it simpler to create silhouettes. If you try to shoot this type of image in the middle of a bright, sunny day, you’ll likely pick up on too many defining features of your subject.
Exposing Your Image

In order to expose a silhouetted image, you’ll need to expose for the background, not your subject. Because your background will be lighter than your subject, it will underexpose your subject – turning them into a silhouette. The actual exposure settings will vary widely depending on your lighting and location, so you’ll need to use a light meter to determine the correct aperture and shutter speed. As always, you should use a low ISO (around 100 or 200) to reduce the amount of noise in your final photograph.
If you can adjust the type of metering your camera uses to determine the correct exposure, spot metering will be the easiest. This way, you can make sure that your camera is determining the best exposure for the background and not any other part of your image.
Even though you’ll be exposing for the background, you’ll want to make sure that you focus on your subject. Once you have your subject in focus, turn your focus ring to manual!
Photographing Silhouettes Outdoors
Most silhouette photographs are taken outdoors, since the world provides beautiful colors which are a great contrast to the deep blacks of silhouettes.
When photographing outside, be aware of your white balance. While ‘auto’ will usually work in most situations, you can adjust your white balance to get different tones in your photographs. If you shoot on ‘tungsten’ white balance, your photographs will have cooler tones. If you shoot on ‘shadow’ white balance, your photographs will have warmer tones.
What if parts of your subjects are blending into the background? No worries! By setting up an off-camera flash behind your subject, you can bring back parts of your subject that would be lost otherwise. Just make sure that the flash is pointing directly at the camera, otherwise it won’t be effective.
Photographing Silhouettes Indoors
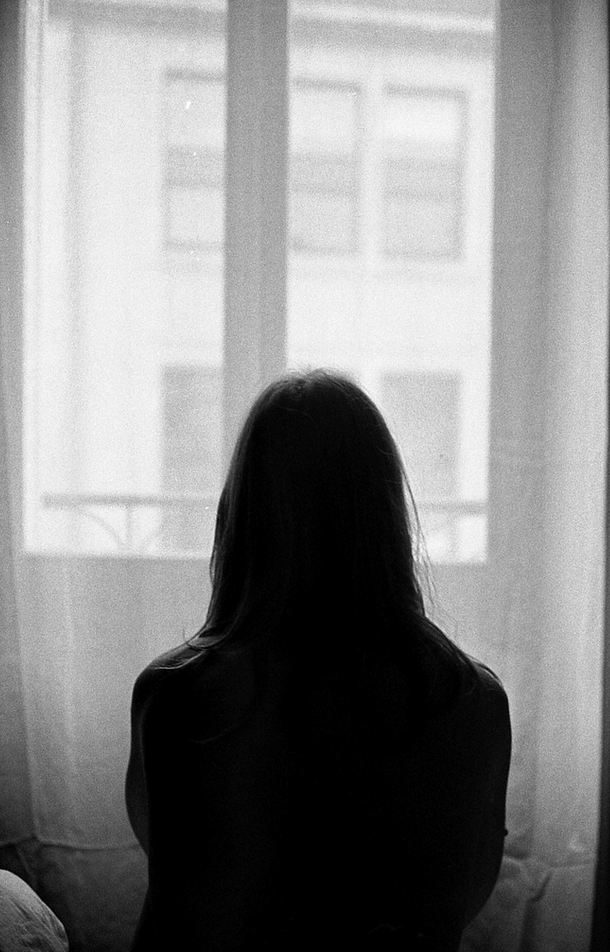
If the weather isn’t working out for an outdoor silhouette, have no fear. By placing a subject right in front of a window, the window provides the perfect back-lighting for a still life or portrait. Doorways with a bright light in the background can also work. Even though you’re indoors, you’ll continue to exposure for the background rather than the subject.
Studio Silhouettes
All you need are a couple of different studio lights and a subject to create silhouettes in a studio setting! Think about what you want your background to look like. By using two different light sources pointed directly at a large white backdrop (one from either side), you can create a clean white background. If you only use one light source pointed at the wall, the background will end up being more of a gradient.
Alternately, a large soft box itself can be a wonderful background for a smaller subject.
If you’re photographing people, keep these tips in mind:
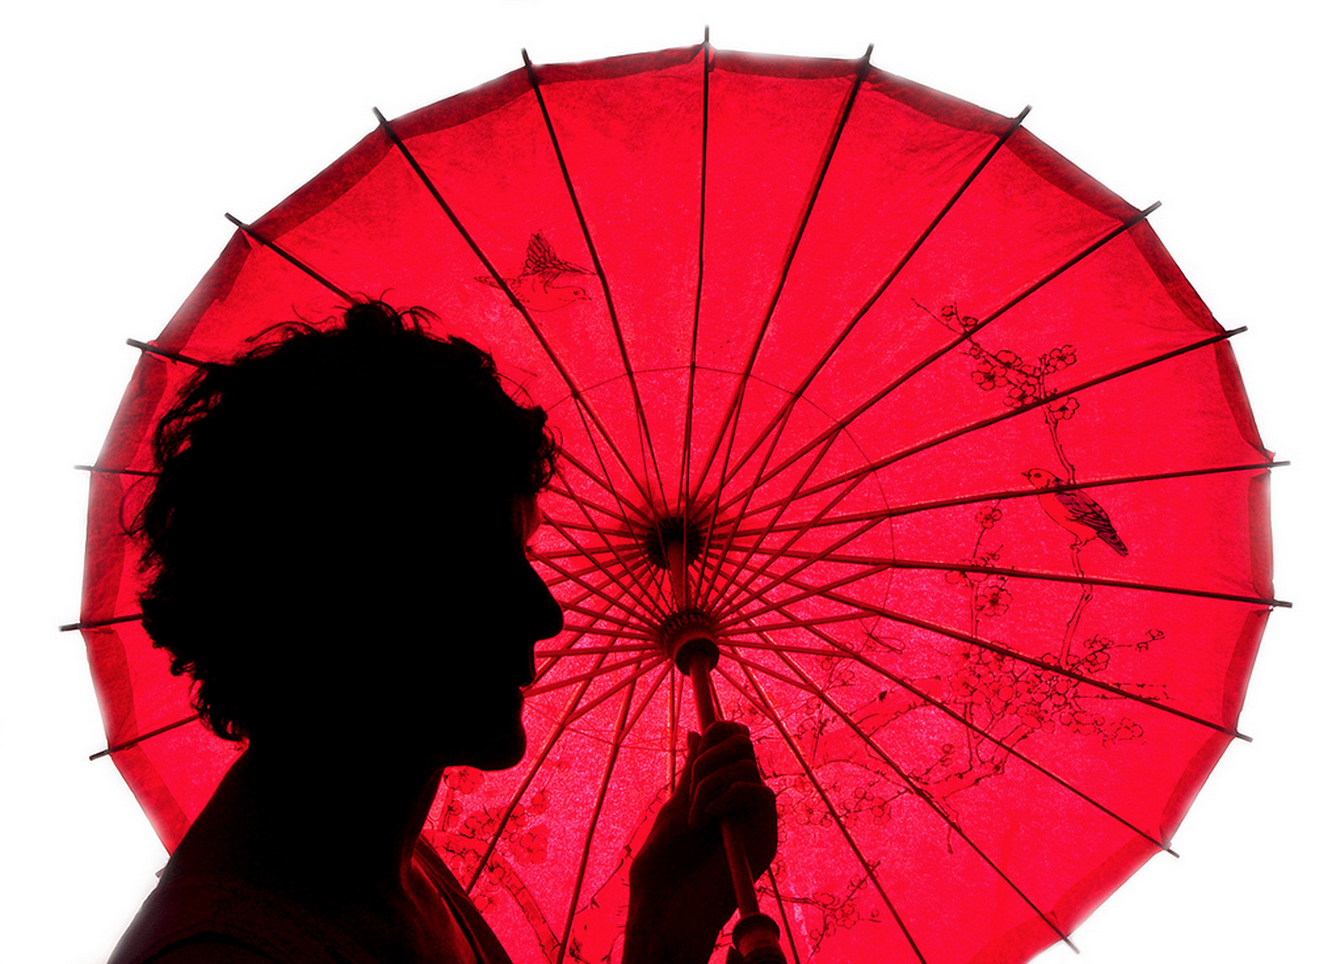
- Profiles tend to be more dynamic than photographing your subject from the front.
- Your subject should be wearing dark, fitted clothing.
- Provide context or create a story by adding props.
- If your silhouettes have too much detail, no worries! Bump up the blacks in post-processing to get rid of any telltale signs.
When walking around outdoors, start to consider the shape of everything you see. Think about what shapes work well together, what shapes don’t, and what subjects tend to create the most dynamic compositions. Before too long, you’ll be taking professional, captivating silhouette images yourself!
[su_note]Learn more about photographing silhouettes and other advanced photographic techniques by signing up to one of the New York Film Academy’s photography workshops today.[/su_note]
