Infrared photography was initially created for government surveillance use, but it’s only a matter of time before all types of photography are used creatively (as we saw with high-speed photography). While infrared film has since been discontinued – if you’re lucky you may be able to find a roll for $50+ – you can easily recreate the look of infrared photographs in a post processing program such as Adobe Photoshop.
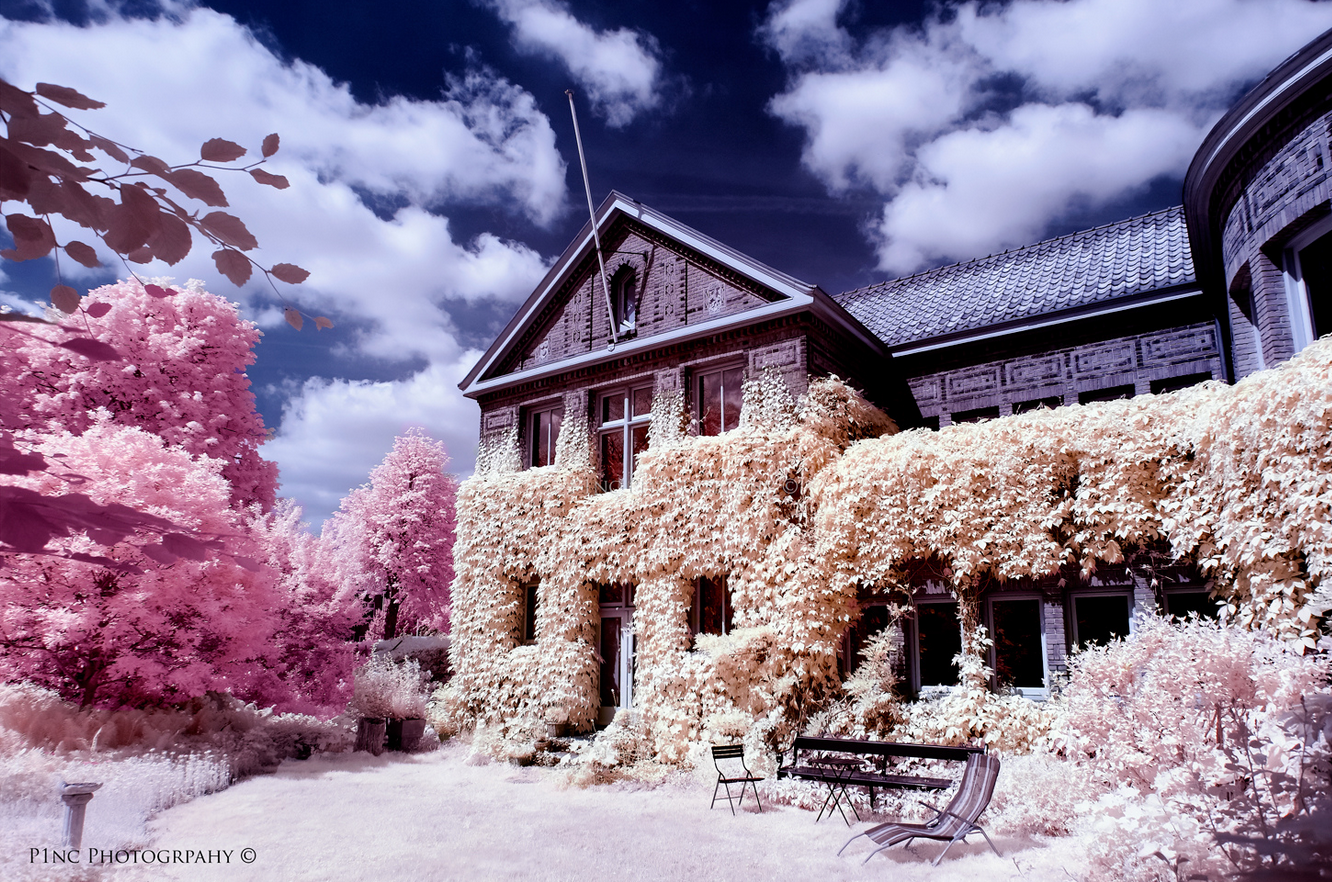
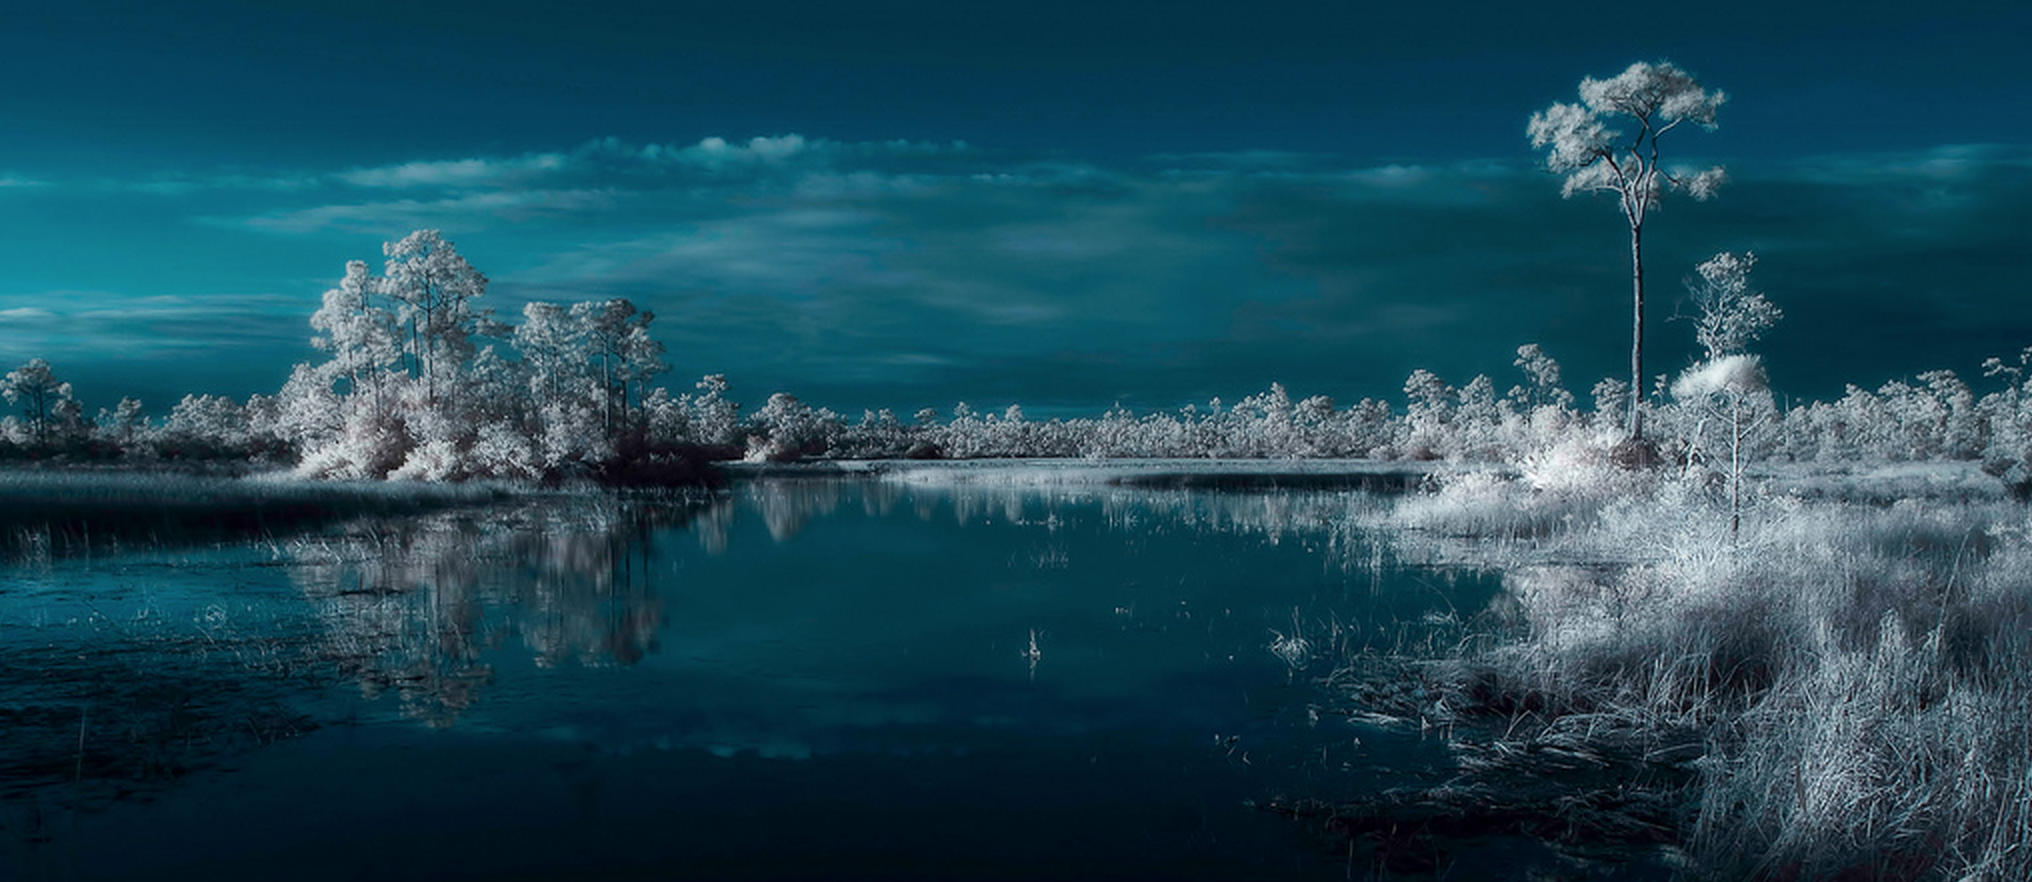
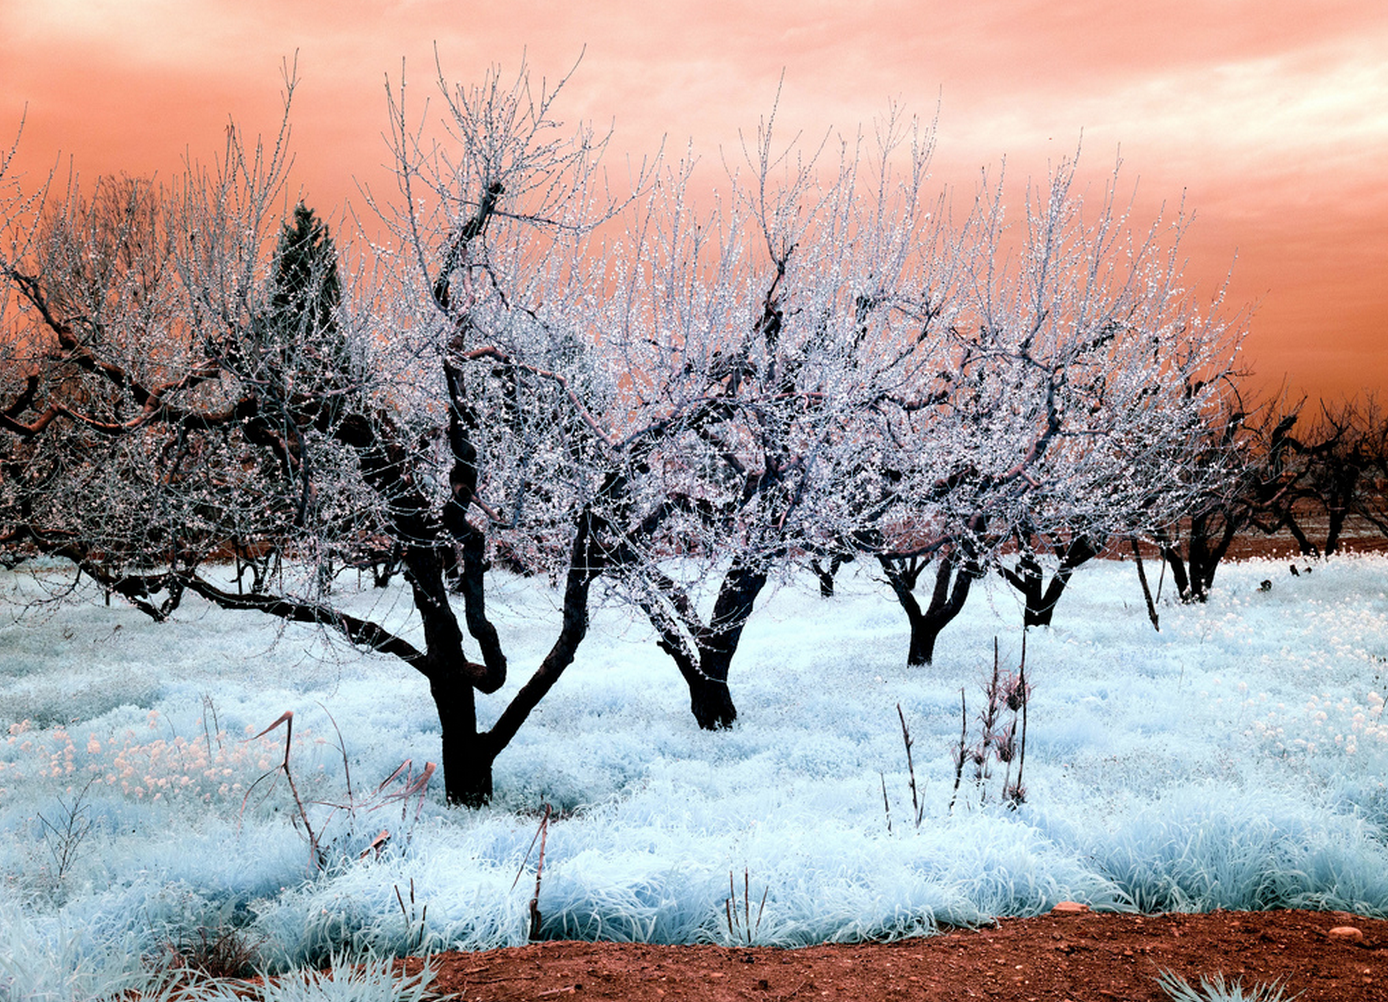
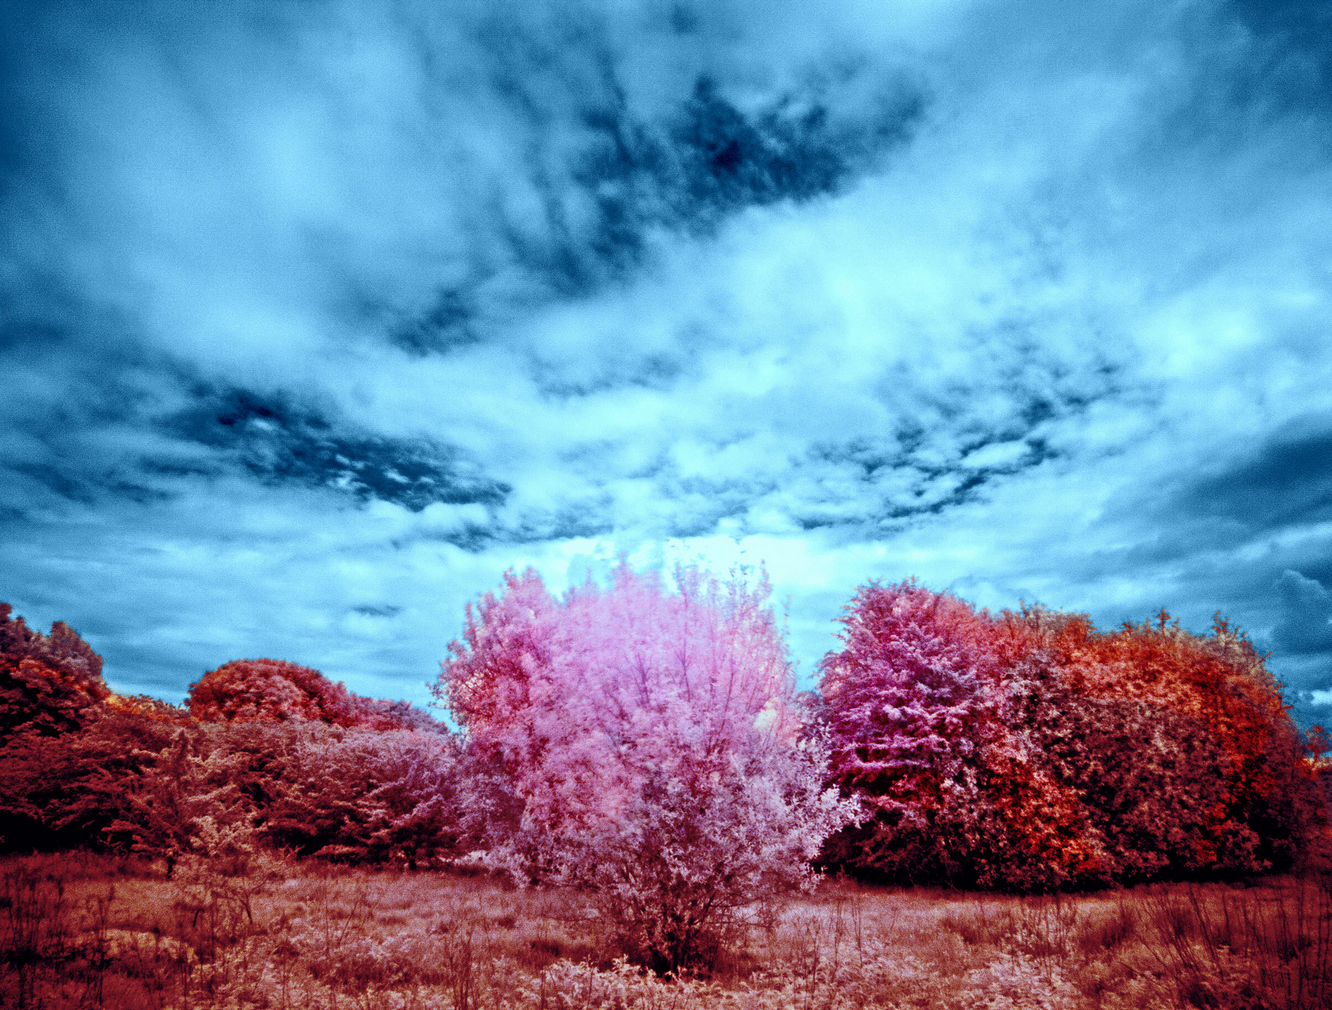
Infrared photography turns traditional landscapes into eerie, otherworldly landscapes filled with bright, bubblegum colors and accentuated skies. Essentially, infrared photography transforms the green tones into strange tones of red, pink, pale pink, or white – depending on the type of film used or the particular way the photograph is post-processed. Why do all of the greens change color, though? This type of photography is supposed to capture a spectrum of light that cannot be seen by, the human eye, hence all of the strange tones. Infrared radiate has a longer wavelength than visible light, and using infrared photography allows people to photograph through haze and fog better than other types of photography (which is why it was originally used for surveillance purposes)!
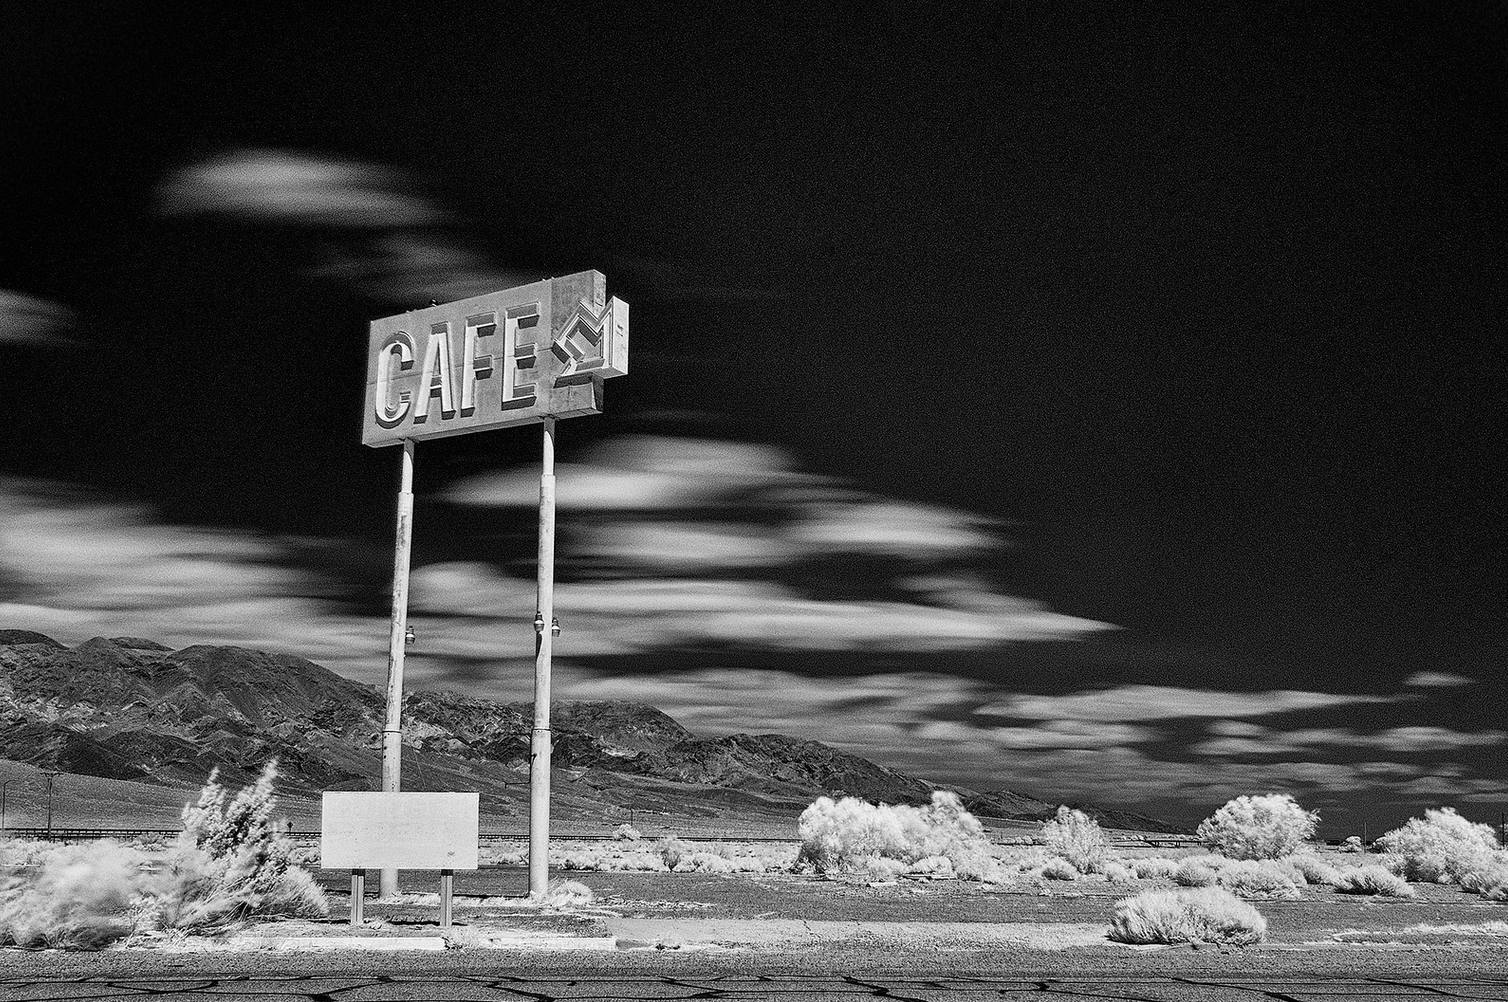
If you are interested in playing around with infrared film, the black and white version can be found for cheaper than the color. Using black and white infrared film will allow you to create clear photographs even on the foggiest of days.
While not the easiest type of photography to reproduce, there is a trick to creating these strange otherworldly landscapes right from the comfort of your own computer.
Equipment Needed
A DSLR
A tripod
An infrared filter
Adobe Photoshop
The Filter
Unfortunately, not everything can be reproduced easily in Photoshop, and you’ll need a special filter to begin the process. Luckily, this filter is inexpensive and easy to find in any specialized camera store. Prices range from $10-$100+, so be sure to do some research on the particular filter you’re interested in before making your purchase.
Choosing a Subject

Landscapes are the most common subjects for infrared photography, since they typically involve a lot of green tones. Bright blue skies commonly become deep blue or black, while the green tones will usually become a pale shade of pink. Because infrared photography requires the use of a long shutter speed, photographing living subjects such as humans or animals can be difficult.
Taking the Photographs
The tricky thing about infrared photographs is that once you attach the filter, you won’t be able to see anything out of your viewfinder. This is because infrared filters are designed to block all visible light. Because of this, you’ll need to compose and focus your shot before you attach the filter.
- Set up your tripod on a stable surface in front of your subject, then attach your camera to the tripod. Set up your composition the way that you’d like. As for focusing the image, set your focus ring to automatic – you’ll focus after you attach your filter.
- Your aperture should be set to around f/16, to ensure that the entire scene remains in focus. Your ISO should be set to 100 or 200, to reduce the amount of noise in the final photograph. Your shutter speed will range from 1-30 seconds depending on your subject, so you’ll need to shoot a couple of test shots with the filter on to determine the proper length of time.
- Shoot in RAW format! This will make post-processing much, much easier.
- Once you have all of your initial settings in place, attach the filter, auto-focus the image, and take your photograph. Once you have determined the proper shutter speed, take as many photographs of your subject (or subjects) as you’d like.
Post-Processing Color
This is the fun part. Depending on the type of filter used, your resulting image will be almost completely magenta/purple/red-tinted. Don’t get discouraged! This is supposed to happen. These tones are known as “false colors”, which will quickly get changed in Photoshop.
- Open your image in Adobe Photoshop. Using a version of Photoshop CS, open your image. Create a new adjustment layer, then select Channel Mixer. You essentially want to swap the red and blue channels. To do so, select the red channel and drag the red to 0% and the blue to 100%. Now select the blue channel, and drag the blue to 0% and the red to 100%.
- You can either leave the photograph as-is or continue to make changes to the contrast, saturation, or vibrancy of the image. The subtle color can become bright and vibrant with just a few clicks of your mouse.
- By going into each individual channel (red, green blue), you can increase the amount of each color in the final product as well.
- Do you want plenty of blue in the image, yet don’t want the pinks to be overly-saturated? Go to Image —> Hue —> Saturation, select Red, and drag down the saturation bar until the reds are a pale pink.
Post-Processing Black and White
- Open up your original, unprocessed image in Adobe Photoshop CS.
- Take a look at your Layers palette, and switch it over to Channels. Select which channel you want to use to convert your image, you can play around with each of them before deciding.
- Click on the channel you want to use, and then choose Image —> Mode —> Grayscale. Your image may be too flat for your liking.
- Use Levels or Curves to adjust the contrast of your image until everything is to your liking. Burning and dodging certain areas of your image will further intensify the final product.
While creating infrared images may not be the easiest photographic trick, the results are spectacular once you perfect the techniques. Infrared photography opens up a whole new world of eerie, other-worldly landscapes that cannot be as easily replicated through traditional photography. At NYFA, our evening photography workshop teaches these skills outside of your normal work hours so you can continue to grow as a professional.
