
High-speed photography may not be for everyone – since it requires a certain amount of specialized equipment – yet for photographers who are looking for a way to spruce up their portfolio, this may be the answer.
High-speed photography continues to amaze the public, largely due to the fact that it can capture moments that even the human eye cannot see. The exact moment a balloon is popped, the moment a glass is shattered, the moment a paint ball explodes; these are only a few of the infinite amount of possibilities high-speed photography offers.
This type of photography used to only be available for scientists and those who were using it to conduct research, yet in the recent years this type of photography has become more widely available to the average photographer. While specialized equipment is still required, it is not as expensive as it once was.
Equipment Needed
- A DSLR camera
- A tripod
- A wireless external flash (at least one)
- A sound trigger (more on this later)
- A black backdrop – this could be a sheet, a piece of cardboard, or anything else you can find that won’t reflect any light
- A subject (this could be a balloon full of paint or a glass full of liquid)
- Something to cause a reaction (such as a needle to pop the balloon, a toy gun to shoot the glass full of liquid, etc)
- Optional: colored gels
Setting Up Your Composition
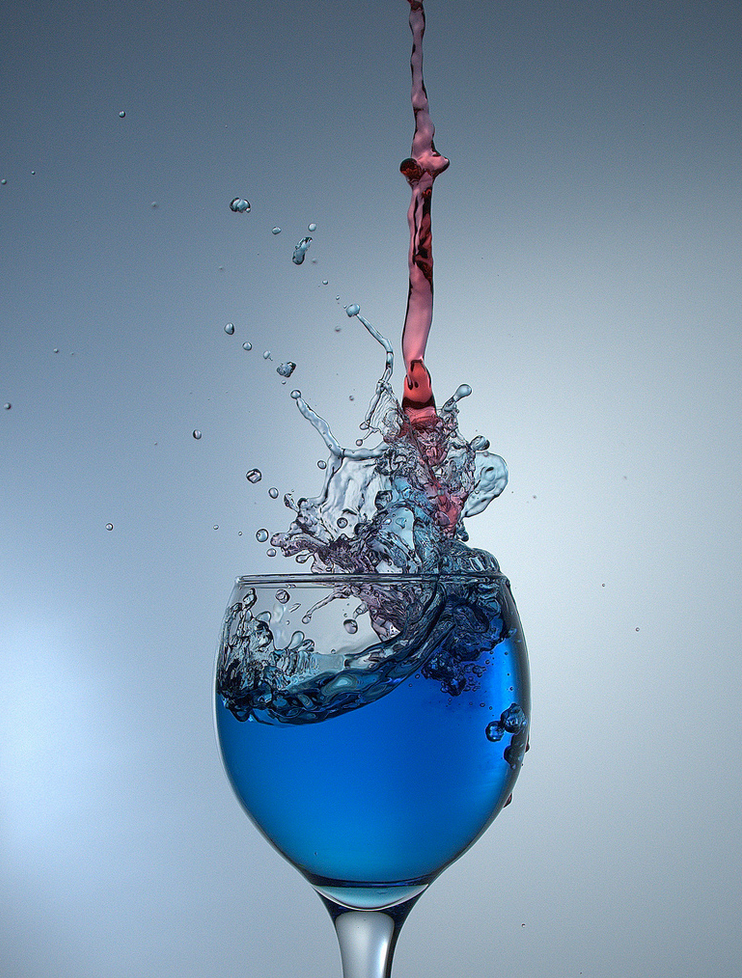
Let’s say you want to photograph a glass full of wine breaking. You’ll want to set up your backdrop so that there is nothing else around it. It’s important to make sure your backdrop is large enough that it will fill the entire frame.
*Important*: You must shoot in a completely dark area (such as a room without any windows) or at night. It’s extremely important to make sure that you have no extra light leaking into your photograph.
Set up your wine glass on a table in front of your backdrop that is covered with a black cloth – you don’t want to be able to see the table in your final photograph. Set your camera up on a tripod in front of the table, and position the tripod and camera so that the wine glass fills up the middle of the frame (or wherever you’d like it to be in the final photograph).
Set up your external flash so that it is out of your viewfinder, and point it directly towards the side of your subject. If you choose to use multiple external flashes, set them up directly across from each other at either side of your subject. Set up your sound trigger close to the subject but out of your viewfinder. Specific ways of setting up the sound trigger vary depending on which model and brand you have, so you should refer to your manual for exact instructions.
What’s a sound trigger, you ask? This piece of photographic equipment is what makes it possible to capture high-speed photographs. A loud sound (such as a balloon popping or a gun firing) sets off the trigger, which tells your external flash to fire at that exact second.
*If you’re using damaging subjects (such as paint or wine), make sure you cover all floors and furniture before taking the photographs!
Camera Settings
Most cameras aren’t capable of syncing with an external flash at a shutter speed faster than 1/200. Luckily, high-speed photography doesn’t depend on how fast your shutter speed is, but rather how fast your flash is.
Your shutter speed should be set to around 2-3 seconds; long enough for you to open the shutter, cause the disturbance, and capture the result.
Your ISO should be set to 100 or 200 to ensure that the resulting photograph isn’t grainy, especially since a large part of it will be completely dark.
Your aperture should be set to around f/8. This will ensure that the entire scene remains in focus while still allowing enough light to hit the sensor. You can take a couple of test shots and adjust the aperture as necessary before beginning.
The power of your external flash should be set at the lowest setting to begin with. Again, take a couple of test shots before shooting the real thing and adjust the power of your flash as necessary.
In order to focus on your subject, turn on a flashlight and point it at the subject. Once the subject is lit, you can either manually or automatically focus on it. Once the focus has been set, make sure to turn your focus ring to manual so that it doesn’t try to re-focus mid-shot
Taking The Photographs
Once you have figured out the exact camera settings (remember to take test shots before photographing the actual breaking of the wine glass, balloon, or other subject!!), you’re ready to begin shooting.
Press the shutter button down, shoot the wine glass with a toy gun, and watch your flash go off as soon as the shot is fired! Check your viewfinder to see the results. You may need to try this several times before you get a shot that you are happy with, but that is half the fun.
Creative Alternatives
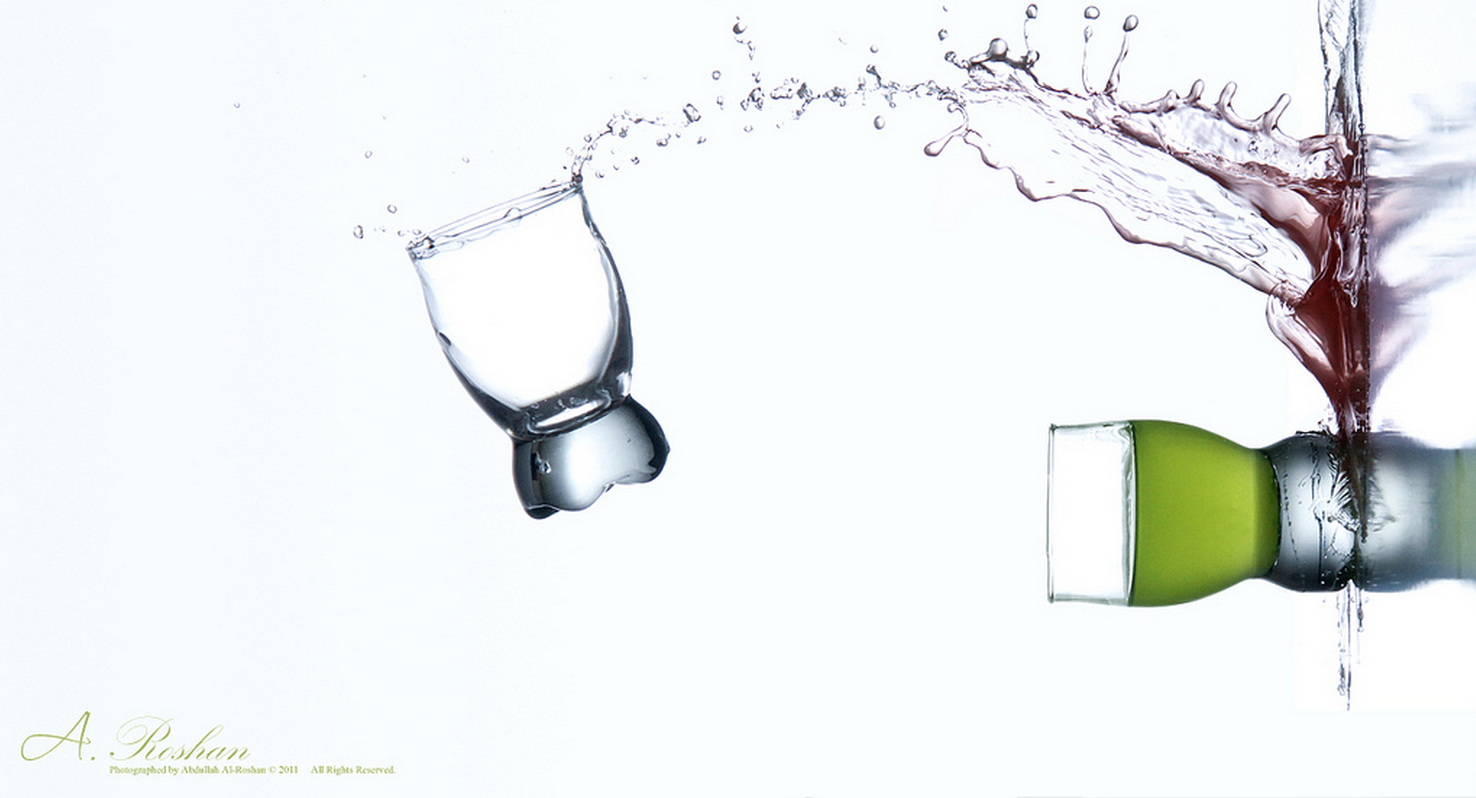
Once you have the basics down, you can branch off to more exciting alternatives. Let’s say you want to have a white background instead of black. No problem! Simply change all of your black materials to white. Since white tends to reflect more light than black, the power of your flash and your aperture setting may need to be adjusted accordingly. Additionally, depending on where your flashes are set up and how many you are using, you may get a background with a gradient instead of flat white.
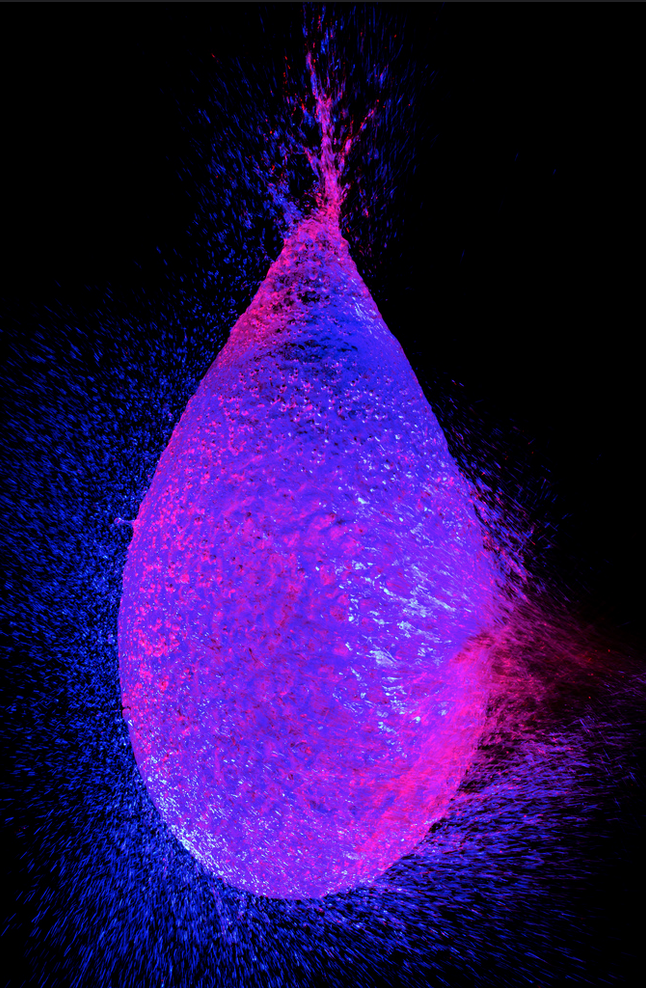
You can use the optional color gels over your external flashes to get some interesting colors in your final photographs. One flash with a colored gel will turn the entire photograph that color, while two flashes with different colored gels will create a beautiful gradient. Alternately, you could use a post-processing program to add a gradient to your photographs.
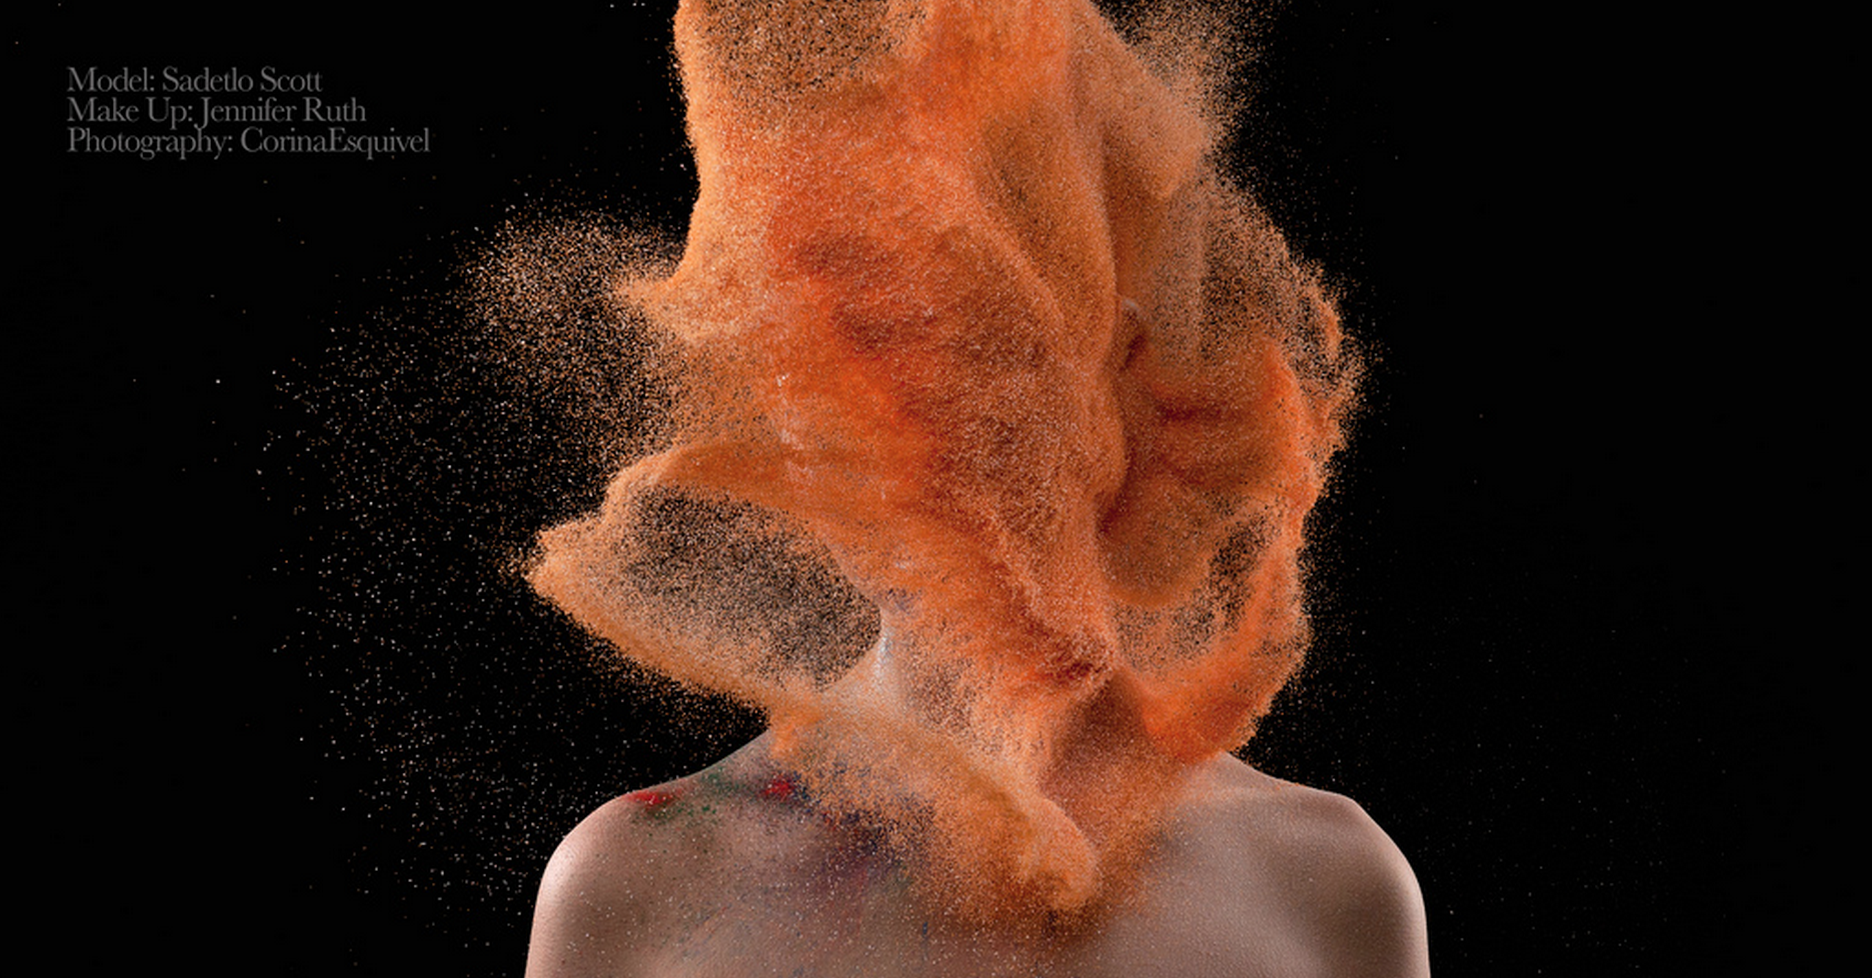
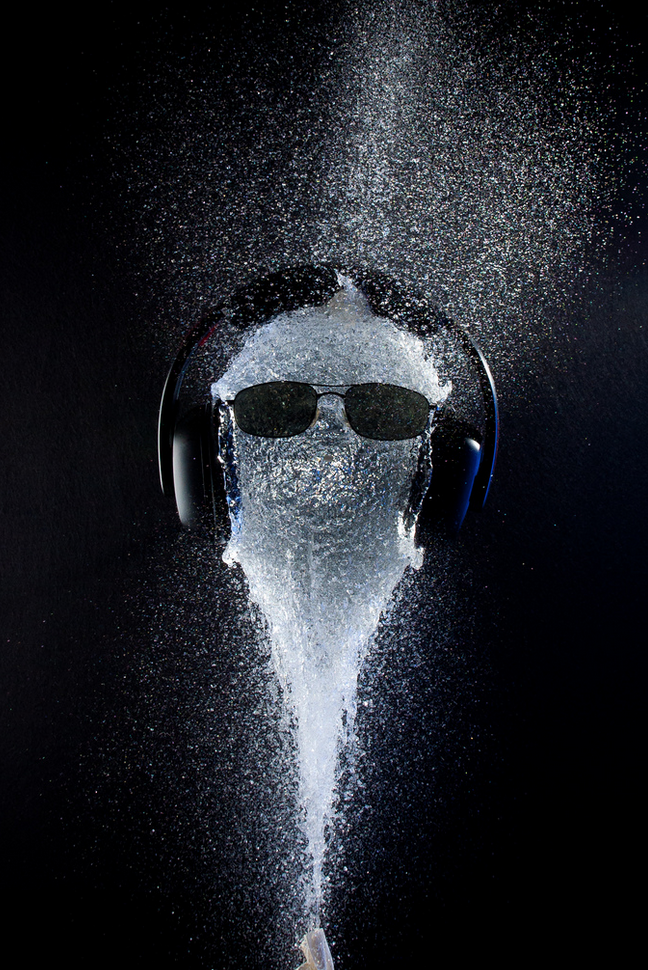
Fill your subjects with paint, use food coloring, or even use human subjects in your photographs! The possibilities are endless.
[su_note]Exploring the settings on your camera to capture high-speed photos can set your portfolio apart. To see all the ways our students build extensive photography portfolios, visit our Photography school today![/su_note]
