
Have you ever looked at an image that had such incredible background blur that you couldn’t stop thinking about how on earth the photographer could create an image so beautiful? Chances are you’ve come across photographers speaking about the ‘bokeh’ in a particular image, or what particular lens produces the most desirable ‘bokeh effect’. What is bokeh exactly?
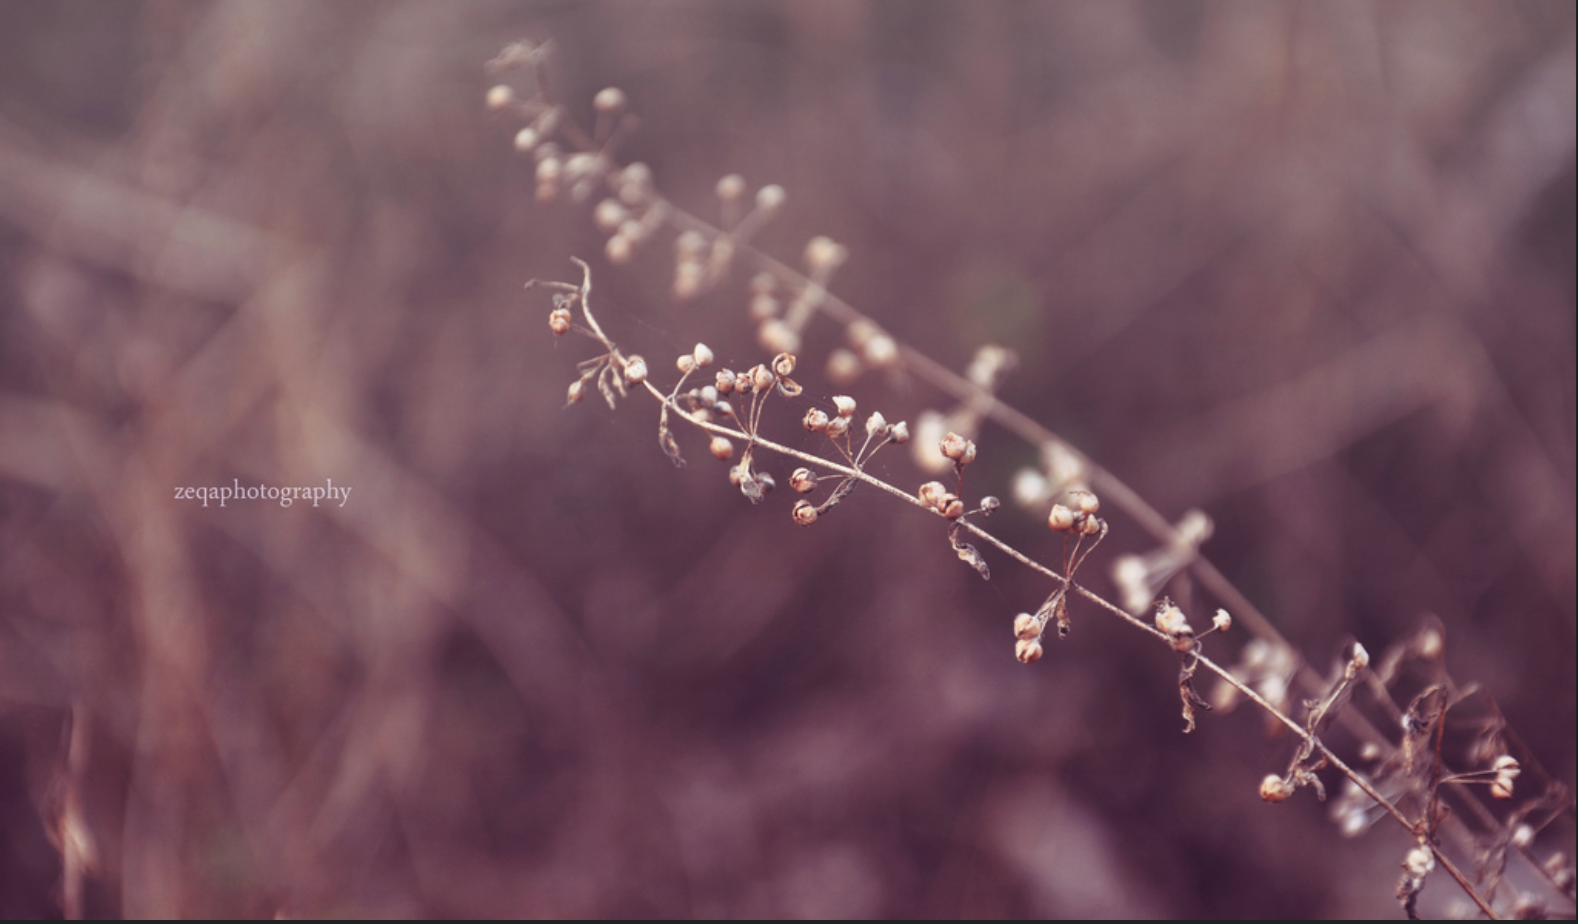
Bokeh is traditionally known as the aesthetically pleasing quality of the out-of-focus blurred part of an image. It originates from the Japanese word “boke” which translates to “haze” or “blur”. While bokeh itself is present in most photographs that have an area out-of-focus, it speaks directly about the size, shape and overall quality of that area.
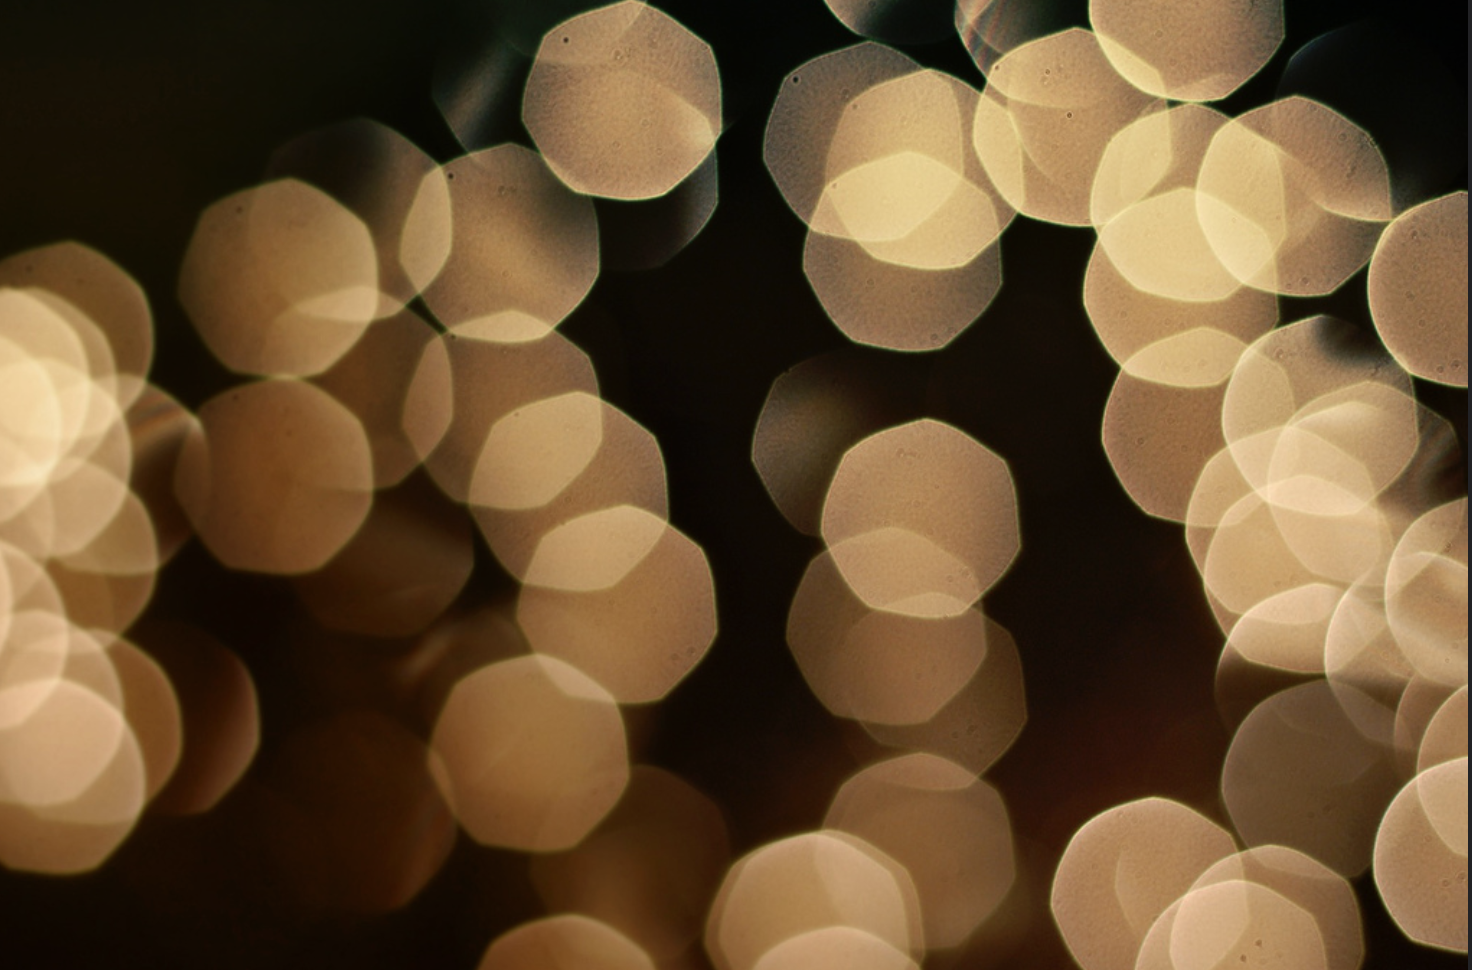
To make things a little clearer, take a look at the aperture blades on your lens. Some lenses have hexagonal blades, which in turn produce bokeh with sharper, more distinct edges. Other lenses have rounded aperture blades, which produce a smoother, rounder bokeh. The most popular type of bokeh (and one that you may already be familiar with) is when you see a background full of blurry, glowing orbs, such as in the photograph below.
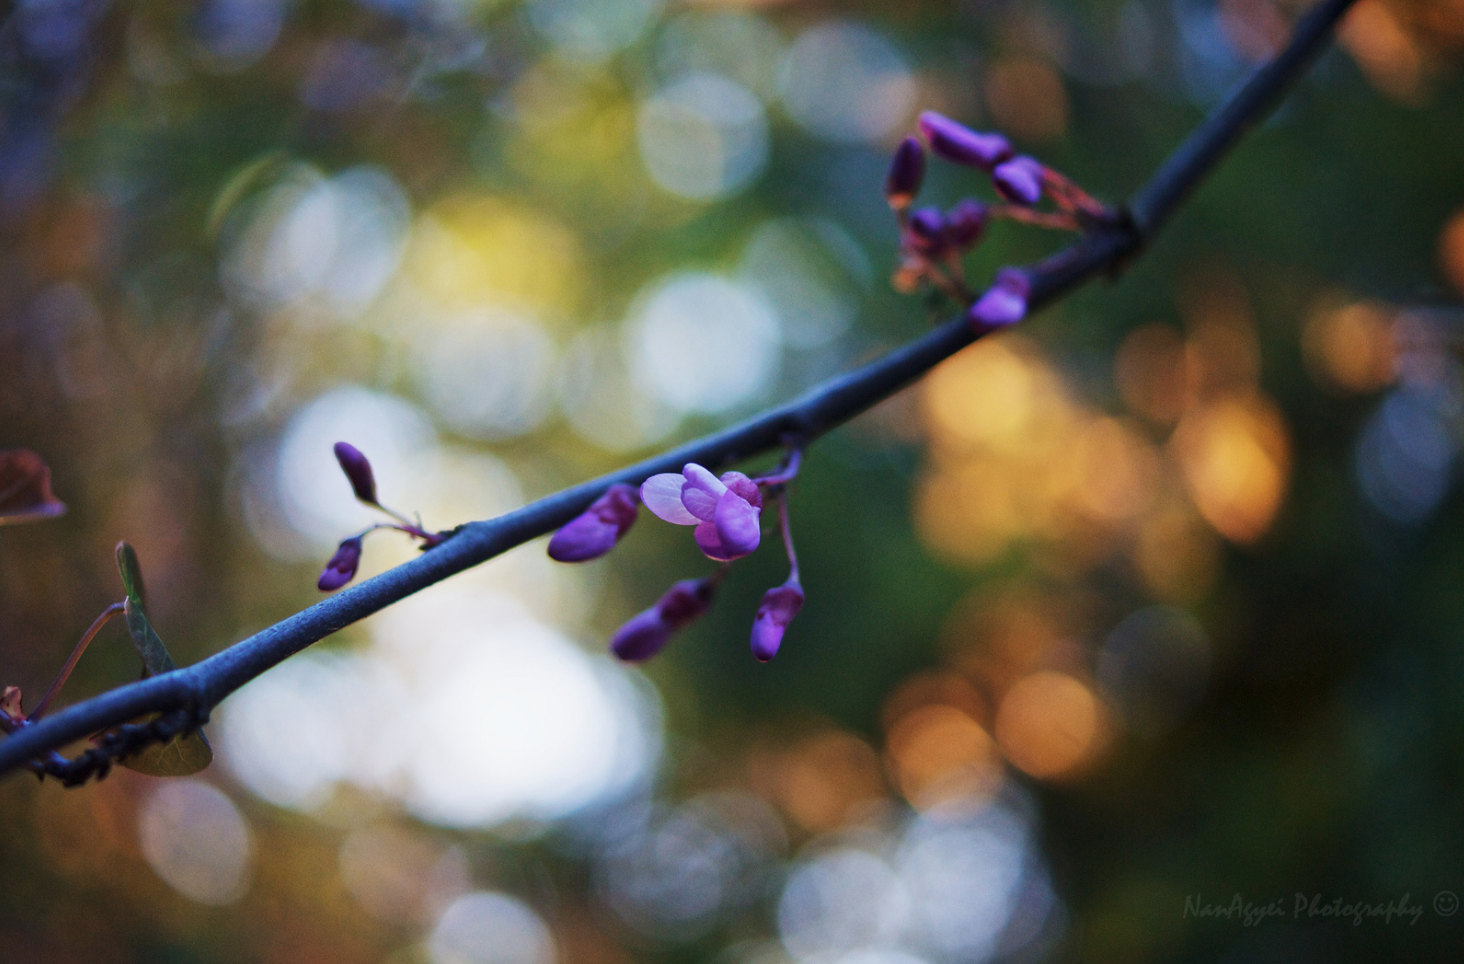
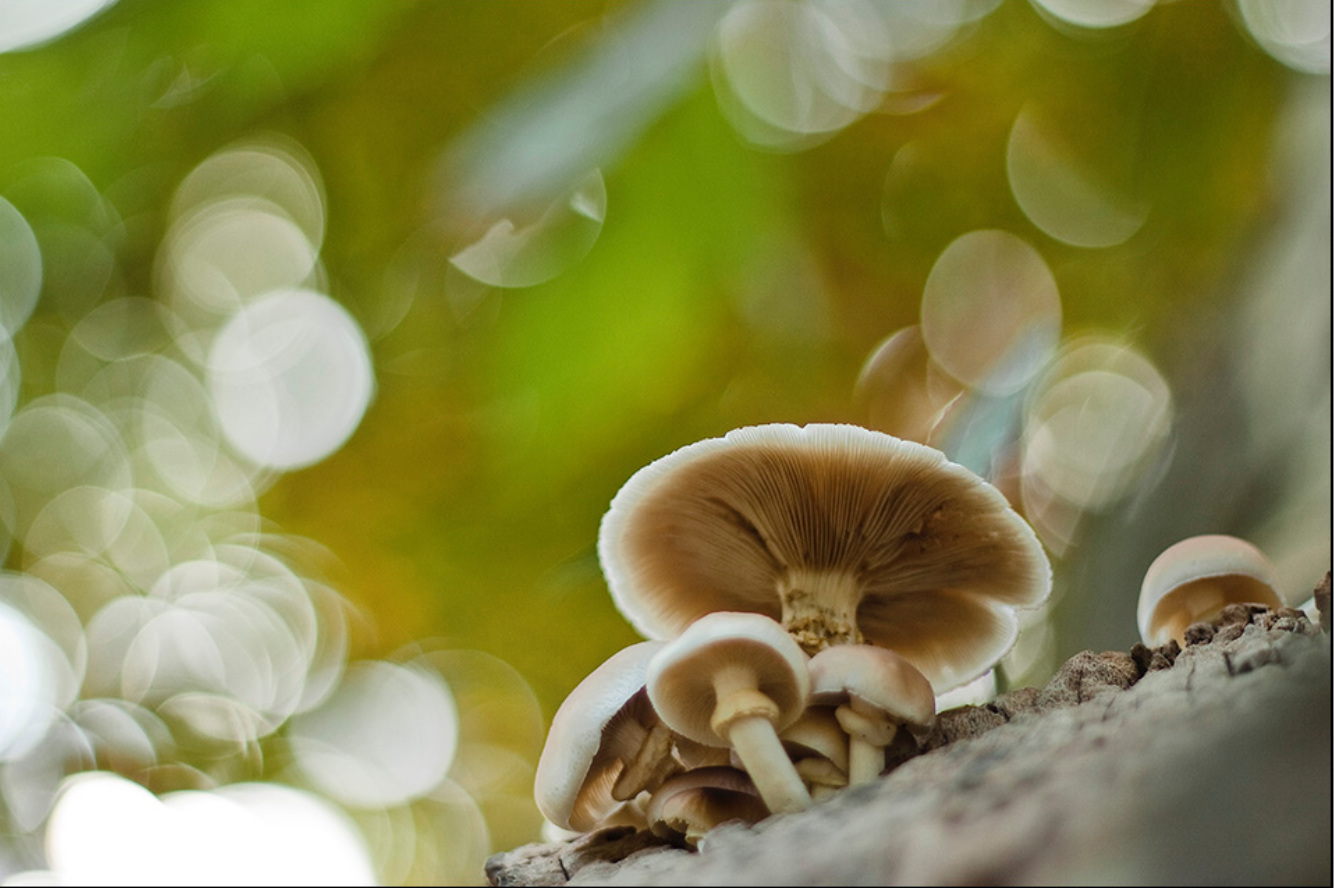
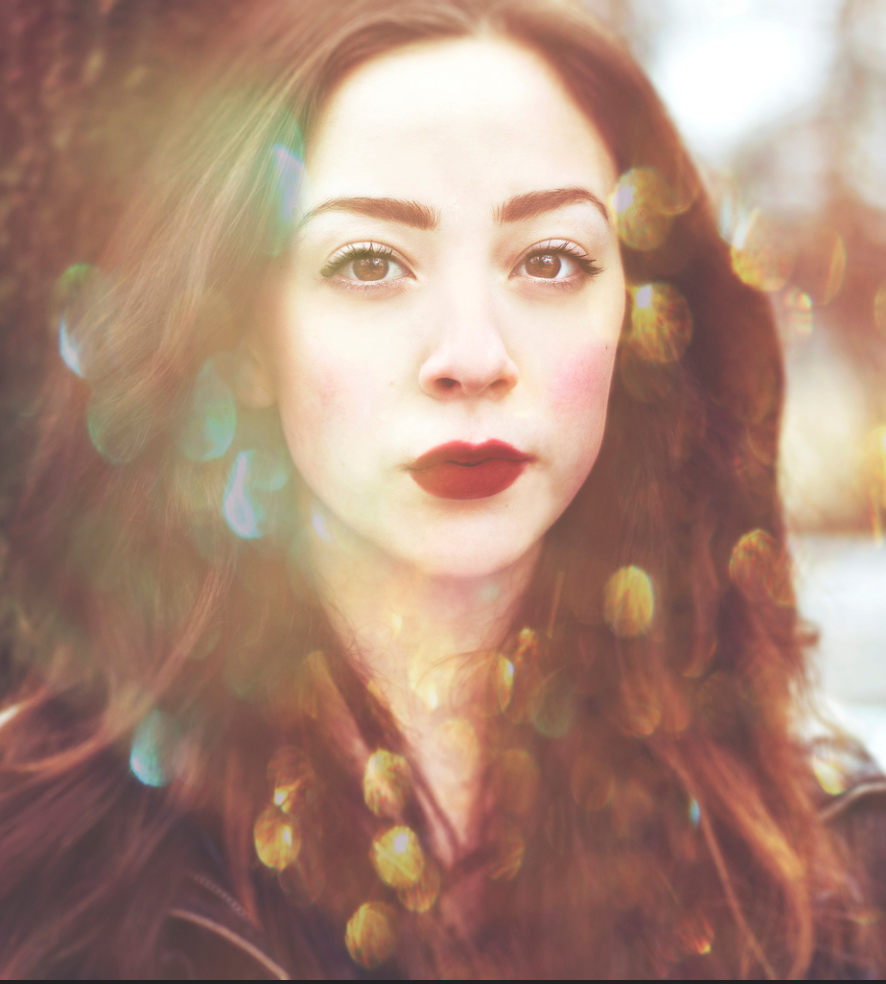
Bokeh is traditionally used to add an extra aesthetically pleasing quality to photographs that otherwise would seem flat in comparison. Sometimes bokeh is even used to frame the main subject of a photograph, as you can see in the portrait below.

What Lenses Create the Most Aesthetically Pleasing Bokeh?
When listening to photographers debate bokeh, one thing will always be mentioned: prime lenses. Since the aperture blades of most prime lenses open wider than those on traditional zoom lenses (with the exception of a handful of higher-end zoom lenses), many photographers turn to prime lenses to create the ideal effect.
One of the most inexpensive and accessible lenses that you can purchase to try your hand at the bokeh effect is the 50mm f/1.8. It is the perfect introductory prime lens for those who are interested in taking photographs with a larger aperture. Canon’s version produces more circular bokeh, while Nikon’s produces more hexagonal bokeh. You can see both in the following images; the one on the left was taken with a Canon lens, while the one on the right was taken with a Nikon lens. Both are beautiful in their own way, and personal preference will determine which is best for you.
If your budget is slightly higher or you’re particularly interested in shooting portraits, the 85mm f/1.8 produces stunningly beautiful portraits with smooth, creamy bokeh in the background. Fixed lenses are also available with apertures that open as wide as f/1.4 or even f/1.2. If you can get your hands on rented lenses, you can practice with different focal lengths and apertures until you find the one that works for your particular style of photography.
DIY Shaped Bokeh
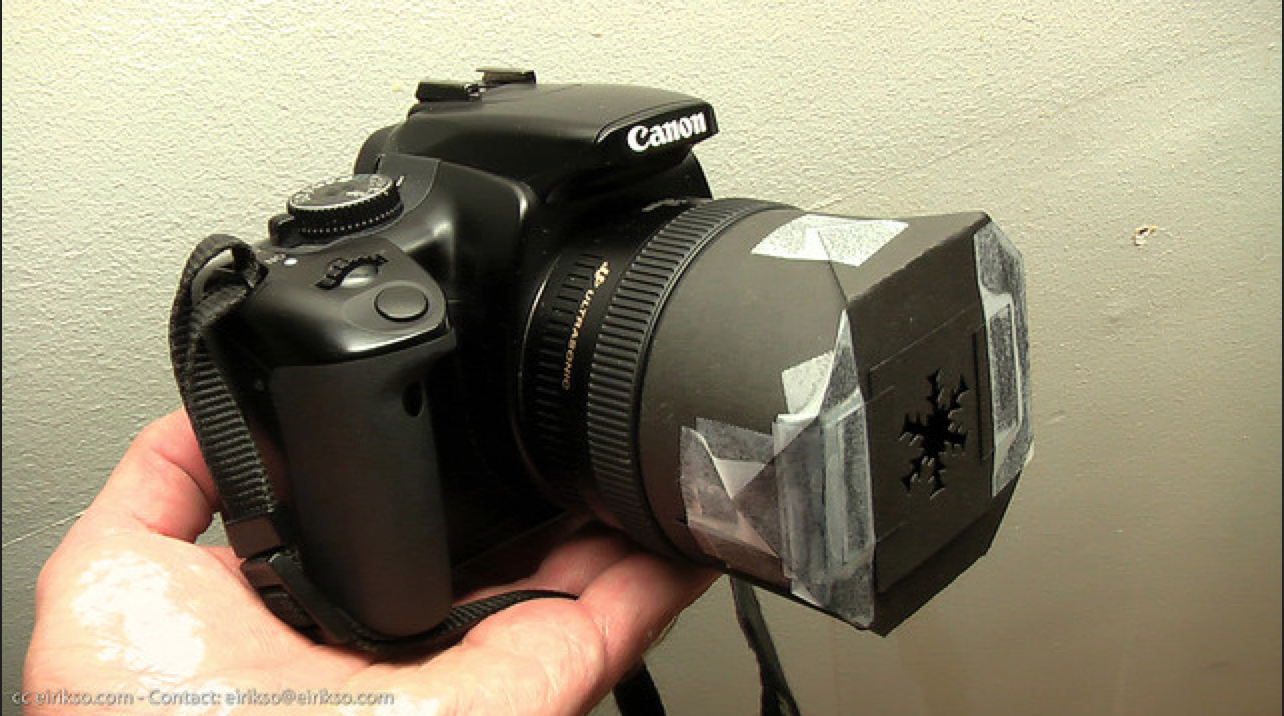
You may have seen images where the bokeh appears as either a series of stars, hearts or other shapes in the background. While popular lens companies don’t offer lenses that naturally create these shapes, you can easily recreate this effect by using a hole punch, x-acto knife and a piece of thick black cardstock. You can use shaped hole-punches or cut your own shape out of the paper. You only need to cut out one shape, and the shape should be between the size of a dime and a quarter.
To shoot with this on your lens, open up your aperture as wide as it goes, set your exposure accordingly, and start shooting! You’ll notice the shape of the bokeh in the background of your photographs take on the shape that you cut out.
Bokeh in Post-Processing
Many photographers choose to use bokeh in post-processing to add dramatic flair to portraits and other photographs. The steps to doing this are actually quite simple.
1. Choose a portrait as well as a photograph of bokeh with no other subject (make sure your lens is set to manual focus, un-focus your image, and take a photograph shooting directly into light shining between trees, Christmas lights, street lamps, etc).
2. Open both images in Photoshop, and drag the bokeh image on top of the portrait image. Adjust the size as necessary. The bokeh image should appear in your Layers Palette as a new layer on top of the portrait image.
3. Set the opacity of this new layer to approximately 50% so that you can see the portrait below the bokeh. Continue to adjust the size of the bokeh layer as necessary to get the correct size bokeh. Select the eraser tool, make sure your eraser has a soft edge, and then set the eraser opacity to between 70-75%.
4. Begin to erase the parts of the bokeh layer that you don’t want to appear in your final image (such as the parts obstructing eyes, lips, etc). Play around with the opacity of the eraser and bokeh layer until you get the effect that you want.
Feel free to get creative with your bokeh images! Once you have found the correct lens for your price range and style, you can begin to experiment with different lighting conditions, subjects and locations to create a wide range of beautiful bokeh photographs.
Learn more about bokeh by taking one of our photography workshops.
