Cinematography is the photography of moving pictures, and one of the most revolutionary changes in the technology of cinematography is the move from analog to digital film. In turn, one of the most exciting uses of digital cinematography is aerial drone cinematography.
Although taking film from an aerial position is not revolutionary—early pioneers simply attached cameras to kites—compact digital cameras provide cinematographers with more filming options and make aerial cinematography more accessible for lay cinematographers. Coupled with the current rise in inexpensive RC drones, digital cameras mounted on such devices provide a quick entry point into aerial drone cinematography.
And this marriage of technology isn’t just being used to get establishing scene shots. If you want a good example of how incredibly innovative aerial drone cinematography can be, look no further than this short created by YouTube FX masters Corridor Digital:
1. Select a Vehicle
Possibly the best option for those looking to get into aerial drone photography on a budget is the Pocket Drone. While it’s still in pre-order status at the moment, at under $500 and specifically designed for filming it looks set to offer excellent value for money.
The Pocket Drone began as a Kickstarter project asking for $35,000 and ended with $929,212 in funding. This is perhaps the most accessible and portable form of aerial photography.
The drone contains a mount for a single camera and folds into a small travel case. It uses three propellers and has a flight duration of around 20 minutes with a mounted camera, which is more than enough for most filming needs.
https://youtube.com/watch?v=3HJAUSUNrWQ
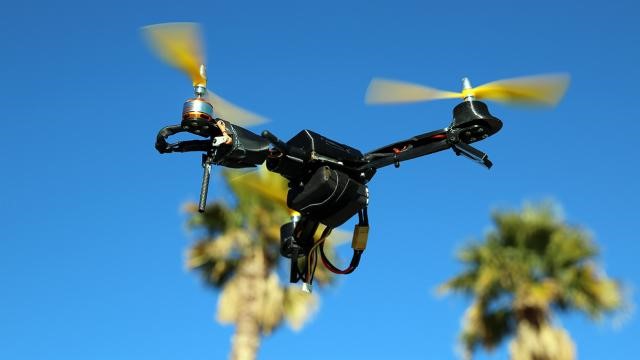
Another option is a hobbyist remote control drone. These drones are slightly more expensive (between $500 and $1000 depending on the dealer) and have four, six, or eight rotors. A common choice for the hobbyist is a quadcopter, such as the DJI Phantom Aerial UAV Drone Quadcopter.
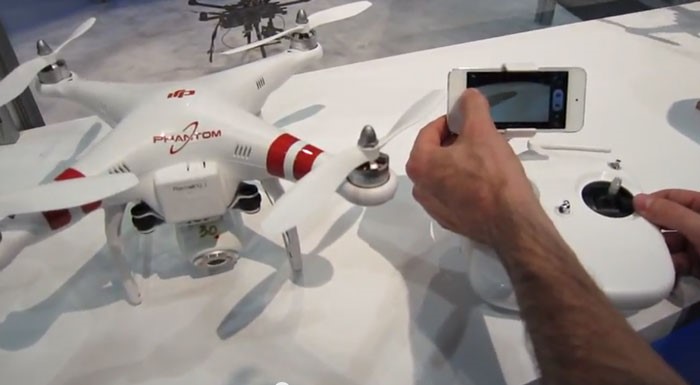
Quadcopters such as these, although small and lightweight, are not as portable as the Pocket Drone and are aimed at the enthusiast market. The Phantom 2 Vision+ model, however, is designed with recording quality in mind.
This drone comes equipped with a high definition camera capable of filming 30 frames per second at 1080p or 60 frames per second at 720p. At $1300, it costs more, but it is a complete system for hobbyist aerial photography.
2. Select a Camera
Although some drones come with a camera, such as the Phantom 2 Vision+ above, most do come with camera mounts. Hence, one simply needs to select a camera to attach to the drone.
One of the best-known line of cameras is made by the GoPro company. For example, the GoPro Hero3+ is capable of shooting video at a high of 1440p at 48 frames per second.
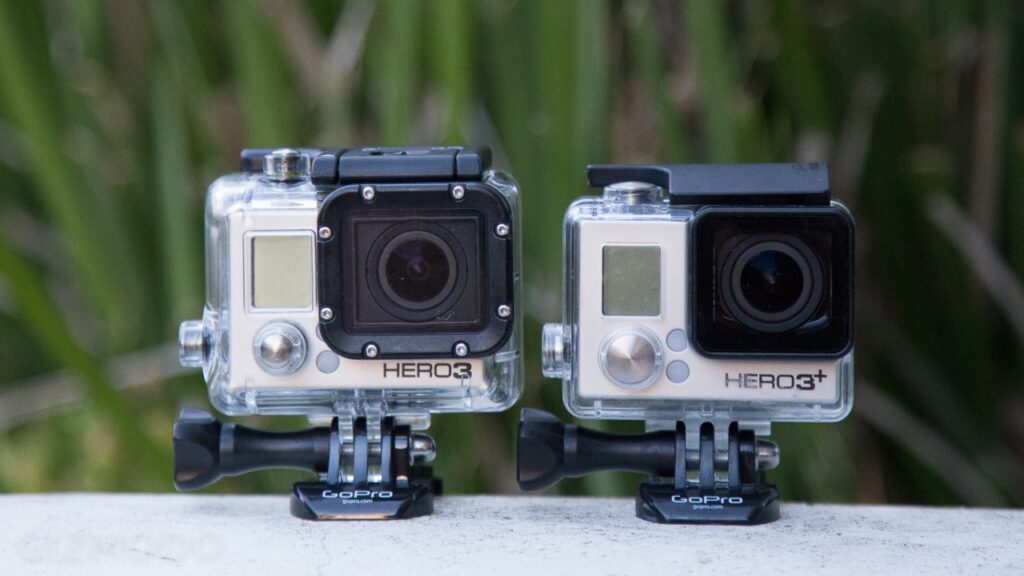
It can be mounted on a drone, or on larger vehicles, such as boats, cars, and motorcycles. So trusted is the GoPro that many drone sellers offer the camera as a default optional extra when purchasing a drone.
3. Select a Control Method
The classic method for controlling a drone is a handheld remote control with joystick-like controls. Anyone who played with remote control cars is familiar with this kind of controller, but worth considering is that most drones today can be operated remotely by computers (including tablets and smartphones.) For example, the Pocket Drone includes a virtual flight stick that can be run on Android tablets.
Finally, another control scheme is to set a pre-defined flight path for the drone using Google Maps, or to download flight plans created by other users.
Whatever technology one selects, the applications of aerial drone cinematography by drone are infinite. National Geographic photographer Kike Calvo offers an in-depth look at his aerial gear and how he uses it to film in natural settings.