
As the summer is winding down, so are family vacations to the beach. While mid-summer may seem like the ideal time to take a trip to the shore, photographers may think otherwise. Those who are looking for the perfect picturesque moment may find that every beautiful landscape is covered in tiny children running around. When you visit the beach during the early morning, late evening or off-season, you’ll find a much more peaceful environment to work in.
The sea itself provides a sense of relaxation unlike anything else. While visiting the ocean at any part of the day can provide a sense of peace, there are particular times during the day where the ocean becomes even more magical and inviting. Once you recognize these particular times (which are favorite times of most photographers), you’ll be able to capture magical moments that cannot be captured any other time.
Equipment Needed
– A digital camera (preferably a DSLR)
– A lens with a wide angle of view (both zoom and prime are welcome)
– A tripod
– A neutral density filter (optional)
What Exactly is a Neutral Density Filter?
You may be wondering what exactly a neutral density filter is and how to use it. A neutral density filter works to block out some of the light that goes through your camera lens, allowing you to shoot at longer shutter speeds even in the middle of a bright, sunny day. It looks like a dark piece of glass that you screw on the top of your lens, and is offered in both regular and graduated versions. If you’re aiming to shoot at longer exposures during the day, don’t opt for the graduated version. These are specifically designed to darken the sky in images where it would be overexposed otherwise, and won’t darken enough of the photograph to make a longer shutter speed possible.
Camera Settings
Camera settings for photographing seascapes will differ depending on the weather, time of day, and desired outcome. However, there are a handful of specific tips and tricks that you may find helpful throughout this process.
ISO
Since you will be using a tripod, you don’t need to worry about bumping up your ISO to get a proper exposure. Because of this, it’s important to shoot at the lowest ISO you possibly can while still maintaining a proper exposure. The higher the ISO, the more noise in a photograph, so staying below ISO 400 is your best bet.
Shutter Speed
Have you ever seen a photograph of water so smooth and dreamy that you couldn’t even believe it was real? When photographing moving water, using a slower shutter speed creates the look of smooth, velvety water. While this is an easier technique to use when light is dim (such as dusk or dawn), you can use a neutral density filter to block out some afternoon light in order to use a slower shutter speed during the day. Some photographers place their camera on a tripod, use a neutral density filter, and keep their shutter open for up to 30 seconds at a time. Again, this is up to your own personal desires, and you may play around with your shutter speed to see different outcomes.
Aperture
Since you are focusing on landscapes, you’ll want to shoot at an aperture of f/11 or smaller to ensure that the entire seascape remains completely in focus. If you’re photographing a particular person or object in front of the seascape, you may be interested in using a wider aperture (such as f/4 or wider) to focus solely on that particular subject.
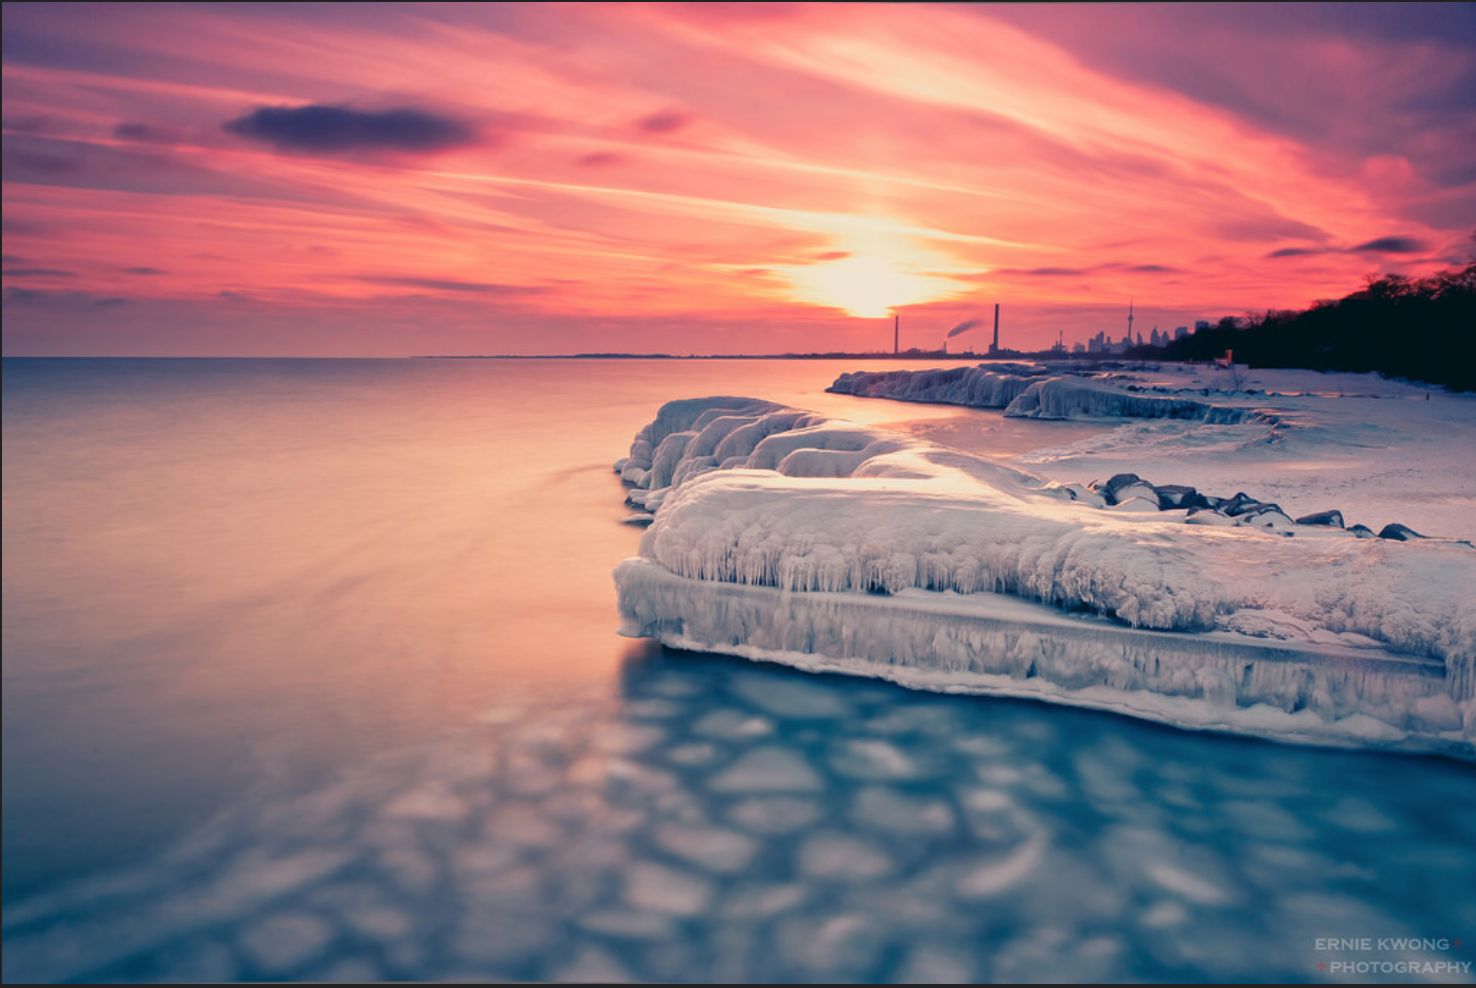
Best Times to Shoot
If you’ve been perusing photography forums, you may have heard of what photographers call “the blue hour” or “the golden hour”. The blue hour is the hour right before sunrise or right after sunset, while the golden hour is the hour right after sunrise or right after sunset. The blue hour is known by its eerie blue hue, while the golden hour is known by its magical golden hue.
The Blue Hour
Shooting during the blue hour means that not much natural light will be available, so plan on using a tripod and shooting at a longer shutter speed (no neutral density filter needed). This extended shutter allows your camera to pick up on the magical blue tones that may not be noticeable to the naked eye, and creates a beautiful blurred effect on the water while keeping everything else crystal clear.
If you want to further enhance the blue tones in your photographs during this hour, shoot on ‘tungsten’ white balance. The tungsten setting cancels out orange tones in your photograph, leaving only the beautiful blues behind.
The Golden Hour
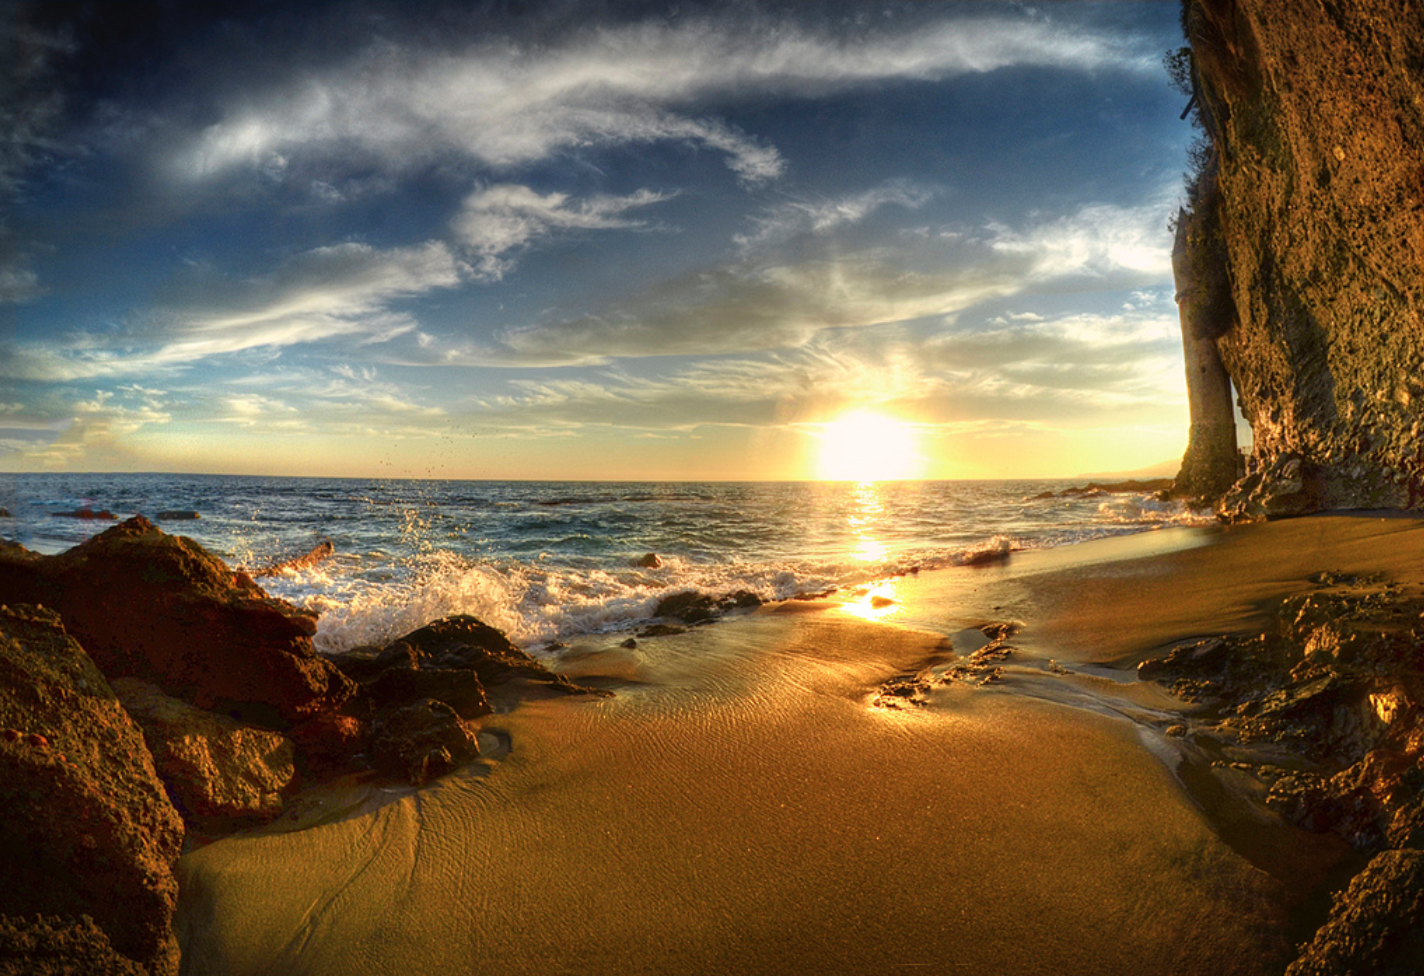
Shooting during the golden hour allows you to have a bit more natural light to work with, but still plan on bringing your tripod with you. The golden hour enhances silhouettes and casts a magical, hazy glow over the seascape.
If you want to enhance the golden tones in your photographs during this hour, shoot on ‘shadow’ white balance. This setting aims to cancel out the cool tones of shadows, leaving only the beautiful orange glow behind.
Get Creative!
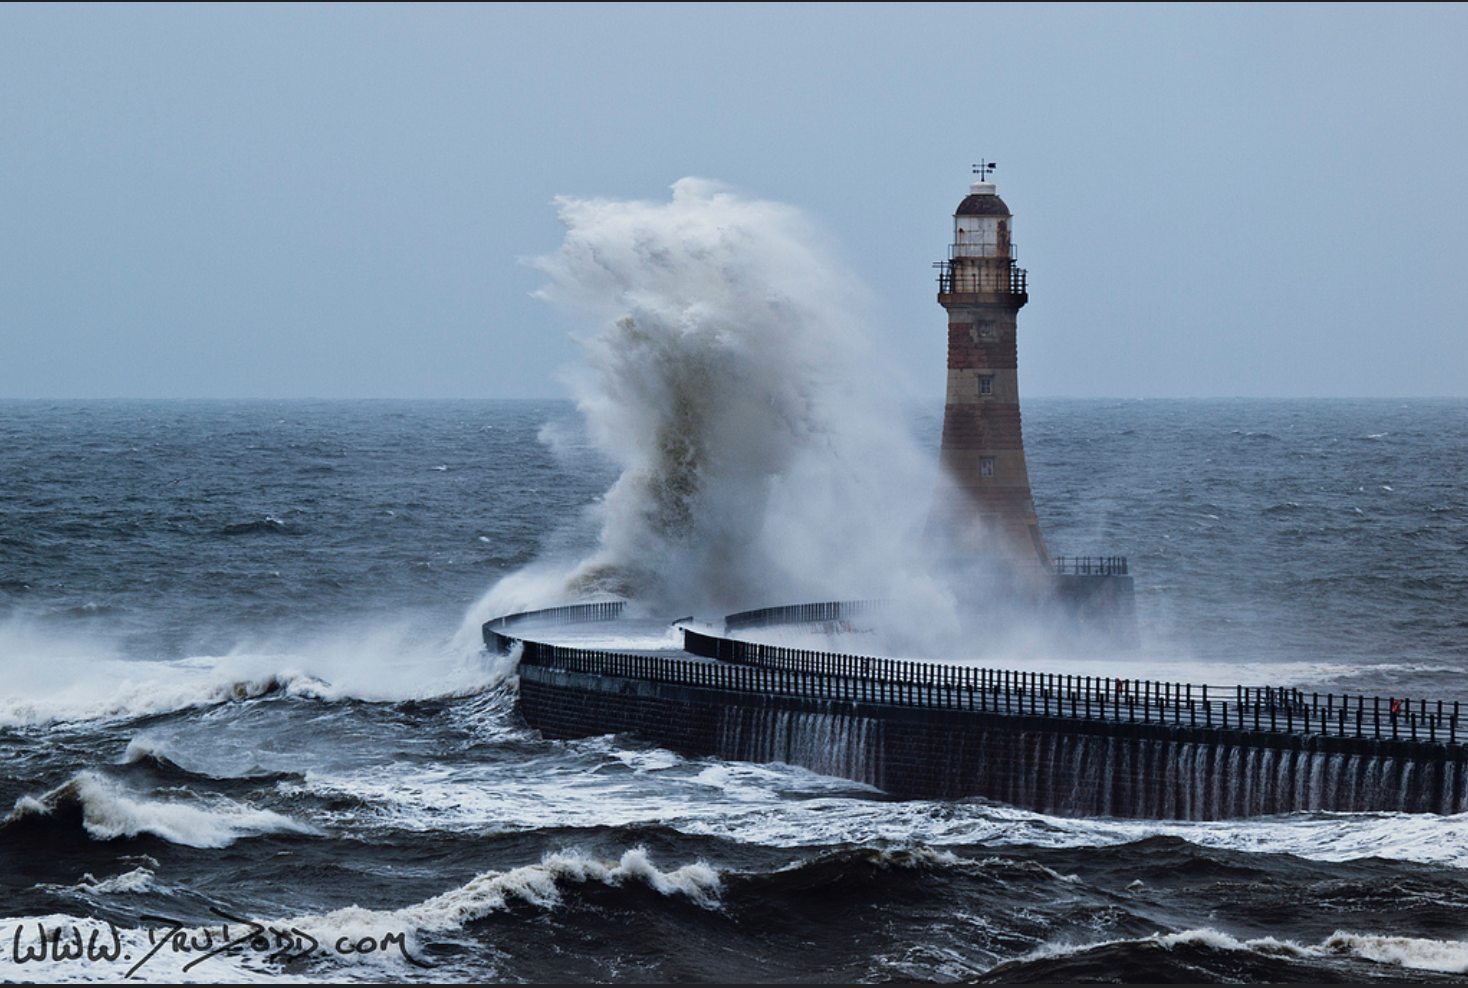
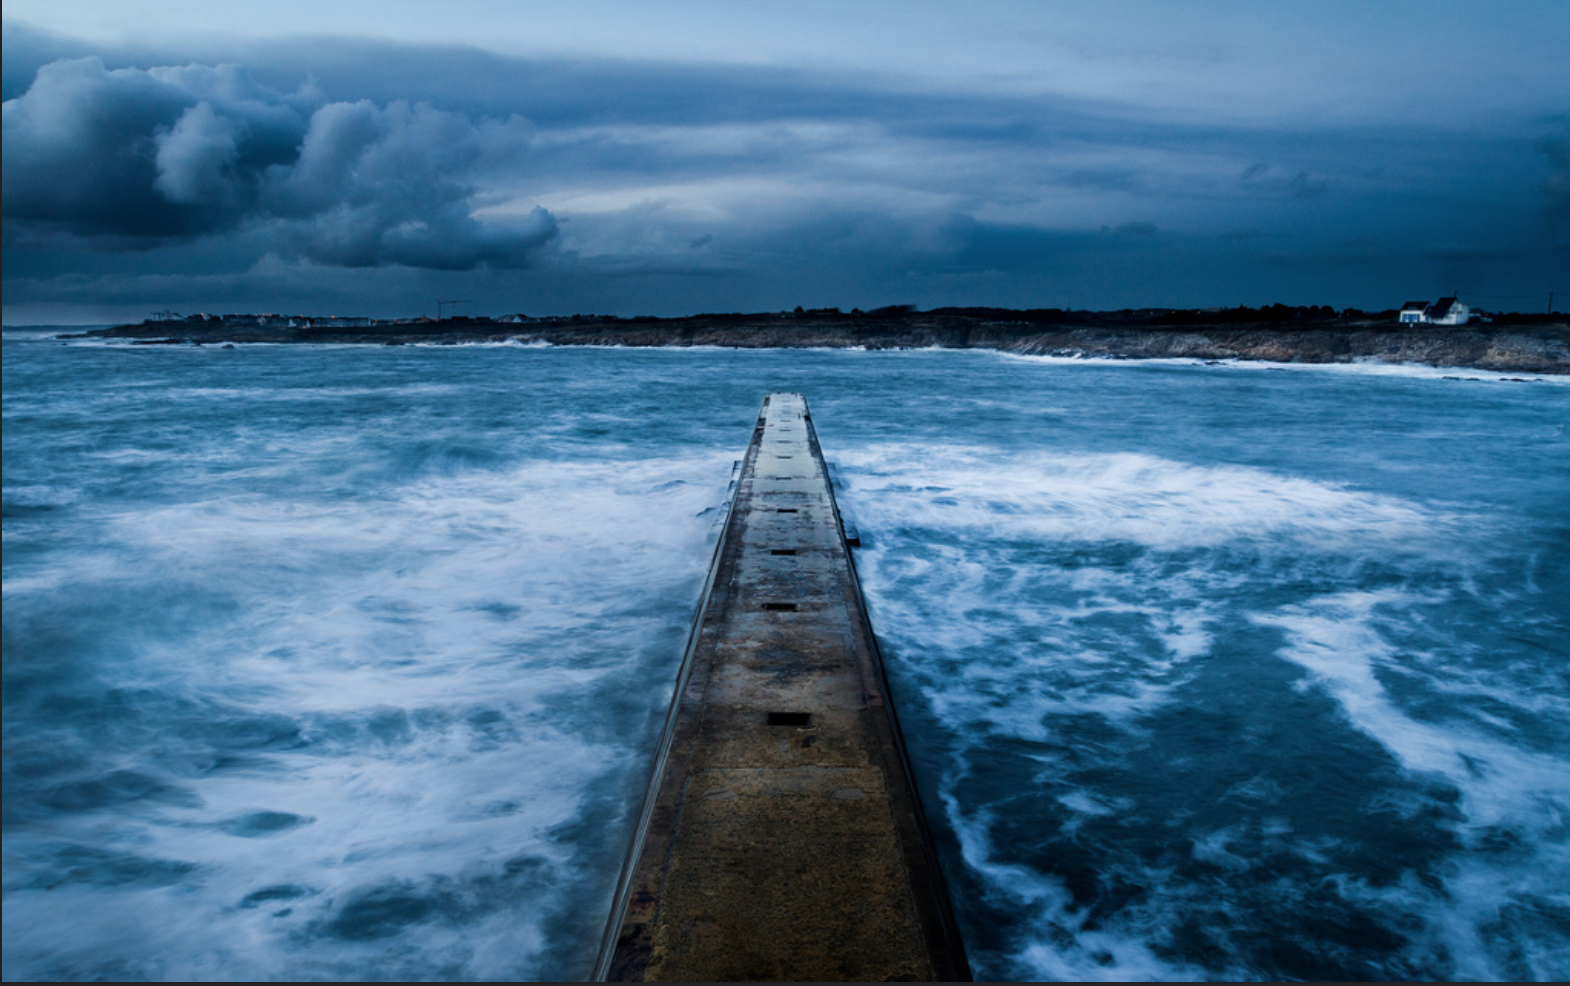
While shooting during these times and using these particular techniques will allow you to produce beautiful, professional quality seascapes, don’t let yourself get stuck in a creative rut! Photograph in the middle of the day, at sunrise, at sunset, and play around with different foreground subjects (such as a starfish on the beach) and background subjects (such as a boat or lighthouse in the distance). If you’re feeling up to the challenge and are especially careful, shooting during a storm can create stunningly beautiful images. Try your hand at taking engagement photographs with the sea as a backdrop, photograph a product line in front of the waves, or shoot from different angles to get more interesting results. The possibilities are endless!
To learn more about ocean photography enroll in a MFA in Photography at the New York Film Academy.
