
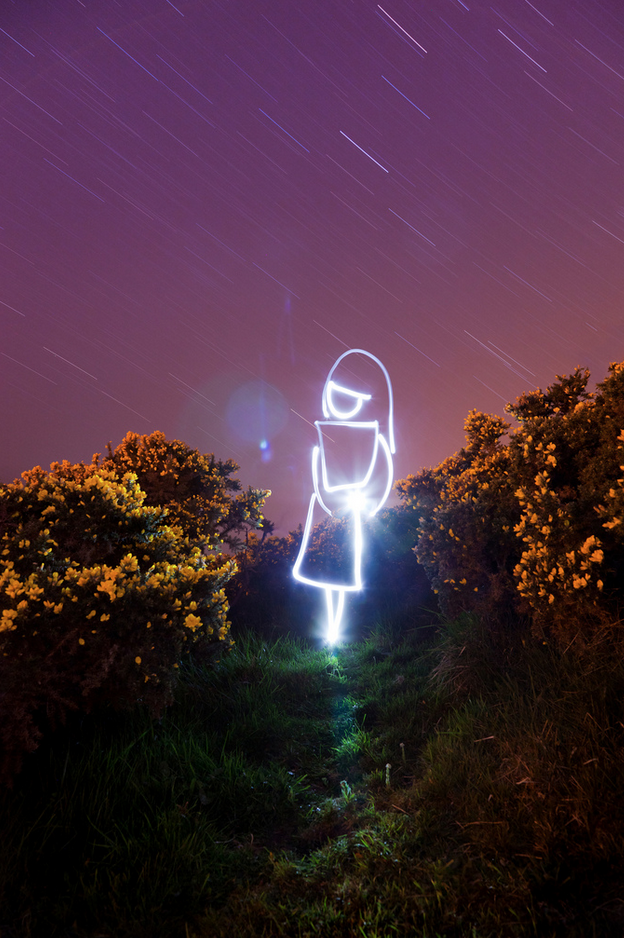
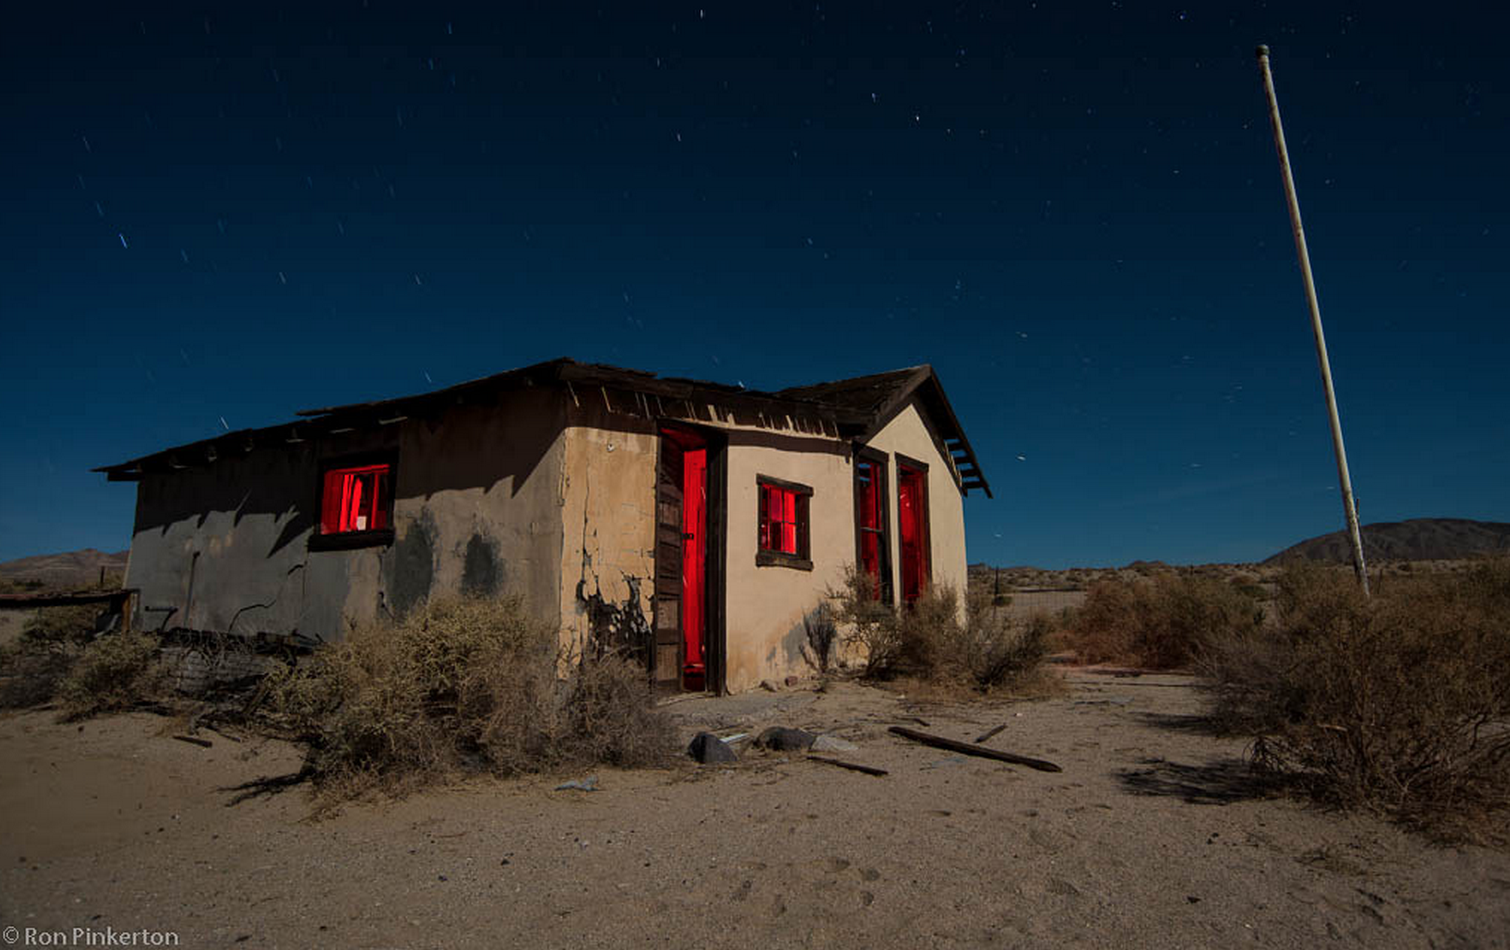
Have you ever seen an image such as the one above and thought, “how on earth did someone create this?” If you have, you’re not alone. Luckily for you, this technique, painting with light, is not very hard to master, and just takes a bit of practice to reach the point where you can start drawing figures out of light as well. If you have an open mind and a bit of an imagination, this is the perfect technique to try out!
Camera Equipment Needed
Although not all of the equipment listed is completely necessary, having all of this equipment will make light painting significantly easier. The one thing that is truly necessary is a camera with a ‘bulb’ setting.
- A DSLR camera with a ‘bulb’ setting
- A tripod
- A remote shutter release with timer
- A source of light – smaller flashlights work best, but you can play around with pen lights or portable flashes (although you won’t be able to draw figures with a portable flash)
- Colored gels (optional)
Camera Settings
- RAW or JPEG? Taking photographs at night can sometimes be a bit difficult, as the source of light you’re using may make your photograph too blue or too orange. If you’re someone who doesn’t always get your white balance completely correct, you should consider shooting in RAW. While RAW images take up more memory than JPEGs, they make post-processing much, much easier. If your exposure or white balance is off, you can fix it in post in about two seconds.
- White balance: If you’re shooting in RAW format, this one doesn’t matter too much. While you’re always welcome to shoot in ‘automatic’, generally shooting in ‘tungsten’ at night will give you better results – the images will be cooler toned. Keeping your white balance set at automatic will typically give you warmer tones at night. The photographs below show the difference between a cooler toned image and a warmer:
- How to focus: Focusing in the dark can be very difficult, especially if your subject is going to be moving light! To make things easier on yourself, try shining a light on the area that you’re going to be light painting, and focus on the closest solid object on the same plane. Once you’ve focused, make sure your focus ring is set to manual.
- ISO: As always, try to keep your ISO as low as possible. Since much of your image will be dark, grain will be even more noticeable in your blacks. A lower ISO (100/200) = less grainy images (unless that’s what you’re going for)!
- Shutter Speed: Your shutter speed will vary depending on how much you’re planning on “painting” in your images. Most DSLR cameras can take exposures up to 30 seconds long; any longer than that, and you’re going to need a camera with ‘bulb’ setting and a remote shutter release. Plenty of beautiful light painted images can be taken in 30 seconds or less! Play around with different shutter speeds until you find one that gives you enough time to paint your image.
- Aperture: Try opening your lens to f/5.6 to begin with. Any wider and you may let in too much ambient light; any smaller and you may not capture enough light. If your images are coming out too dark, try opening up your lens even more.
Finding a Location
Before deciding on a location, ask yourself this question: are you planning on creating a subject purely out of light, or are you planning on lighting an existing subject? Regardless of the answer to this question, your best bet is to get as far away from city lights as possible. Too much light can distract from your light painting, so you should choose a very dark location (needless to say, this should be done at night).
Abandoned houses, old vehicles, and even forests full of trees can all be interesting subjects once lit up with light. If you want to create your own subjects, try finding an empty bench, field, or playground.
Taking the Images
This is the fun part!
- Make sure your camera is set up properly on a tripod and the area you’re going to be lighting / creating a subject in is in focus.
- Set your camera to 30 seconds (or bulb and have your remote shutter handy), and then walk into the scene. If you’re using your camera’s timer, you’ll have to open the shutter before you walk into the scene. If you’re using your remote shutter, you can wait until you get there.
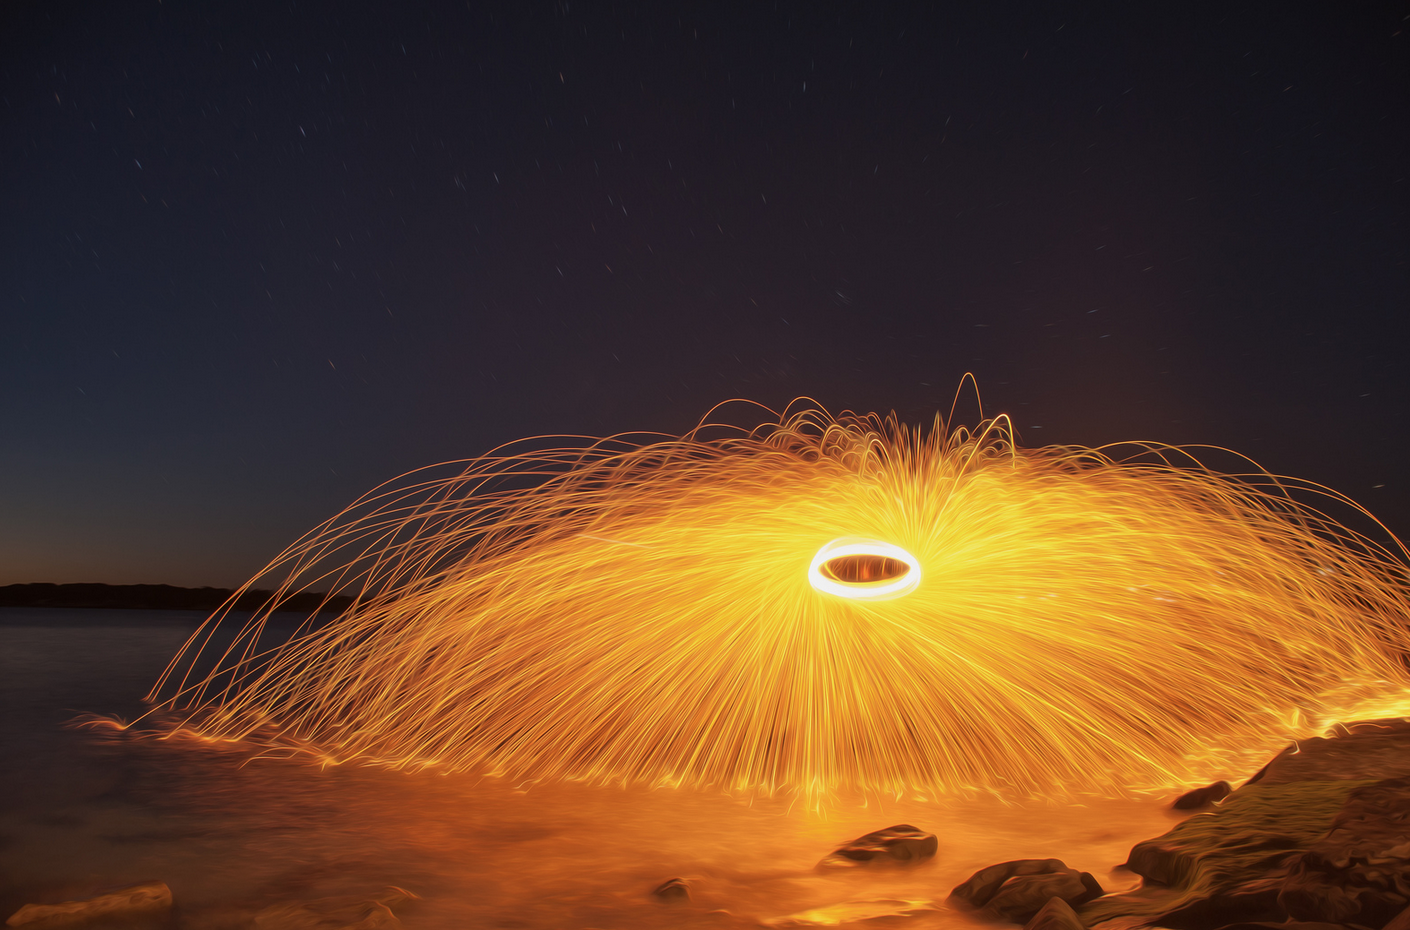
- Turn on your flashlight and begin drawing your subject (or play around with swirls, etc), by shining the flashlight directly at the camera lens. The cool thing about light painting is that you won’t show up in the image at all, unless you shine the flashlight at yourself!!
- If you’re lighting a subject instead of creating one, make sure you point the flashlight directly at the subject, not the camera.
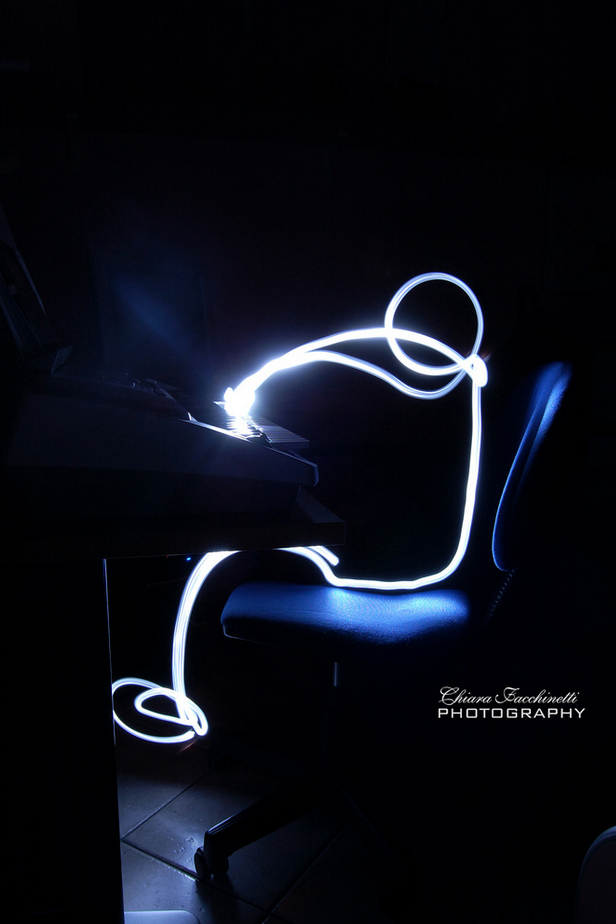
Creating Subjects
It’s easiest to create subjects with a very small flashlight, one that will make thin, crisp lines. Remember that your camera is going to pick up on all light, so if you don’t want your image to turn out like a contour line drawing you’re going to have to turn off your light before moving on to a different section. This can get complicated, so start out simple and then move up from there.
Lighting Subjects
Lighting subjects is especially fun when you have colored gels to play around with – these gels can be placed either over your flashlight or over your external flash. You can use an external flash or larger flashlight to cover larger areas at once, or a smaller flashlight or pen light to create more precise lines. Make sure you are only pointing the light source at the subject instead of the camera, unless you want to add in your own created subjects as well. Keep the light moving during the entire exposure – if you keep your light source on one area for too long, that area will be overexposed in the final image.
** If you’re using the bulb setting, make sure you remember to close your shutter after painting your scene!
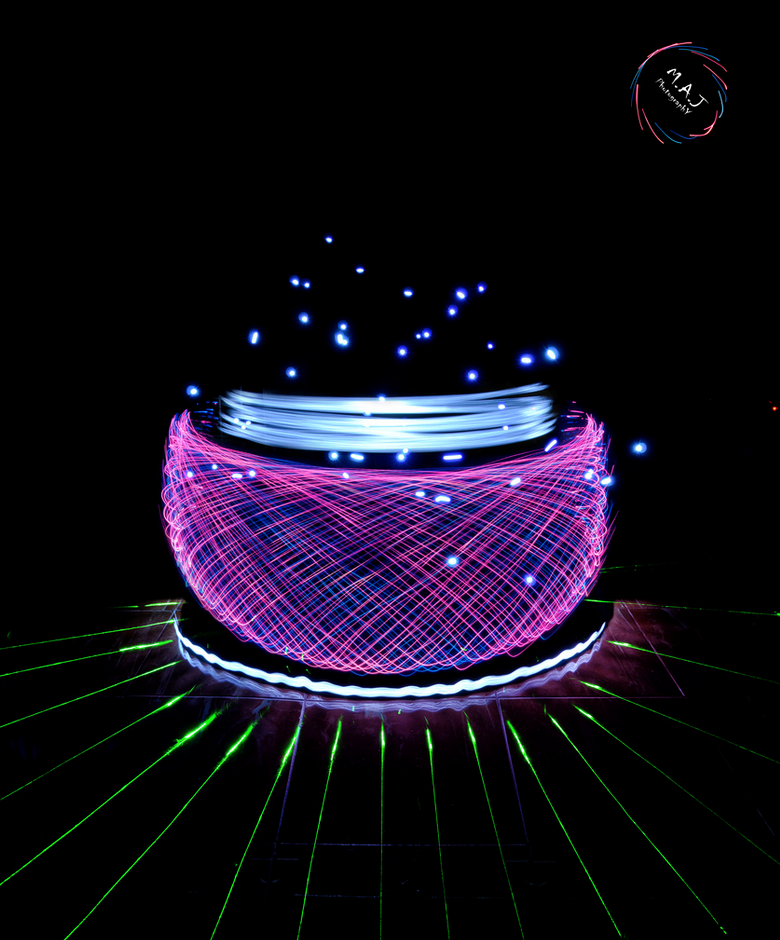
With light painting, the possibilities are truly endless! Don’t stop shooting!
If you’d like to learn more about painting with light sign up for one of the many photography workshop offered at the New York Film Academy today!
