
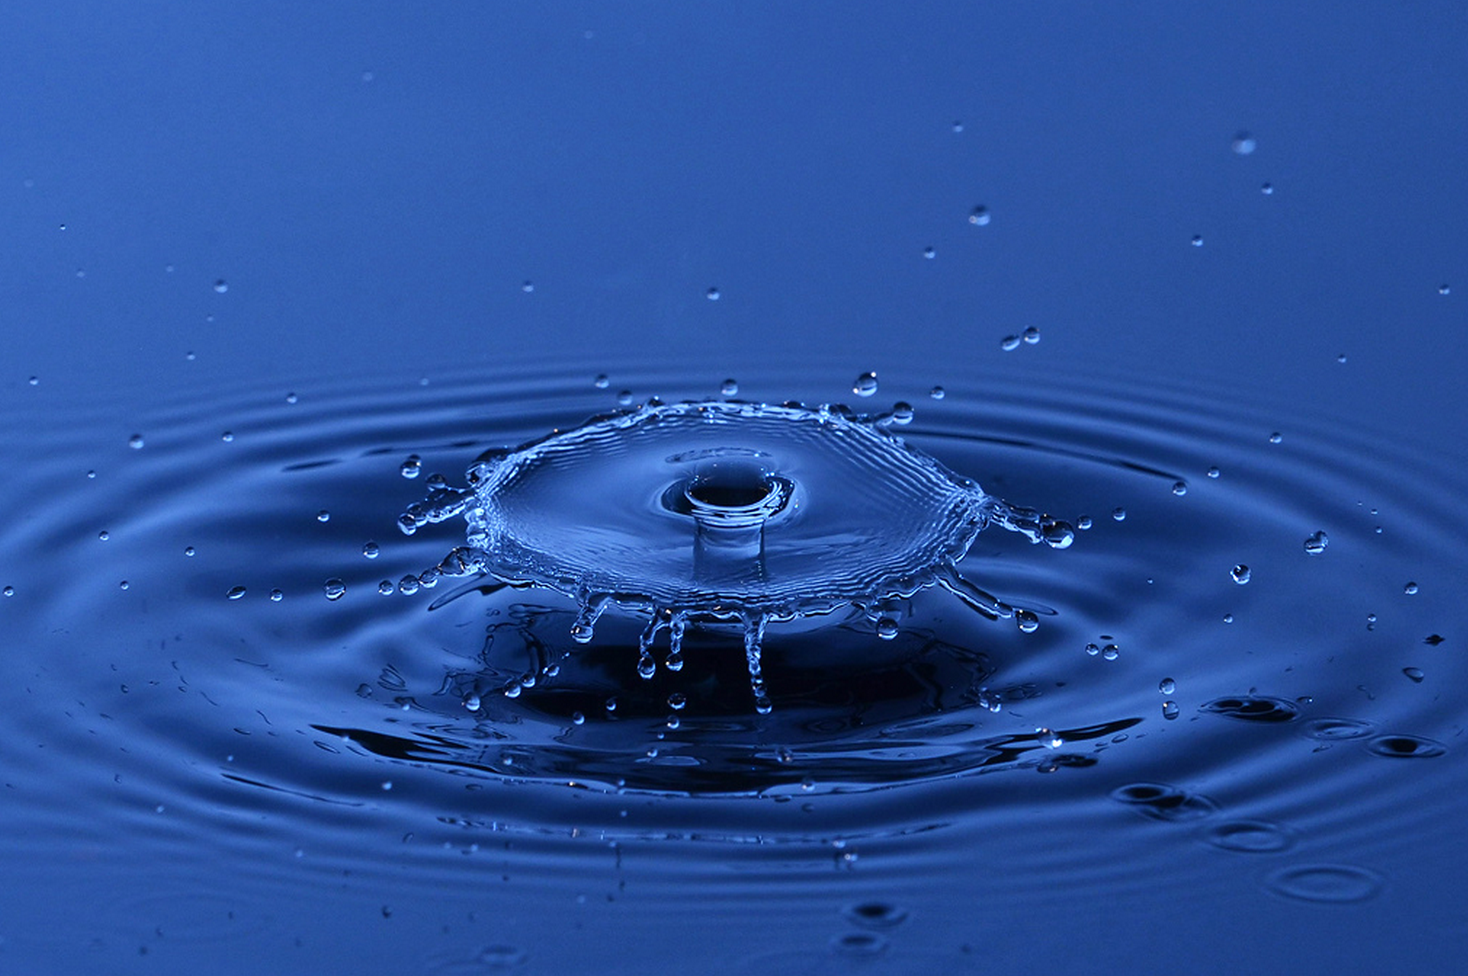
You’ve probably come across a photograph of a water droplet suspended in mid-air at one point or another. If so, have you ever sat there in awe, wondering how on earth anyone could capture a moment so beautifully? It seems as though you’d have to painstakingly sit at your sink, watching droplets fall into a pool of water one by one while trying desperately to capture them at the peak moment. Although this doesn’t sound like too much fun, luckily this is not the way to take this type of photograph. There is a true technique behind photographing water drops, and the process is not as difficult as you may imagine. While the list of equipment needed is a little extensive, have no fear! Most materials can be found in your house, and many can be re-used in the future for other fun photographic projects.
Equipment needed
- A DSLR
- A tripod
- A medicine dropper
- A white plastic tray (one deep enough to hold some water)
- A ruler (one longer than the width of your plastic tray)
- Something you can stack easily, like boxes or books
- A sheet of frosted glass
- An external flash with remote trigger
- A macro lens
*optional* glitter, colored gels, food coloring, milk
Setting up the shot
Start by filling your plastic tray with water.
Place the piece of frosted glass behind the tray – this will act as a diffuser that you will light the droplets through.
Set up your external flash so that it is behind the piece of frosted glass, yet pointed directly at the tray of water (set it up so it is pointing slightly down towards the water). To adjust the height of your flash, use a stack of boxes or books.
You’ll want the medicine dropper to stay in one place so that it drops water in the same spot every time (saving you the trouble of re-composing your image every drop). To do this, make equal stacks of boxes or books on both sides of your tray of water. Place the ruler across both stacks, so that it is above the tray of water. Fill the medicine dropper with water, then tape it to the ruler. The height of the medicine dropper will affect the size, shape and height of the drops, so experiment a bit before beginning to shoot.
Camera settings
Begin by setting the power of your flash – a power of 1/16 should be good to start out with. Feel free to start with this setting and then adjust the power as you see fit, depending on whether you want the photograph lighter or darker.
Set your aperture to f/8. This will ensure that you get the entire scene in focus, while still allowing an aesthetically pleasing depth of field.
Set your shutter speed to the sync speed of your flash – this is usually 1/200 or 1/250. If you are unsure of your sync speed, check your manual for further instructions. The “sync speed” is the fastest shutter speed your camera can use while still being able to capture the light from the external flash.
As always, you should shoot at an ISO of 100 or 200 to reduce the amount of noise in the final image.
Taking the image
Set up your camera on a tripod in front of the tray of water. While you are free to choose whatever camera angle you feel is best, start by using an angle that is slightly higher than the tray of water, looking down at the water droplets. Look through your viewfinder and release one drop from the medicine dropper to determine where your camera needs to be pointed.
Focusing on water droplets can be incredibly frustrating. To avoid the frustration, release a water droplet from the medicine dropper and take note of where it lands. Use a small object – such as a pen or a paperclip – and hold the object at the spot where the droplet lands. You can then focus on that object, then remove it from the composition when you’re ready to take the photographs. Remember to set your focus ring to manual after focusing!
Before releasing any more droplets, take a test shot of the scene. How well-lit is it? Do you like the way the background is lit up? If needed, adjust the power of the flash, your aperture, or the direction of the flash. You can even move the flash further away or closer to the pane of frosted glass for different results.
Once you have found your ideal settings, begin releasing droplets. You can release one at a time or release multiple for different effects, but take as many photographs as you can while you are releasing droplets to ensure that you’re not missing anything.
Creative alternatives
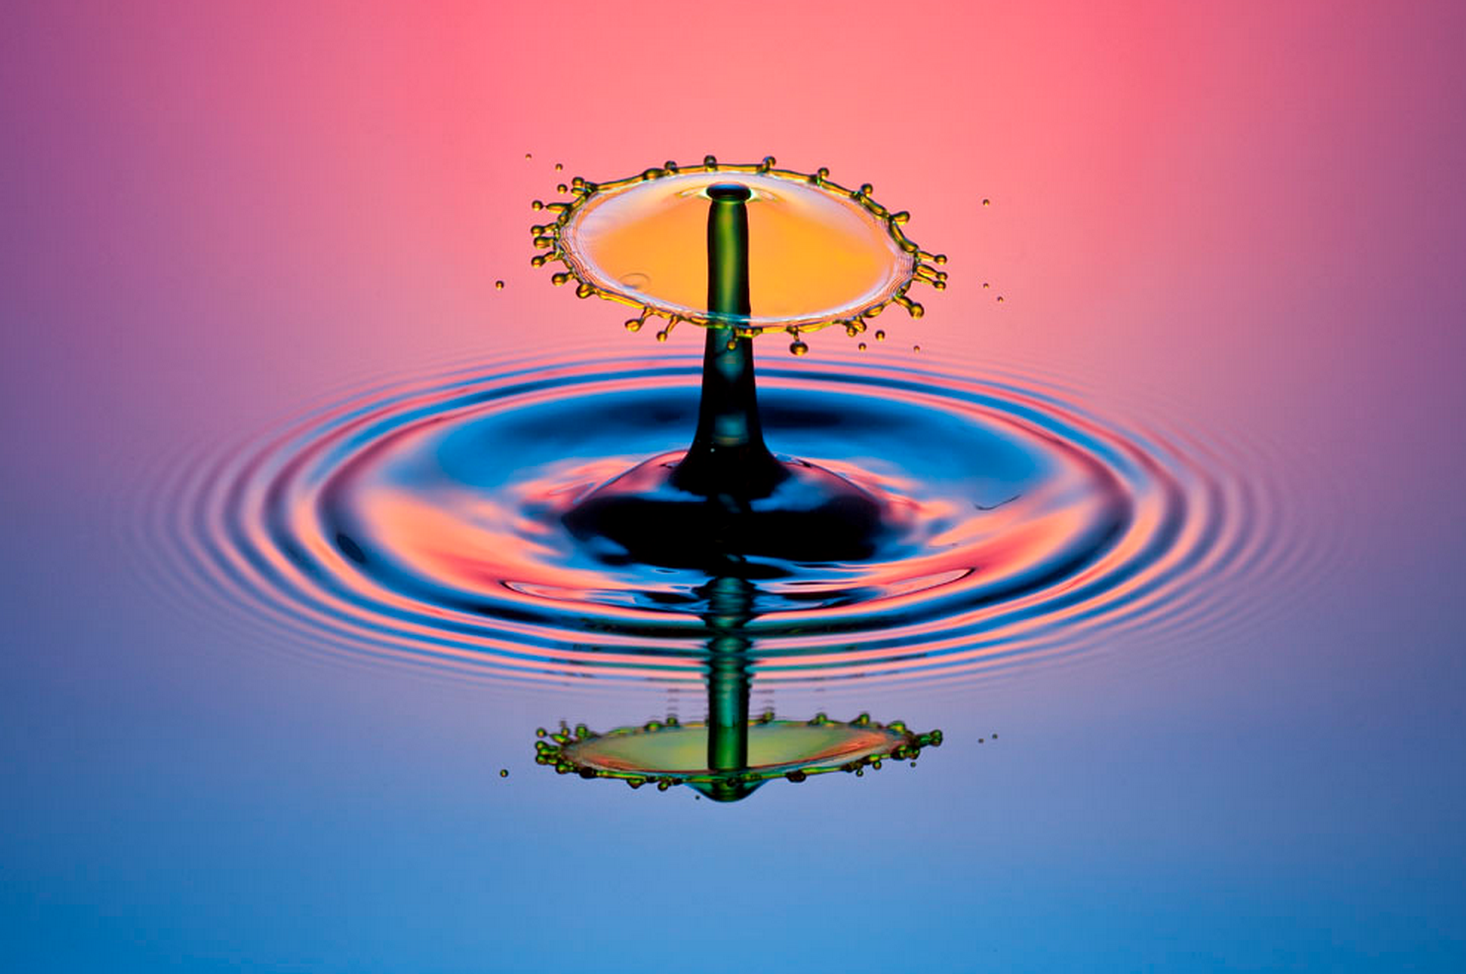
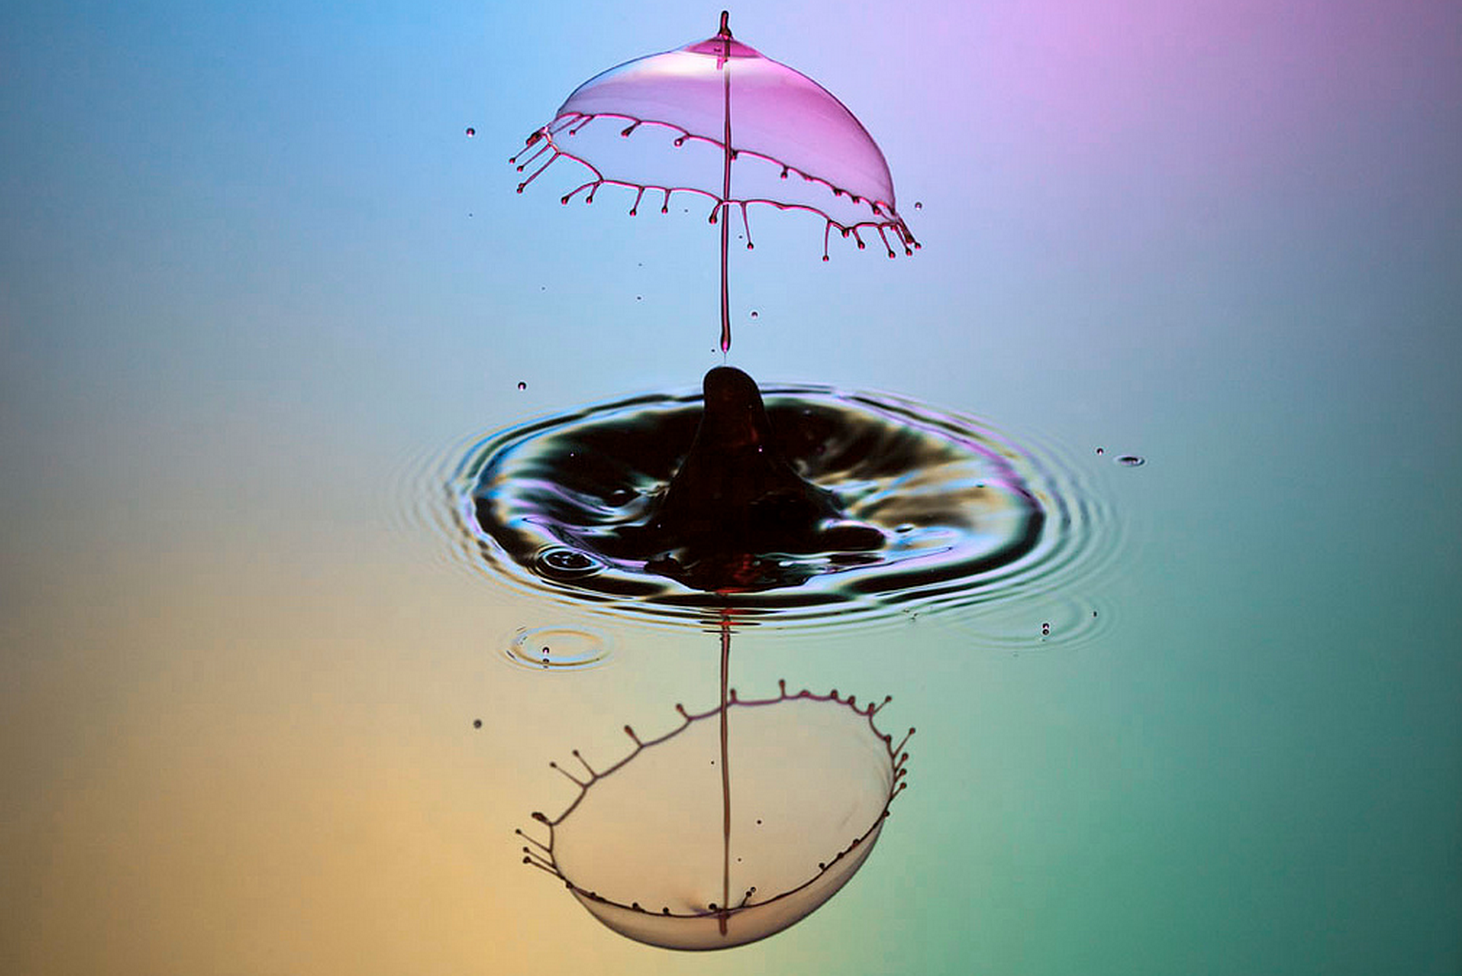
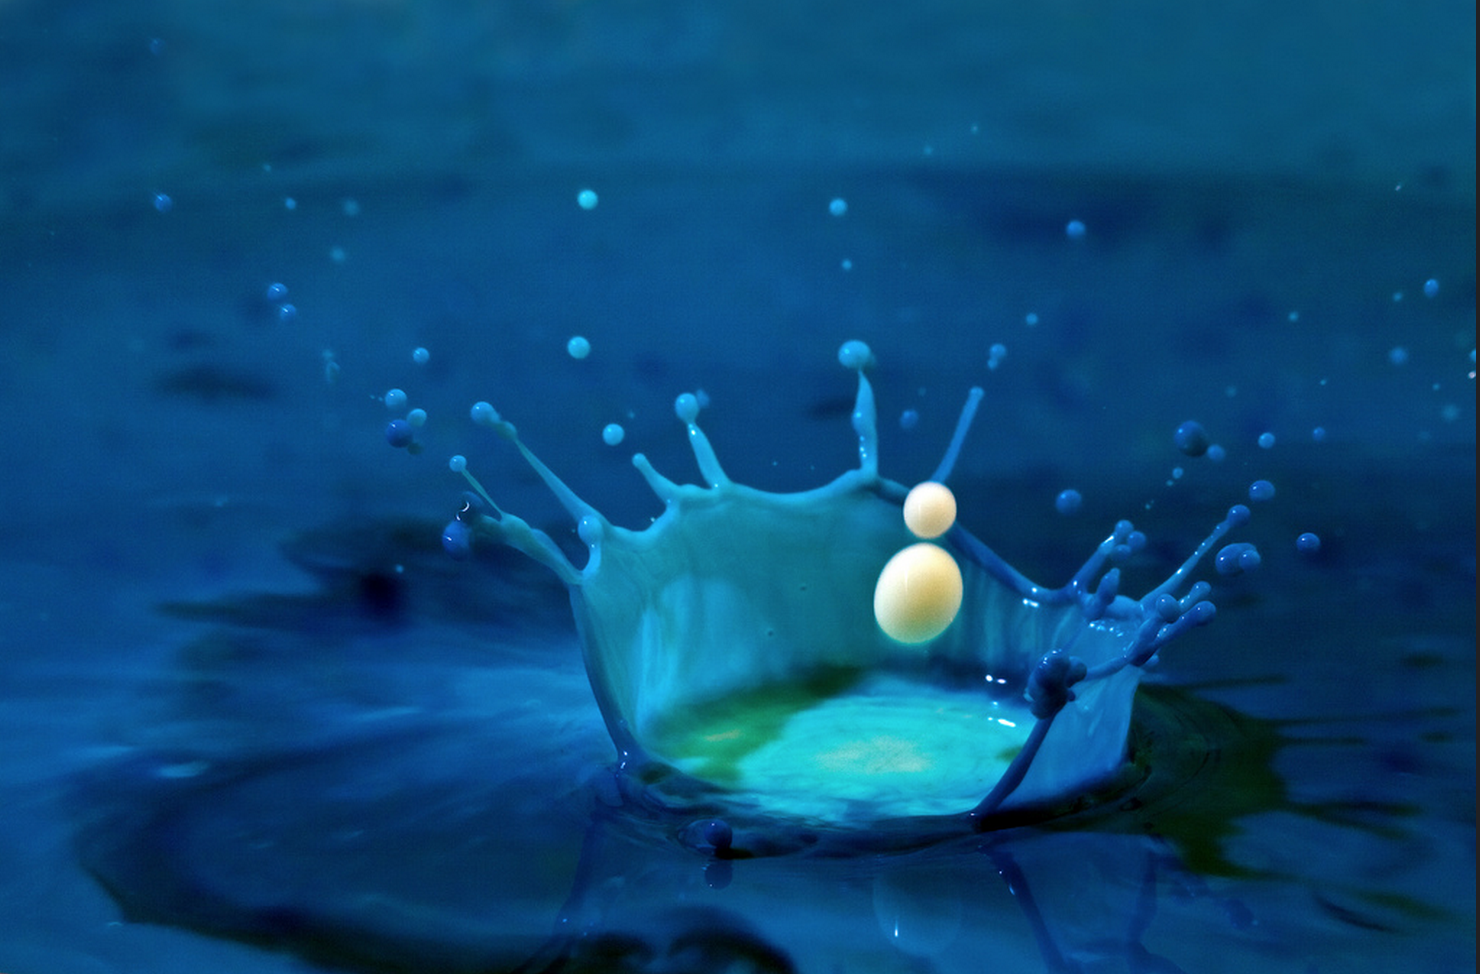
This is where the “optional” items come in to play. If you choose to use milk instead of water, the viscosity is completely different and will produce very beautiful results. Feel as though your photograph isn’t colorful enough? Putting a colored gel in front of your flash will add a nice burst of color. You can also mix food coloring into your water (either in the tray or in the droplets), or combine the two for interesting results. If you’re looking for something even more exciting, add glitter into your water, or add some cereal into your milk! The creative possibilities are endless.
While this is one way of setting up the scene to take beautiful water drop photographs, it is certainly not the only way. Feel free to use a different colored tray, a different way of creating droplets, even a different light diffuser! If you have multiple external flashes, you can create even more dynamic photographs. Work with what you have, and you may find that you’ll still create beautiful, high-quality images. Have fun!