
Working with water poses a lot of unique challenges when it comes to photography, but it also brings with it plenty of rewards.
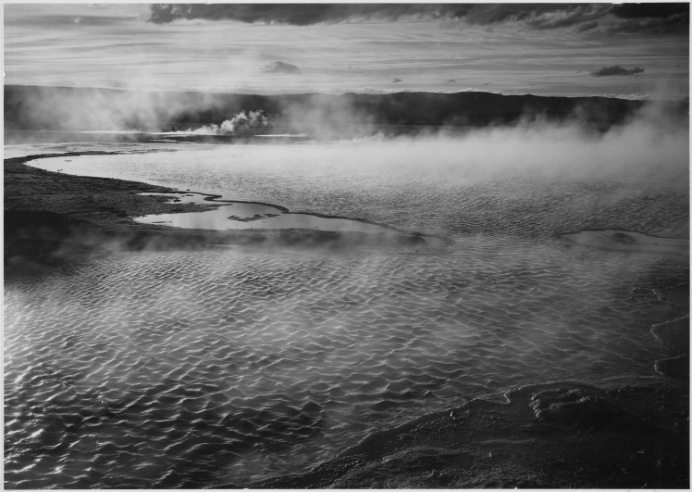
Some of the most compelling images ever committed to film have used water as a central feature (see Ansel Adams, for instance), so today we’re going to cover how best to shoot that good ol’ H20. And be sure to check out our guides on shooting photos in extreme temperatures and photographing landscapes.
That Silky Look
Found yourself an awesome stream or even a waterfall that’s just brimming with motion, waiting to be captured? You might want to try an age-old technique that will get the best out of all that action.
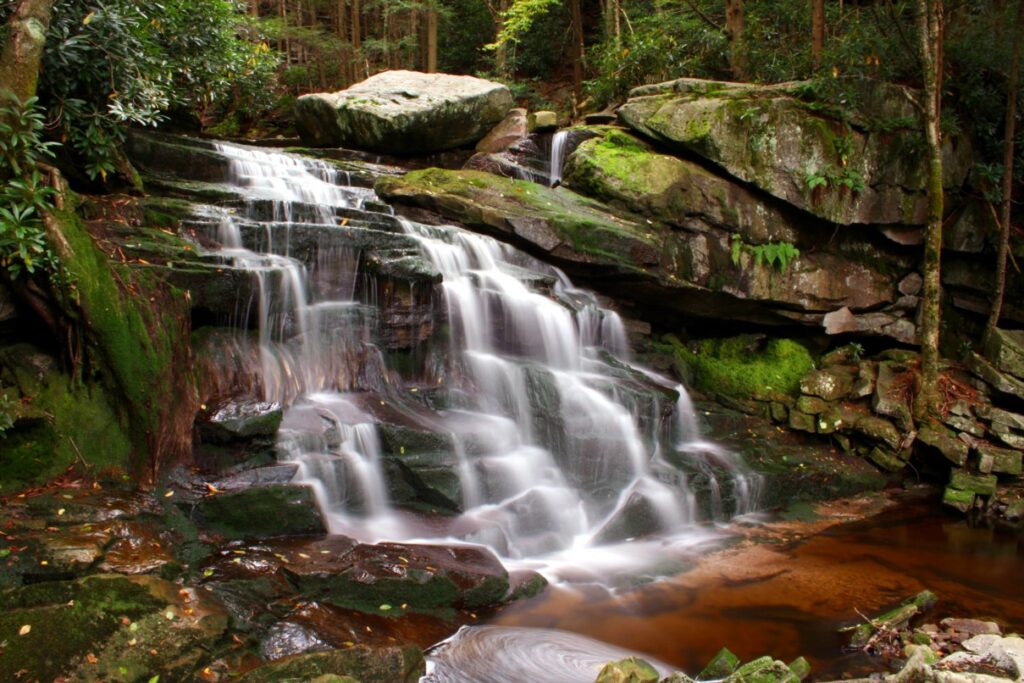
That silky-smooth look to the water above is achieved by setting a very slow shutter speed; try it out with a shutter speed of between 2 and 8 seconds to replicate this effect on fast-moving water. Anything longer than this will probably result in a total blur (given that the water is moving rapidly), but either way you’ll need a tripod in order to stabilize the camera at this level of exposure (and drop the aperture down to around f/16 for a good depth of field which compensates for the slow shutter speed.)
You may need to tweak the numbers on a shot-by-shot basis (especially with balancing the ISO and aperture size depending on how bright it is), but once you get it right, it’s well worth the effort to achieve this really magical effect.
Don’t Forget Your Polarized Filters
An absolute essential when shooting water given that wet rocks (and the water itself) has the nasty habit of reflecting glare straight at your lens. It’ll also help get ‘behind’ the reflections and reveal the hidden textures and colors going on underneath the surface, whereas without a polarizing filter you’ll just get a rather flat surface to the water.
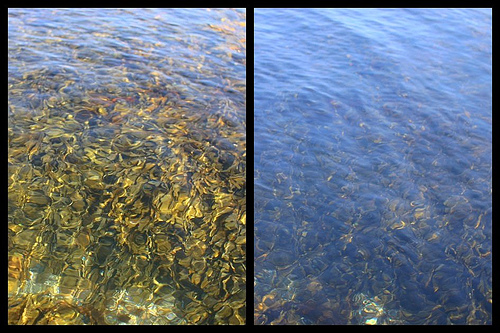
It’s also a very quick way of increasing color saturation and contrast, which is great for shooting bodies of water surrounded by a lot of lush greenery and colorful flora.
Get to Know Your ND Filter
Another highly useful type of filter that will serve you well is the neutral density filter.
In brief, an ND filter is a gray filter that reduces the intensity of color evenly across all wavelengths without changing the color hues themselves. The reason this is useful in water photography is that when working with slow shutter speeds in bright environments, you can expect to spend a lot of time trying to correct for overexposure.
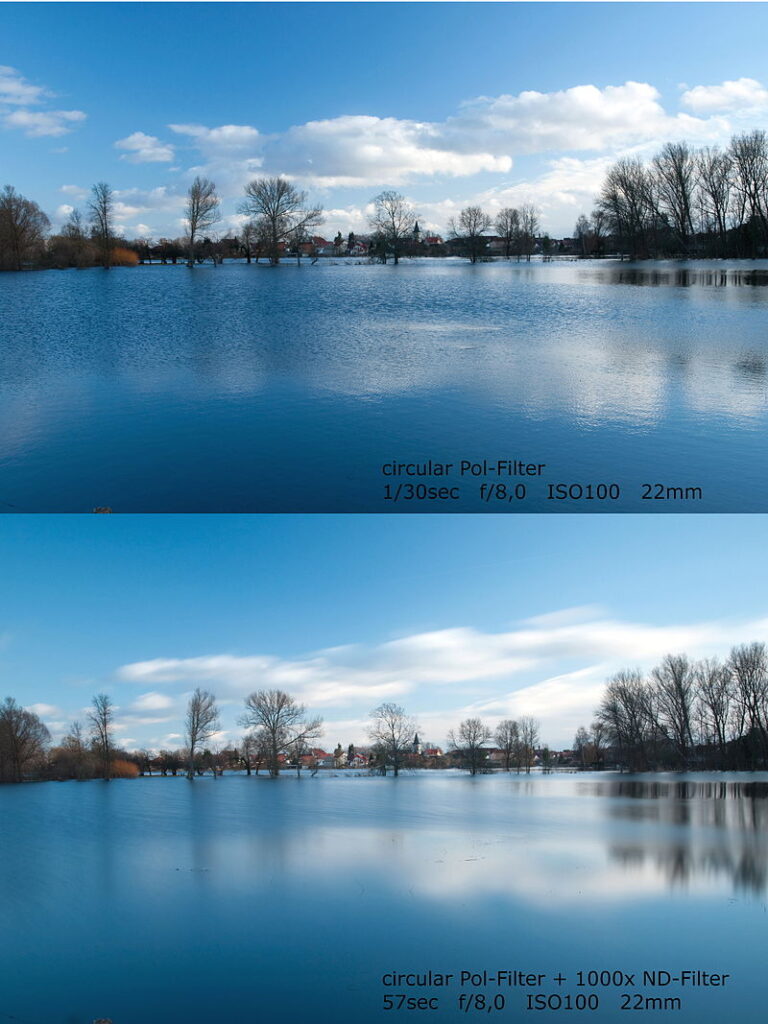
An ND filter takes a lot of the headache out of this, allowing you to shoot at longer exposures and with wider apertures without blowing out the sensor.
Get Wet… And Stay Safe
To get the very best shots, you’ll often need to get right in the middle of them.
In short, expect to get very, very wet.
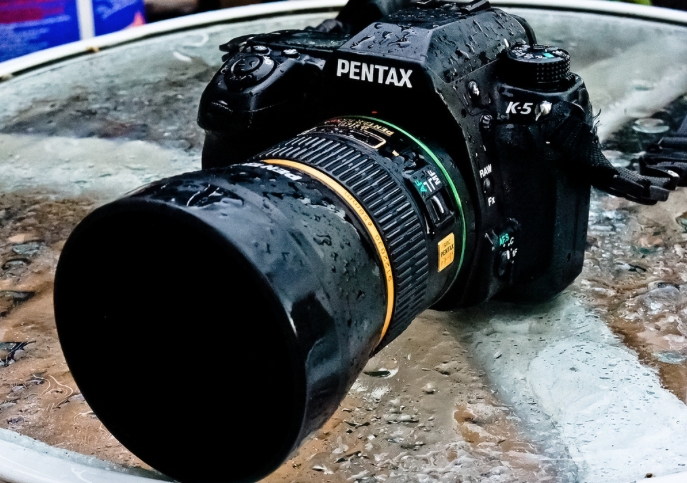
It almost goes without saying that you probably don’t want to treat your $1,500 camera to a swim in a lake, except plenty of photographers fall foul of this by putting all their faith in the matra of “I’ll just be really careful.”
It only takes a wrong foot on an algae-covered stone to send you and your kit deeper than you were hoping for. So, waterproof kitbags are a must (as are waders to keep yourself as bone dry as possible.)
[su_note]Eager to go on your own photography adventure? Students enrolled in the degree and conservatory programs at NYFA’s Photography School get to go on a one-week photography expedition as part of their coursework. Learn more by clicking here.[/su_note]
